Uploads by Carrolla
Jump to navigation
Jump to search
This special page shows all uploaded files.
| Date | Name | Thumbnail | Size | Description | Versions |
|---|---|---|---|---|---|
| 13:27, 28 April 2014 | AMCIMG 0023.JPG (file) |  |
1.72 MB | 1 | |
| 13:26, 28 April 2014 | AMCIMG 0024.JPG (file) |  |
1.82 MB | 1 | |
| 13:24, 28 April 2014 | AMCIMG 0022.JPG (file) |  |
1.64 MB | 1 | |
| 19:16, 17 January 2014 | AMCRust.JPG (file) |  |
2.89 MB | 1 | |
| 19:14, 17 January 2014 | Bundle Pre-Clean Laser.JPG (file) |  |
2.83 MB | 1 | |
| 19:12, 17 January 2014 | AMCBundle Pre-Clean.JPG (file) |  |
3.24 MB | 1 | |
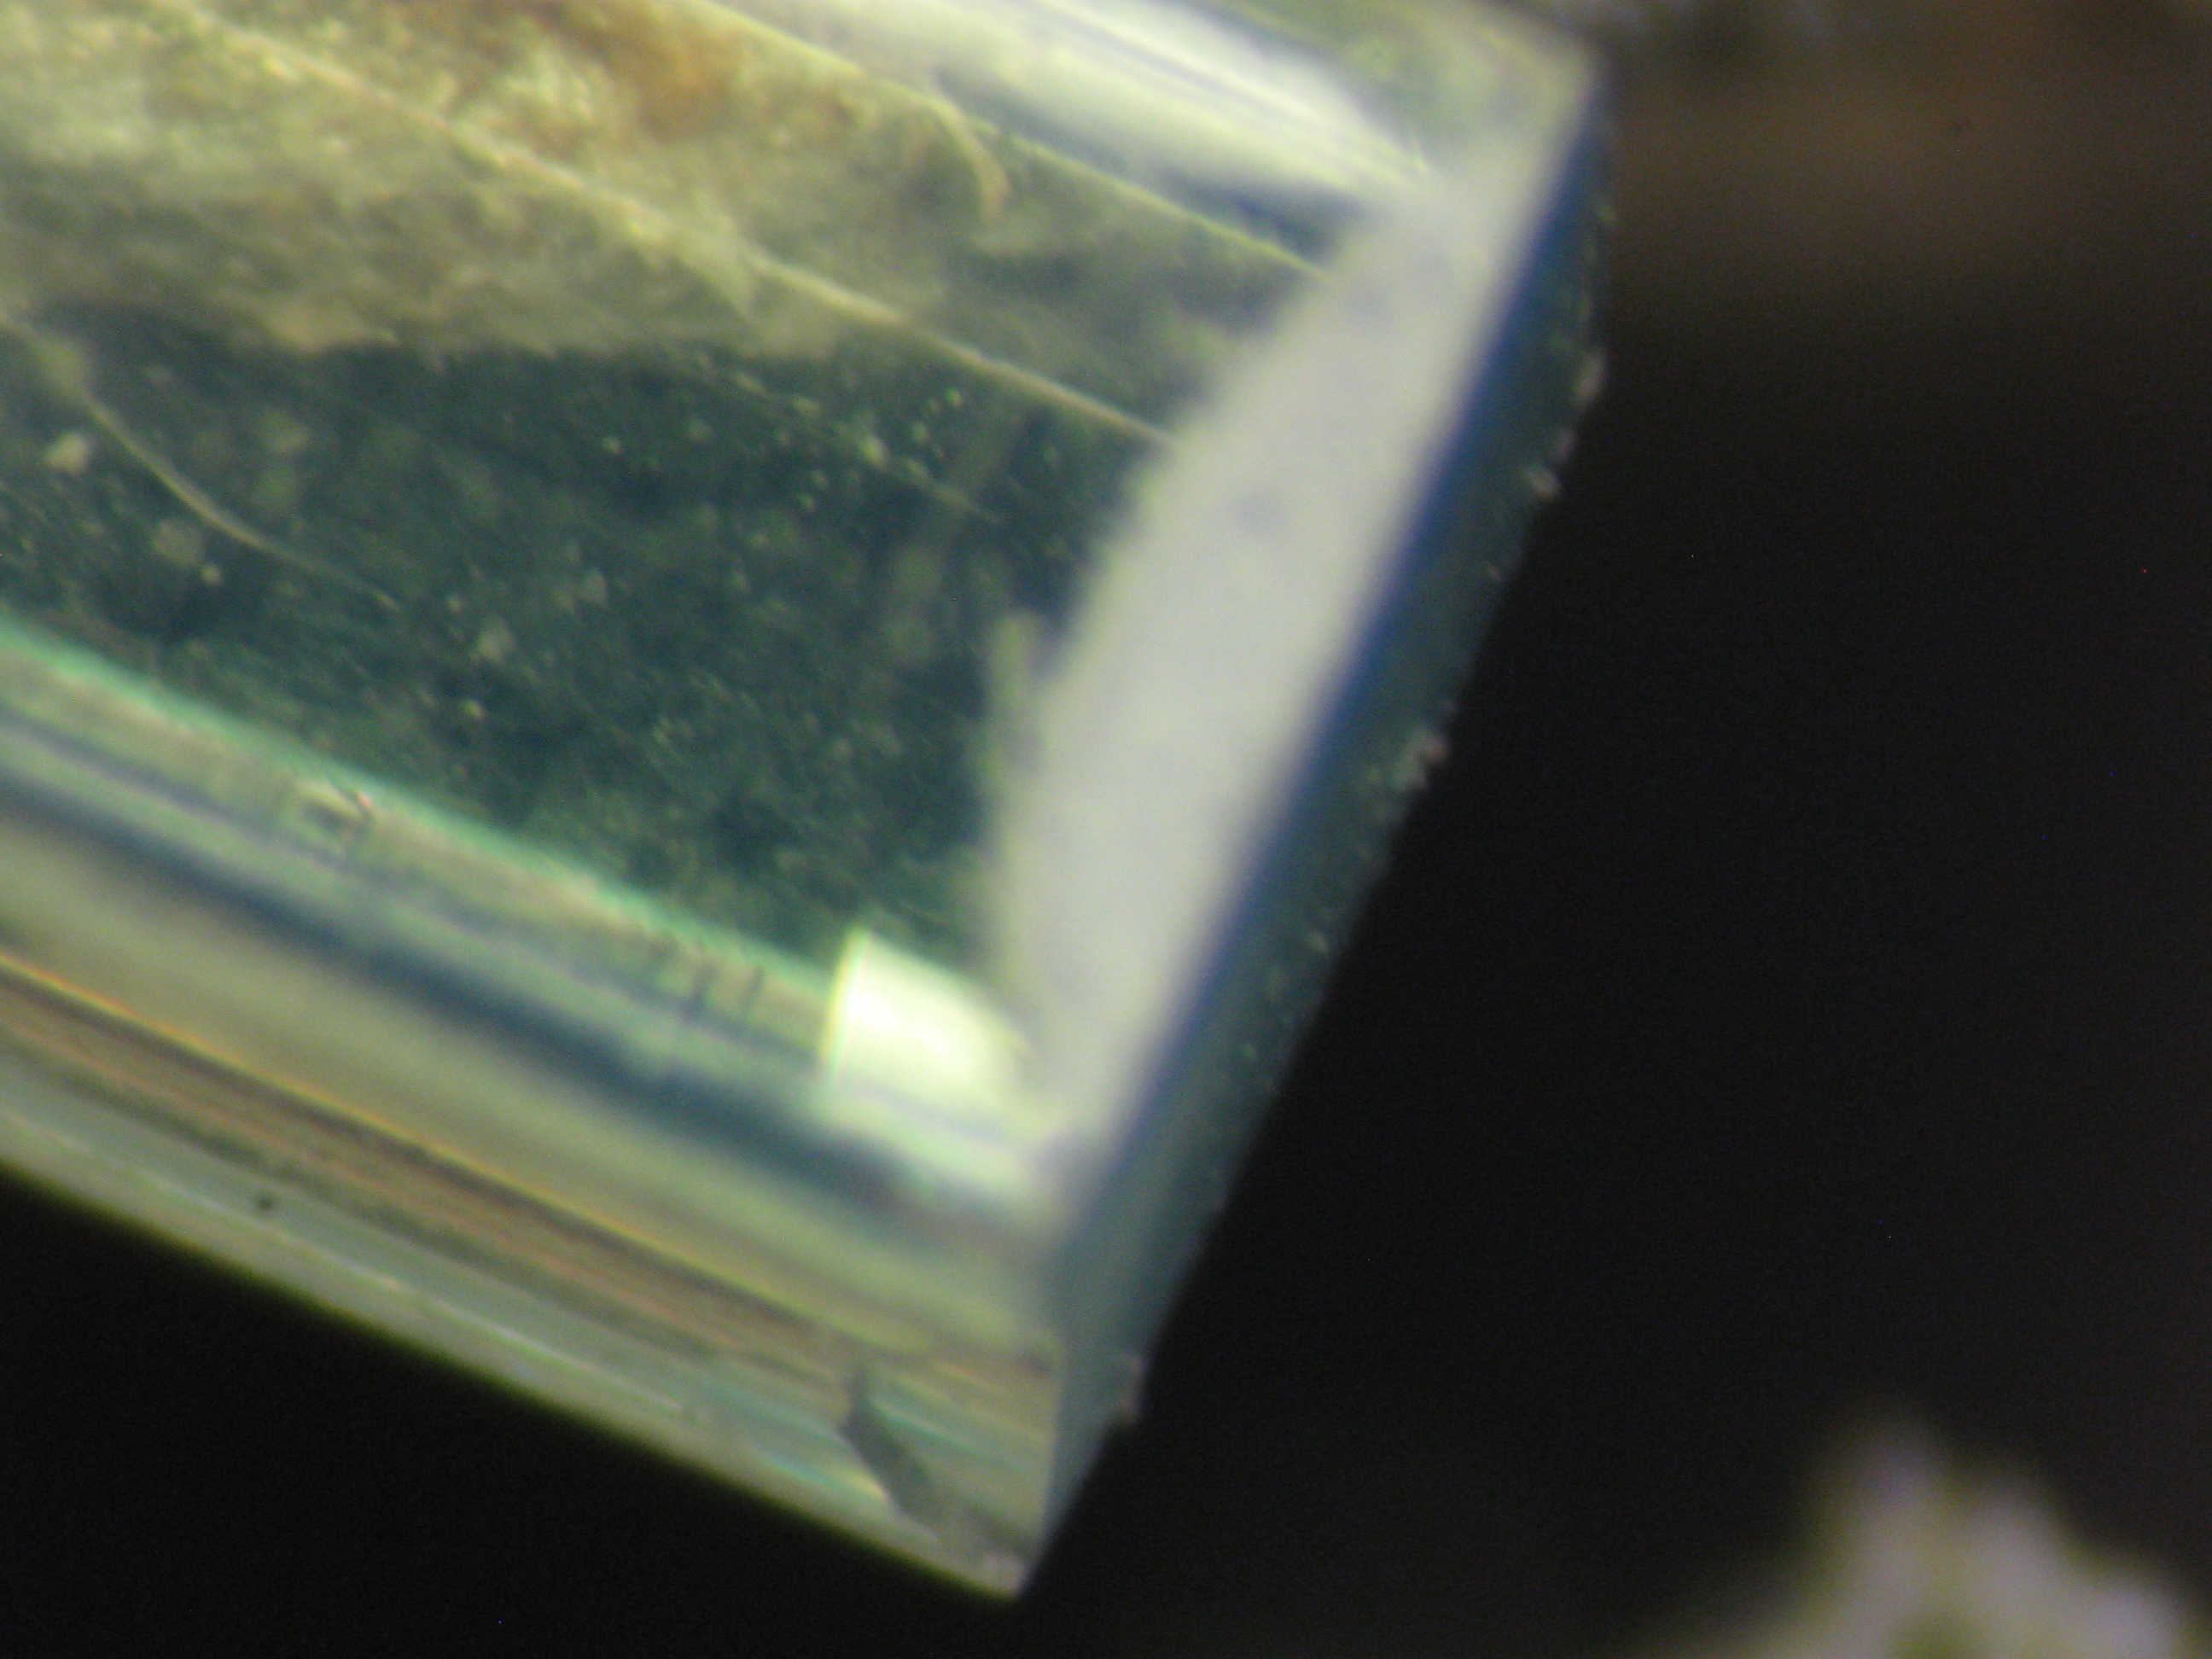
| 19:10, 17 January 2014 | AMCHard Water Stains Laser.JPG (file) |  |
1.36 MB | 1 | |
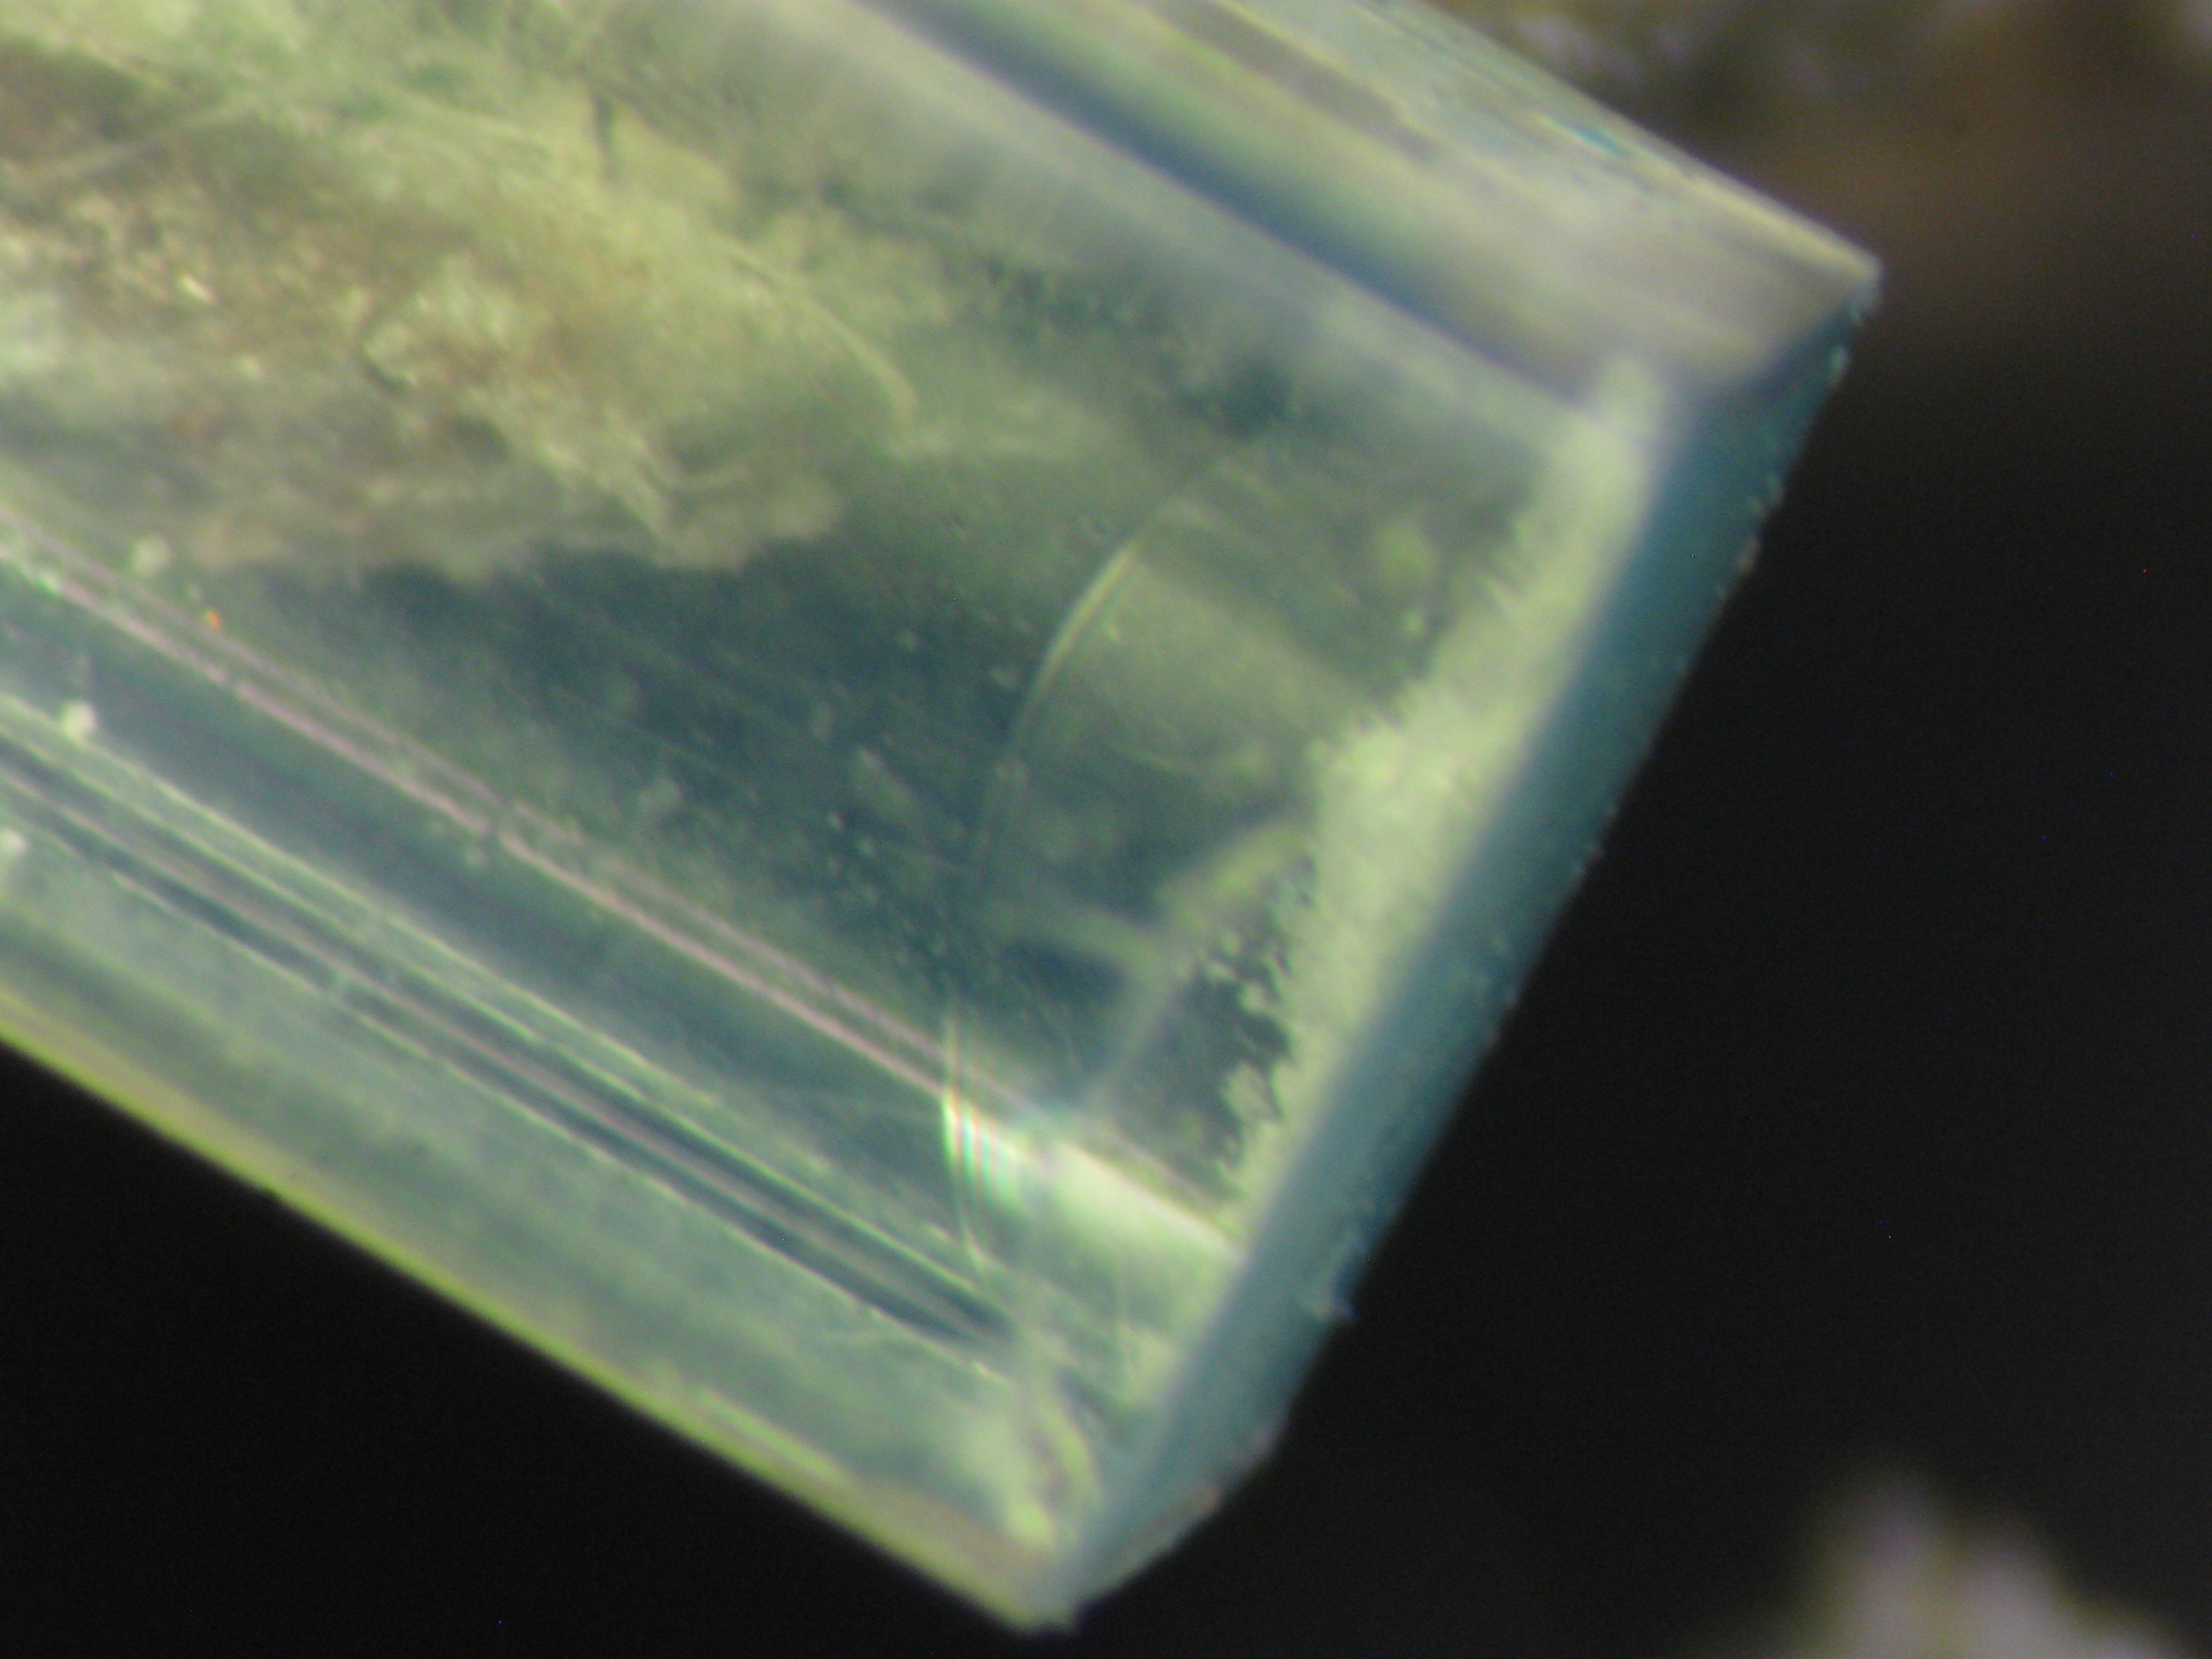
| 19:05, 17 January 2014 | AMCBetter Dust SpotsJPG.JPG (file) |  |
4.89 MB | 2 | |
| 18:59, 17 January 2014 | AMCFinger Print with laser.JPG (file) |  |
1.54 MB | 1 | |
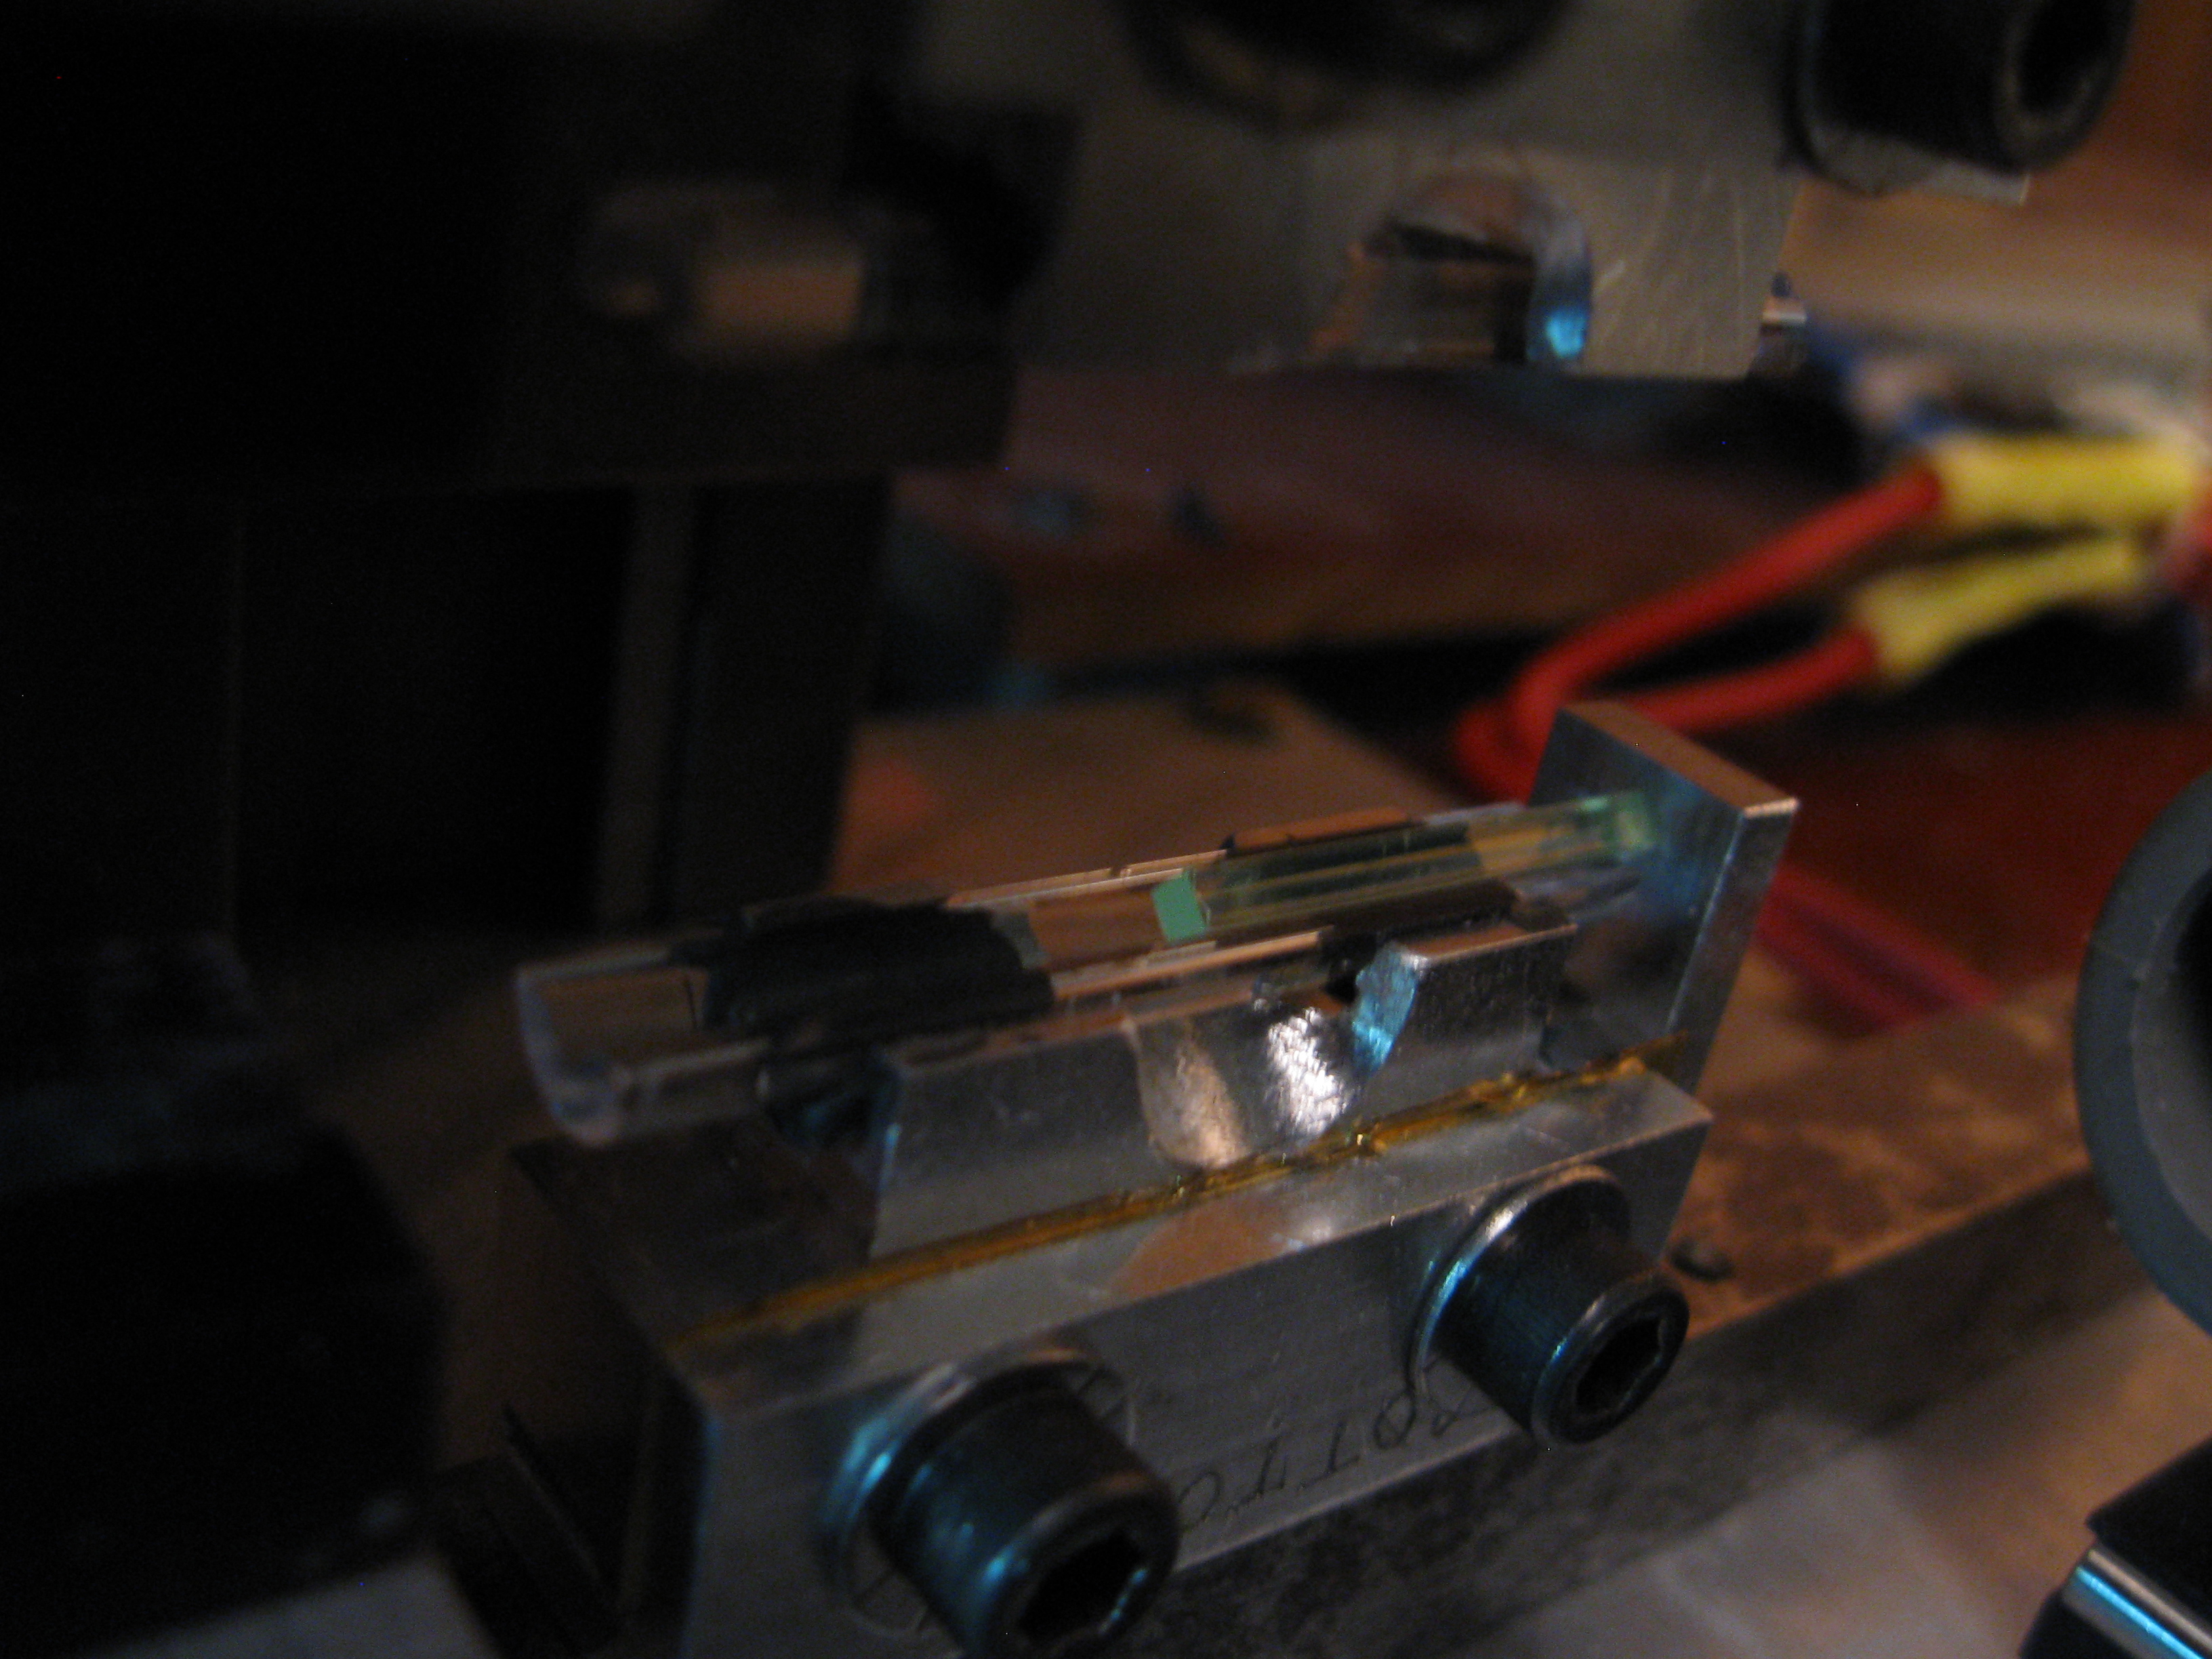
| 21:25, 13 January 2014 | Splicing fiber finished.JPG (file) |  |
3.26 MB | A finished test fuse between two pieces of lightguide. | 1 |
| 21:23, 13 January 2014 | Splicing fuse lip sanding.JPG (file) |  |
2.89 MB | How to sand off a lip that forms during splicing. | 1 |
| 21:21, 13 January 2014 | Splicing fuse lip.JPG (file) |  |
3 MB | The lip that often forms during fusing. | 1 |
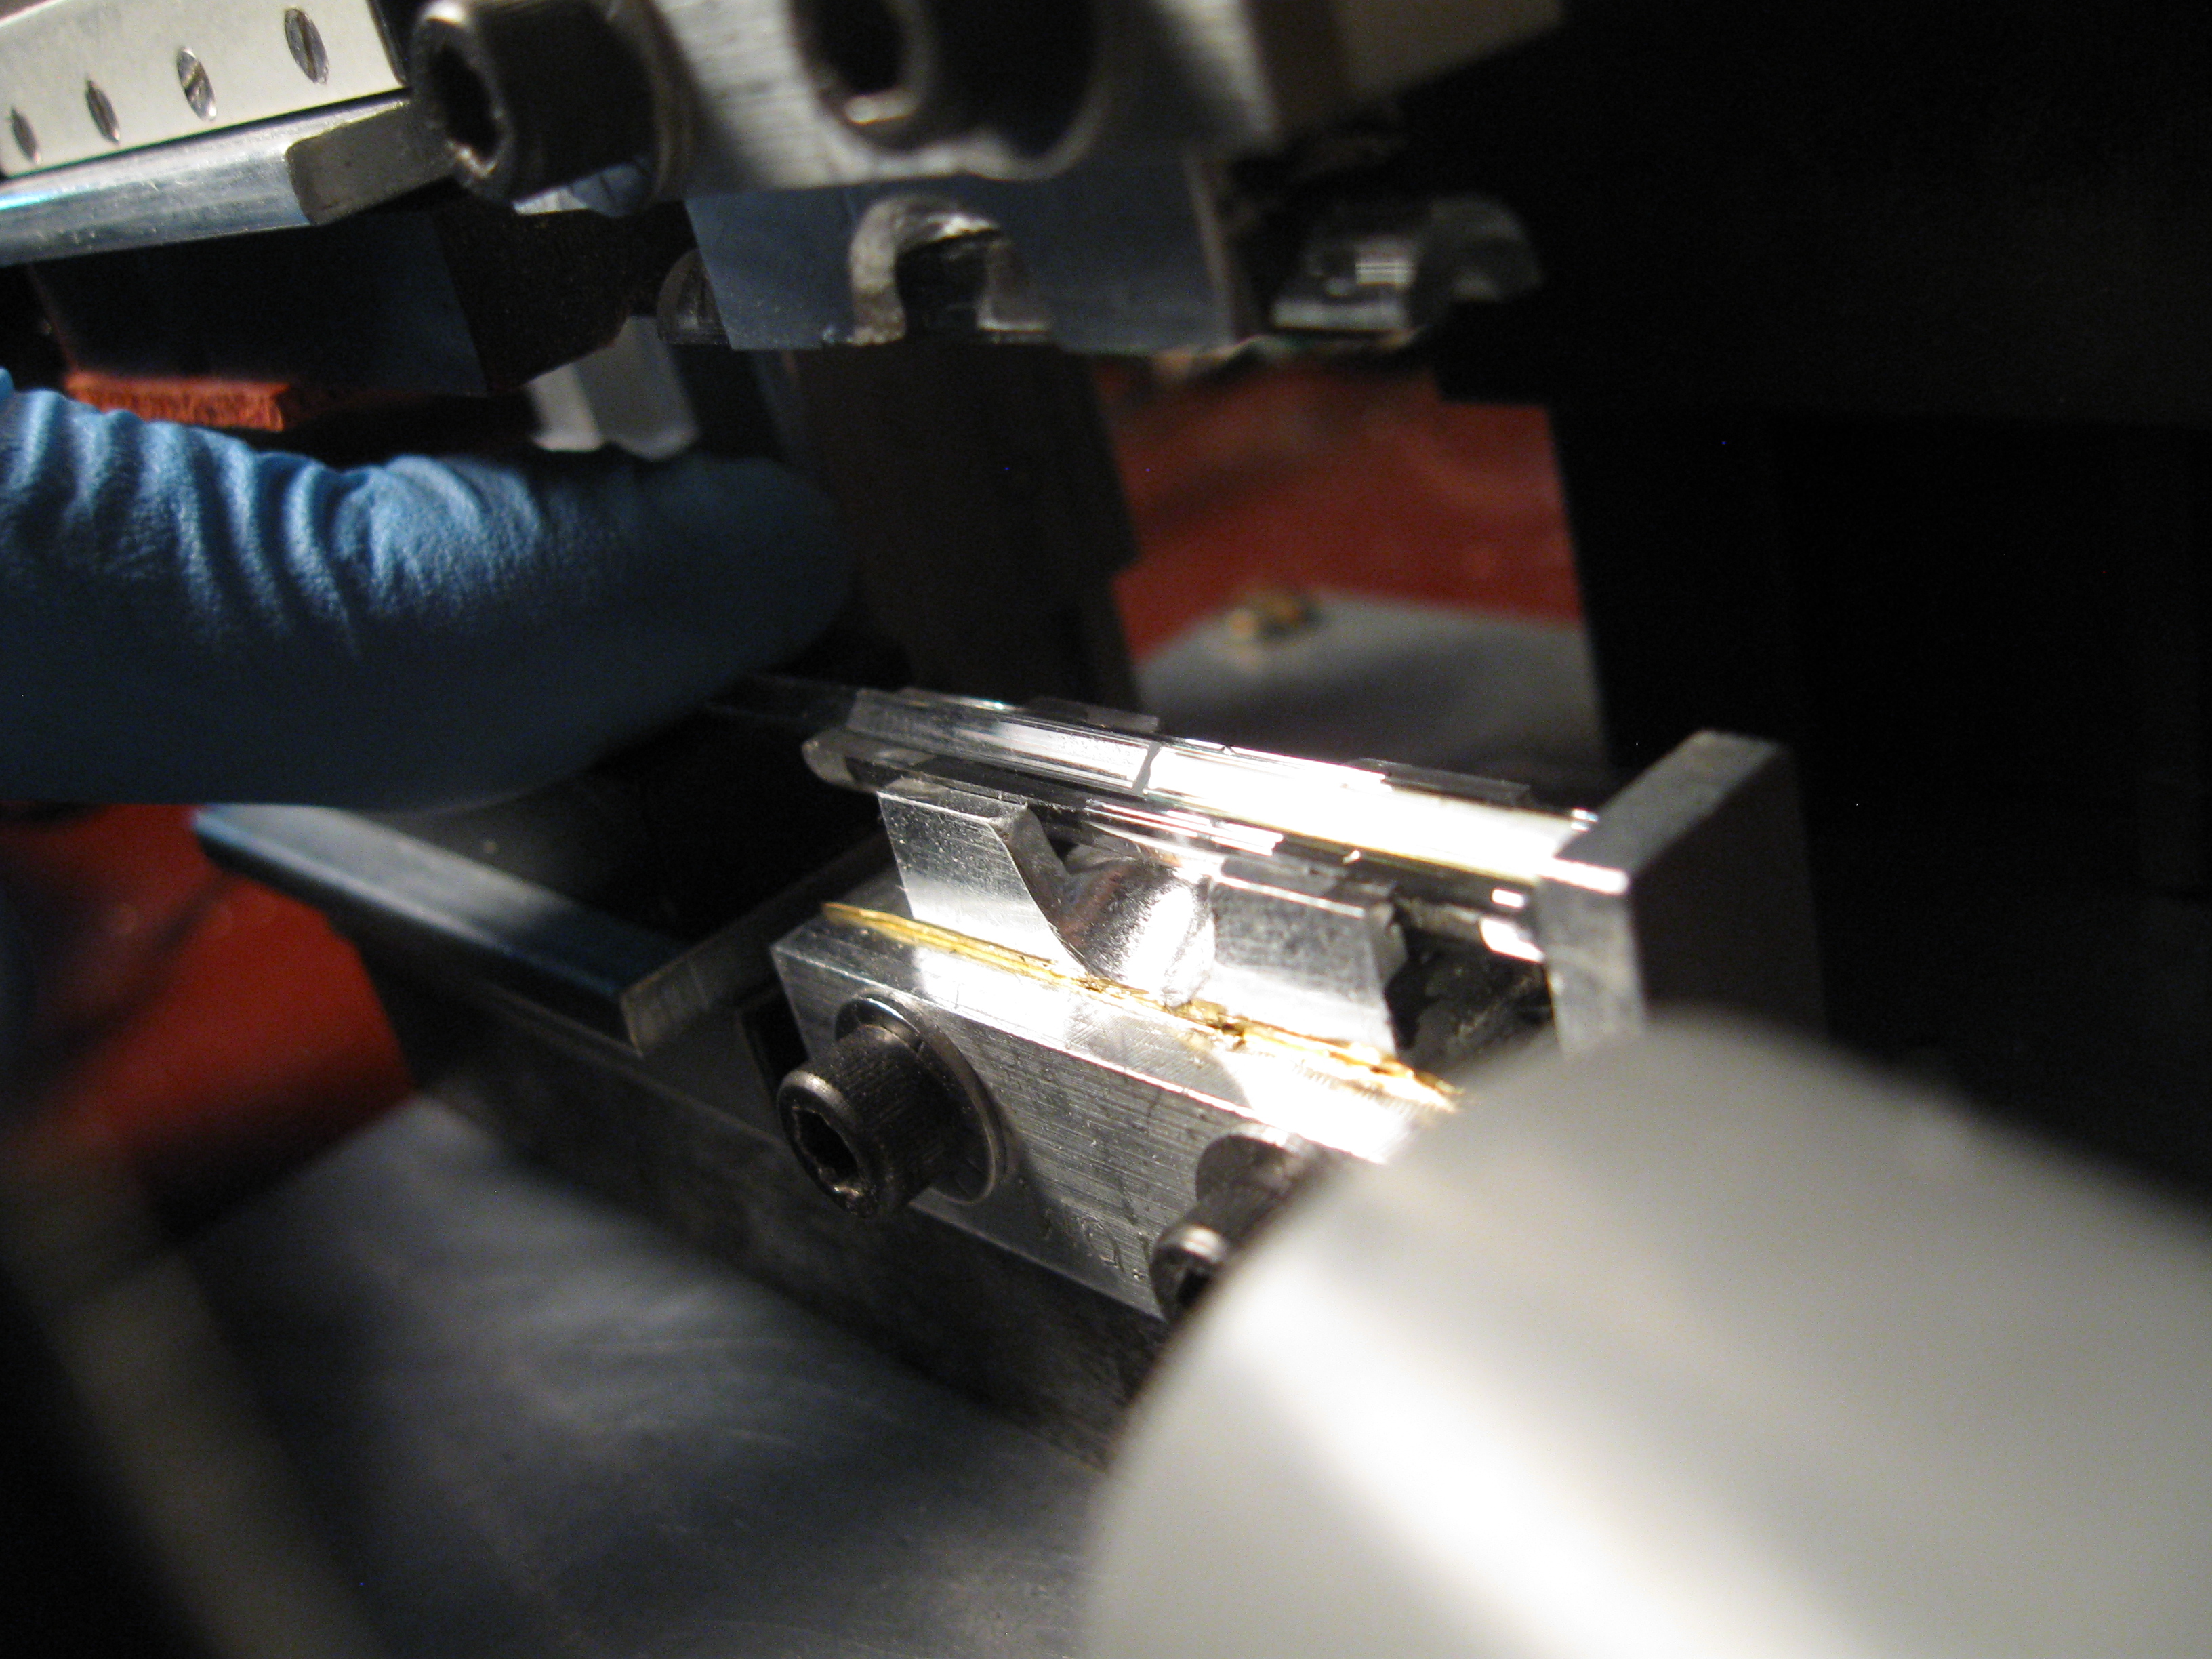
| 21:18, 13 January 2014 | Splicing fuse through screen.JPG (file) |  |
2.04 MB | Shows the fuse site as seen through the protective screen. | 1 |
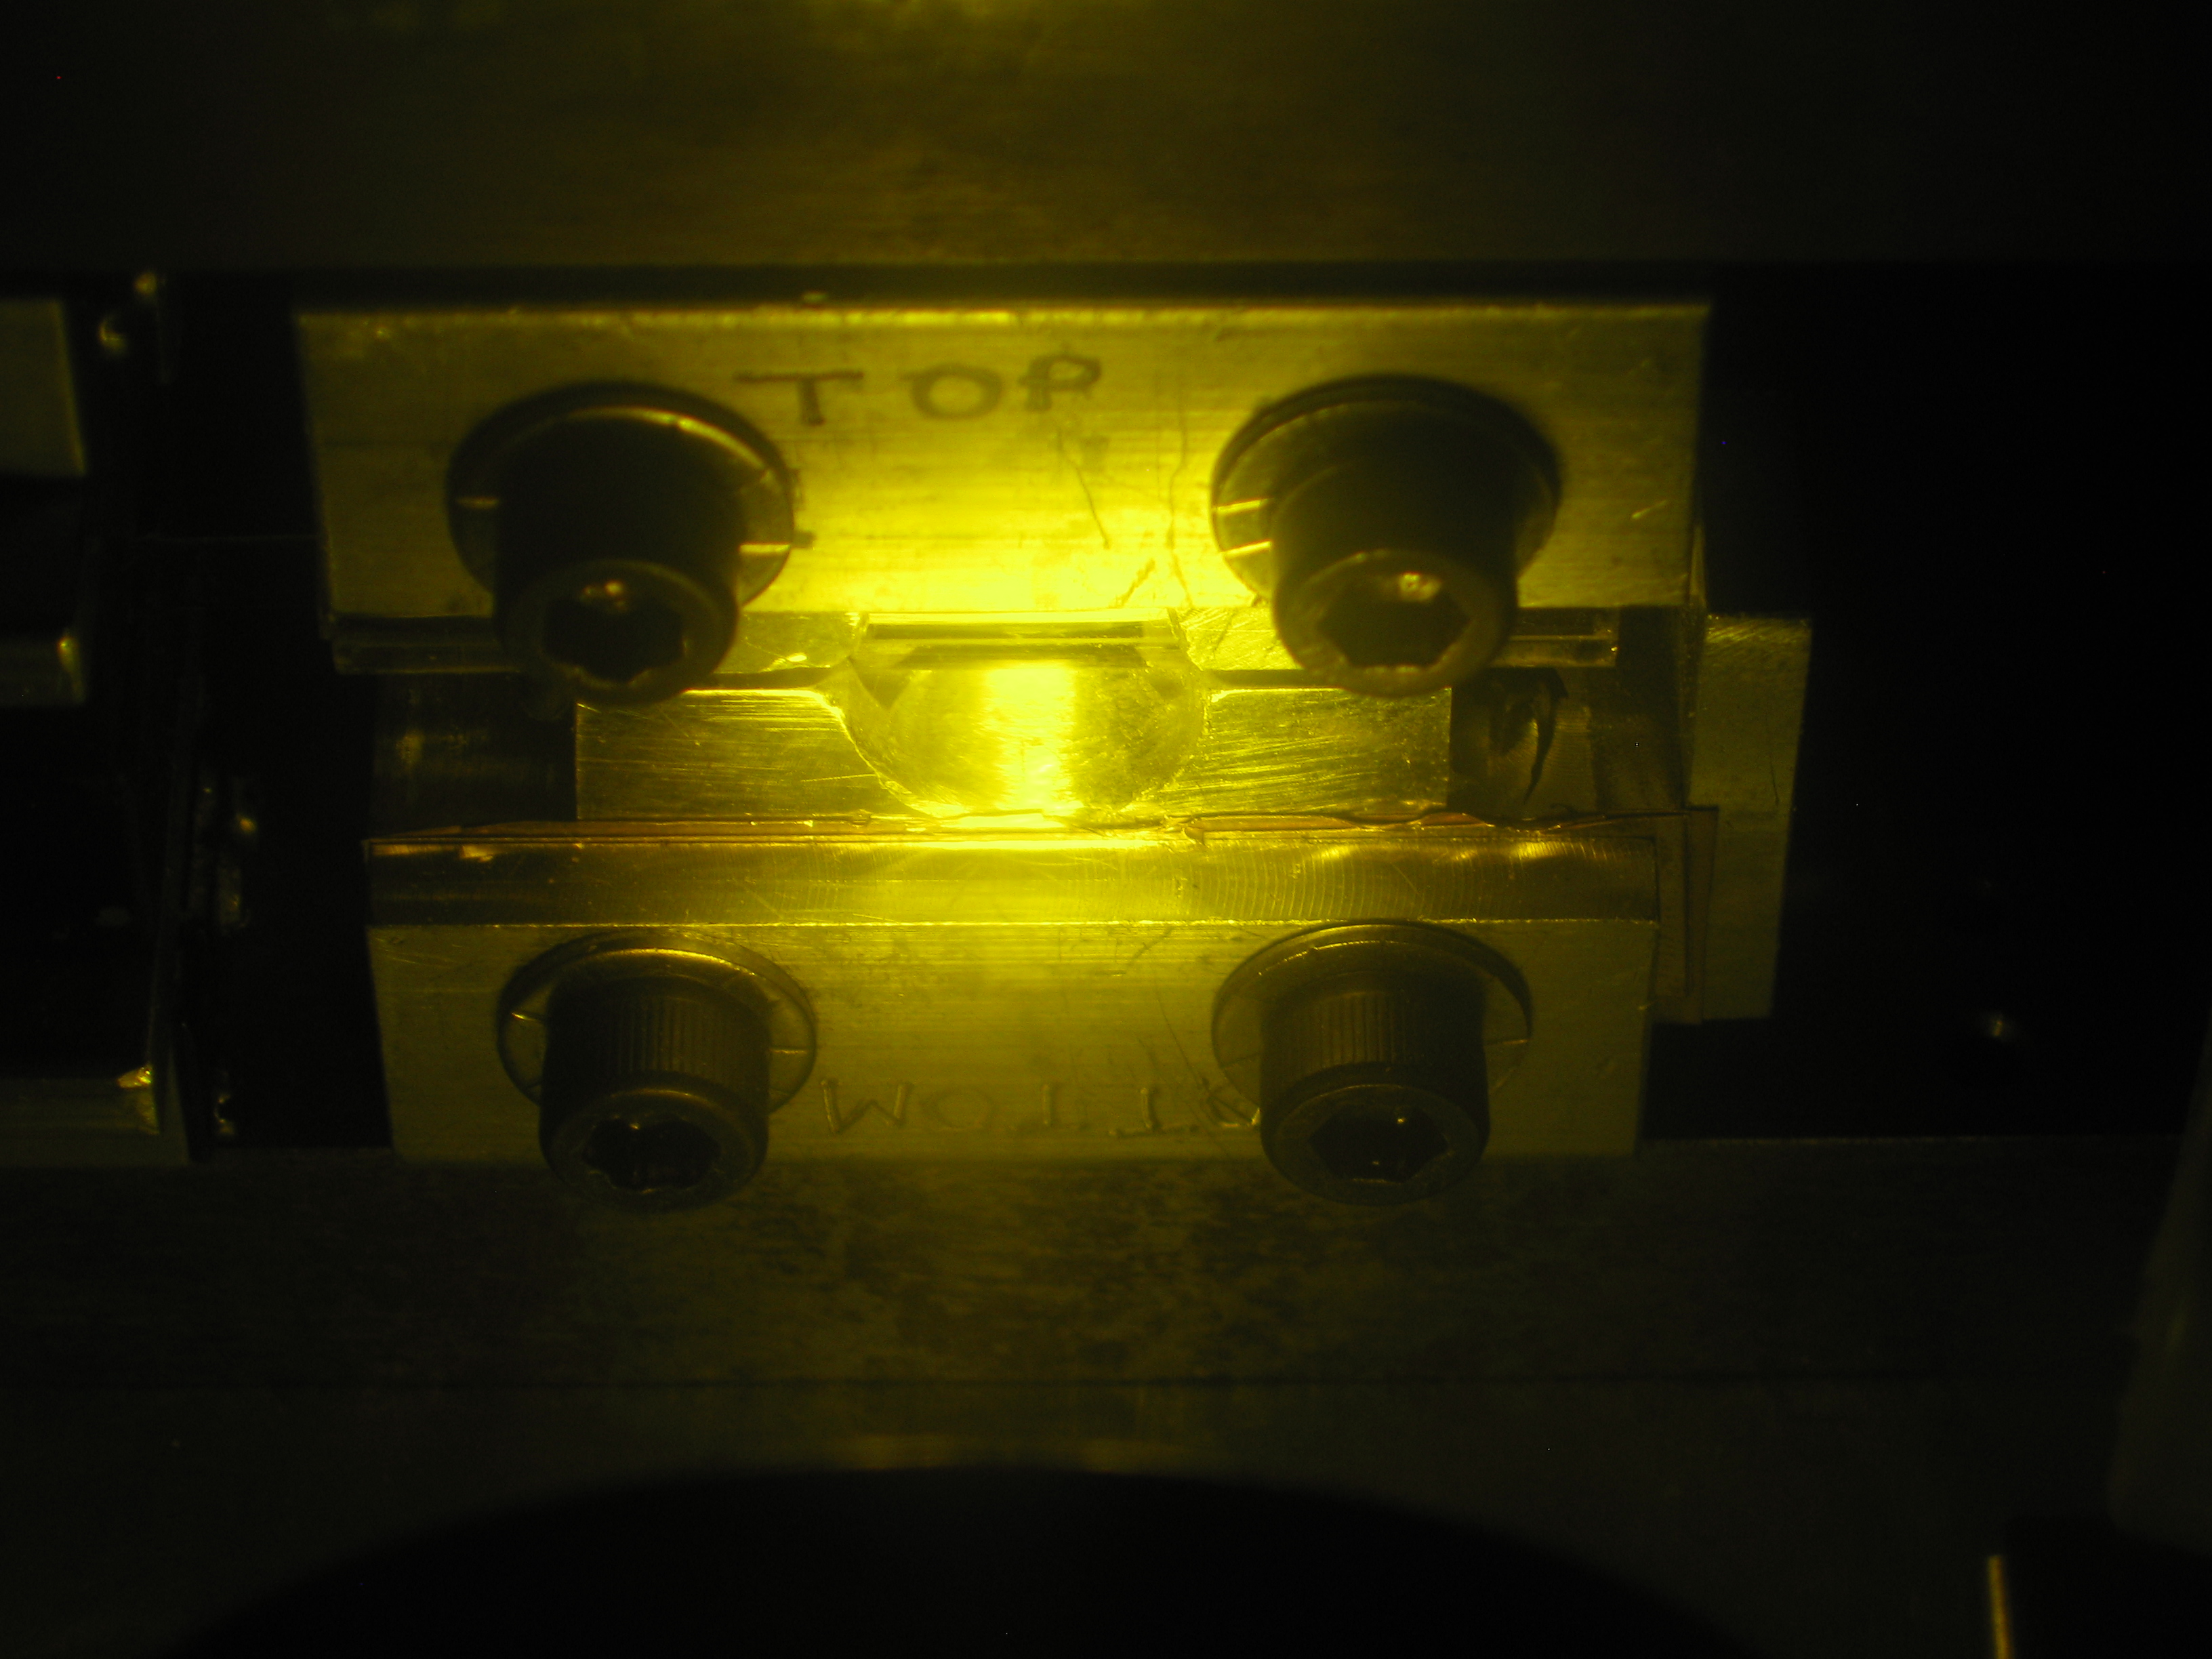
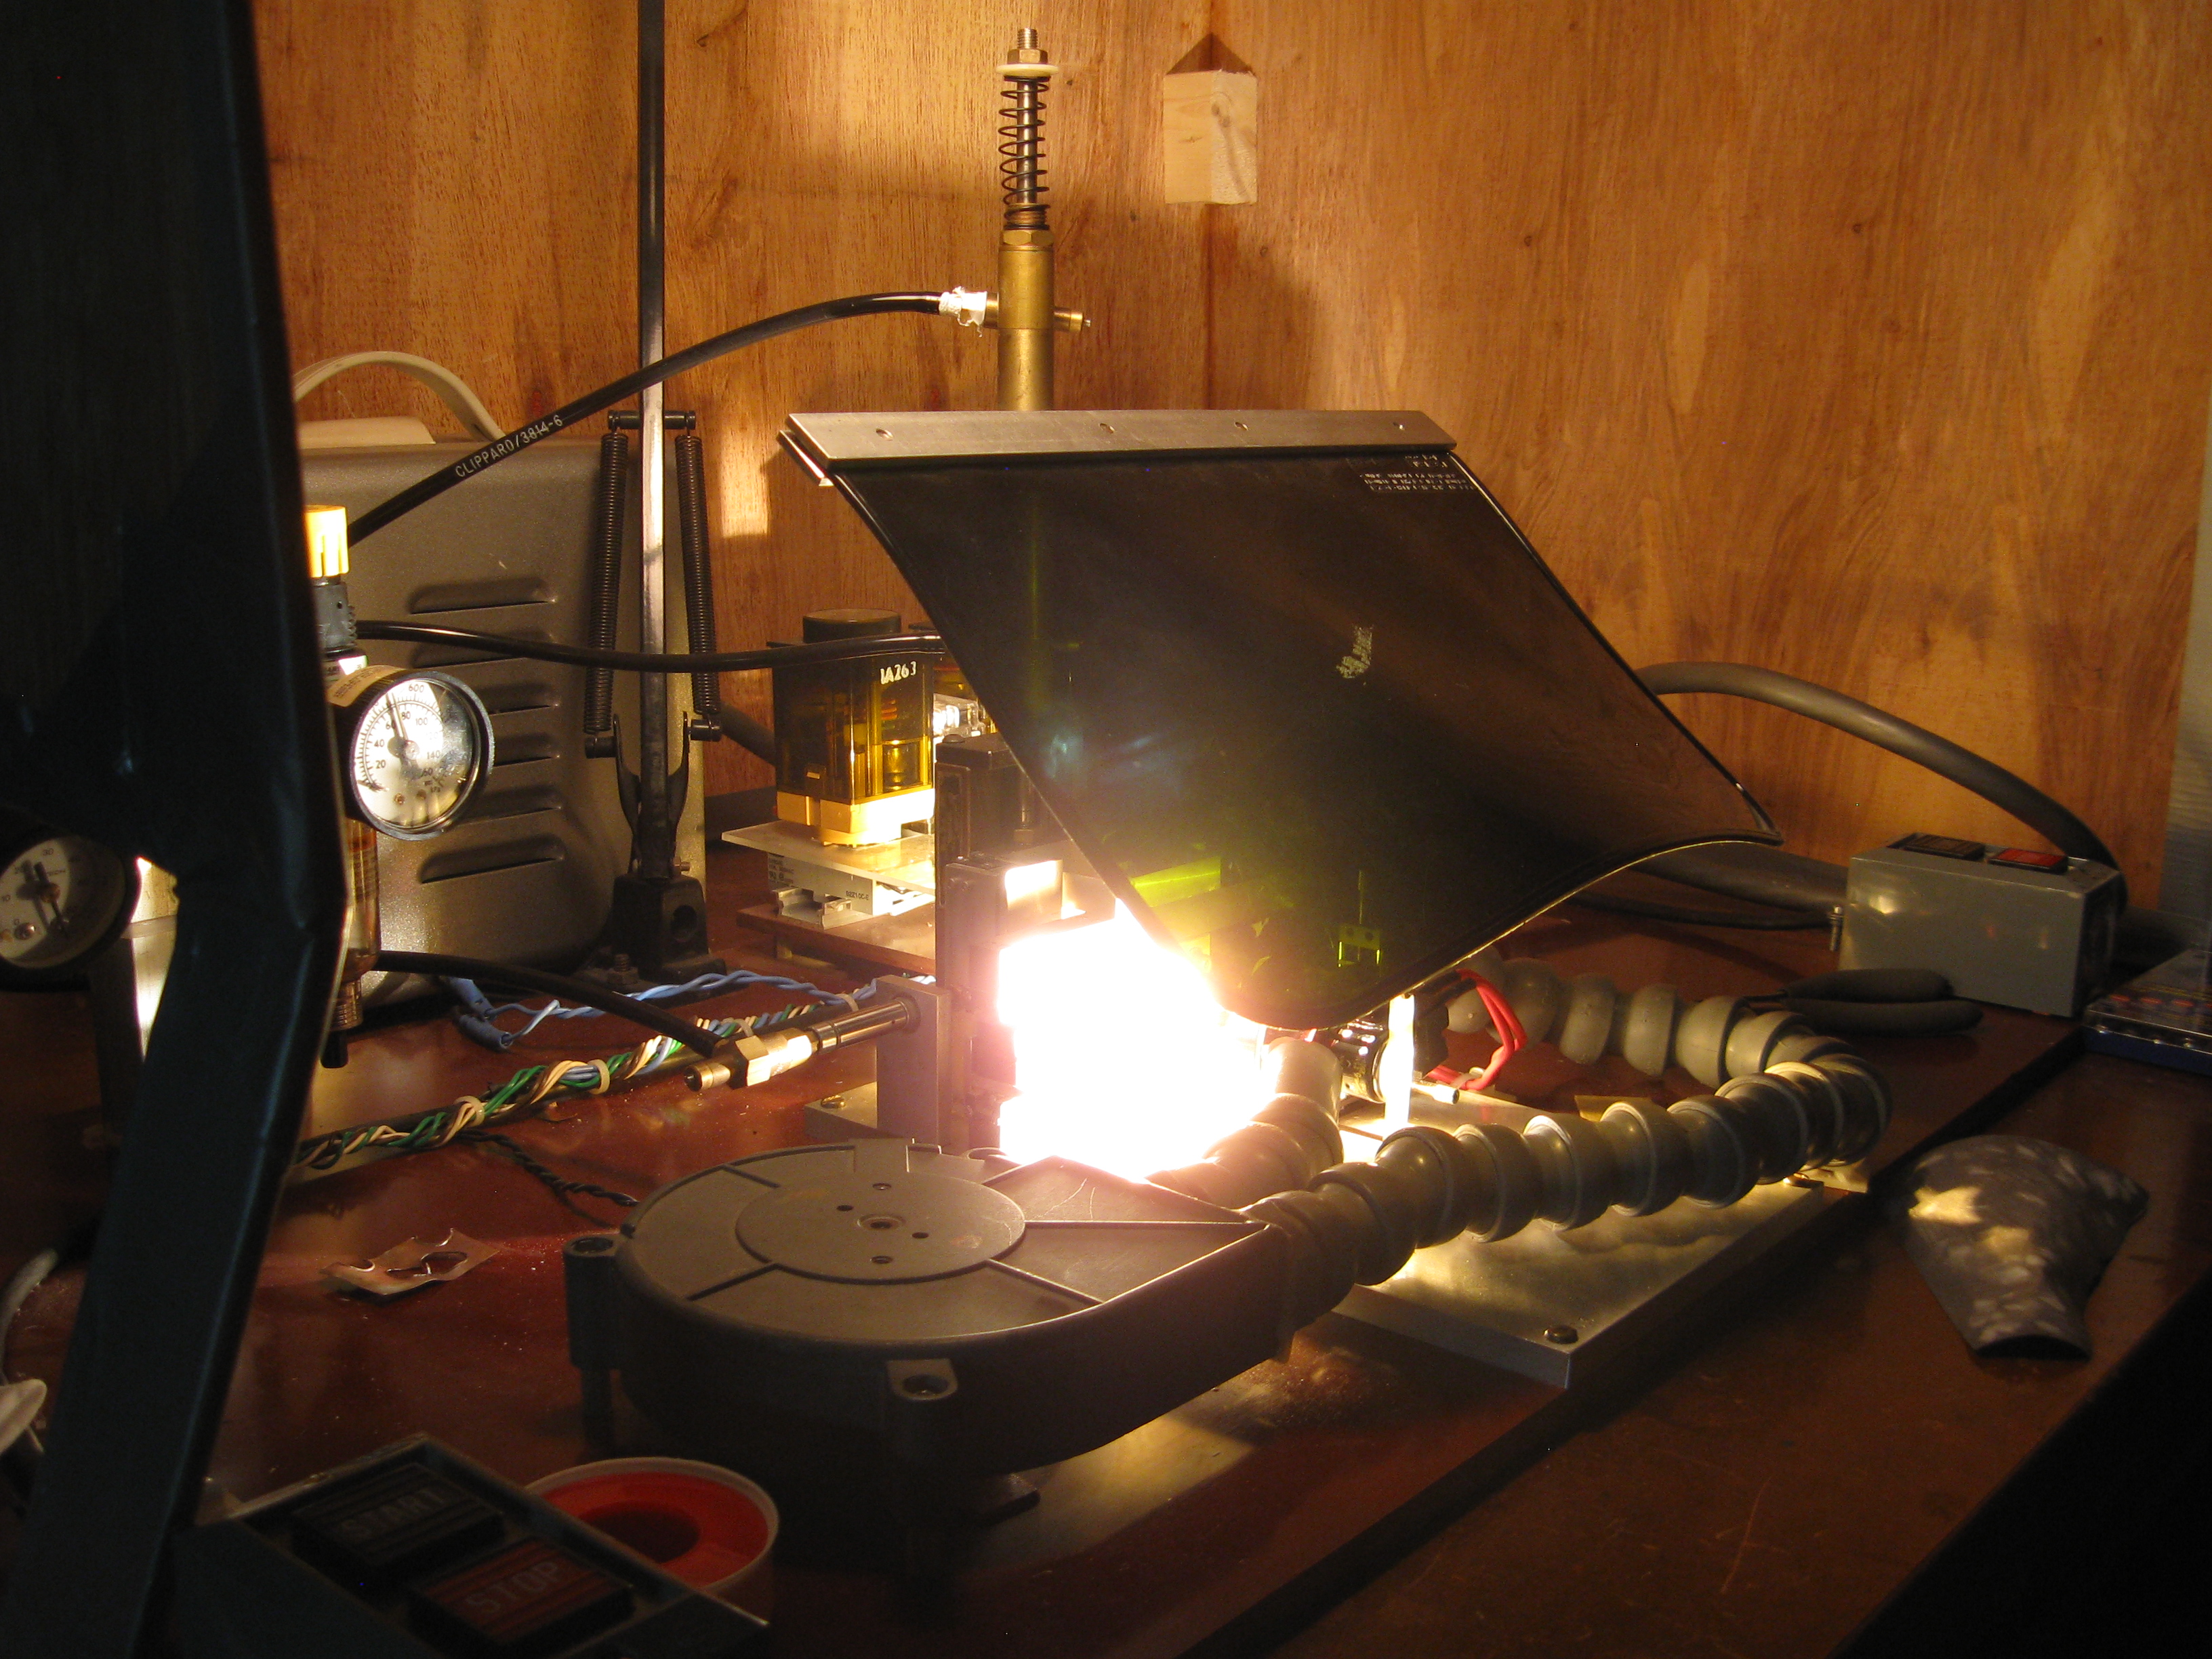
| 21:16, 13 January 2014 | Splicing unit heating.JPG (file) |  |
3.19 MB | Picture showing the brightness of the splicing unit, eye contact should be avoided. | 1 |
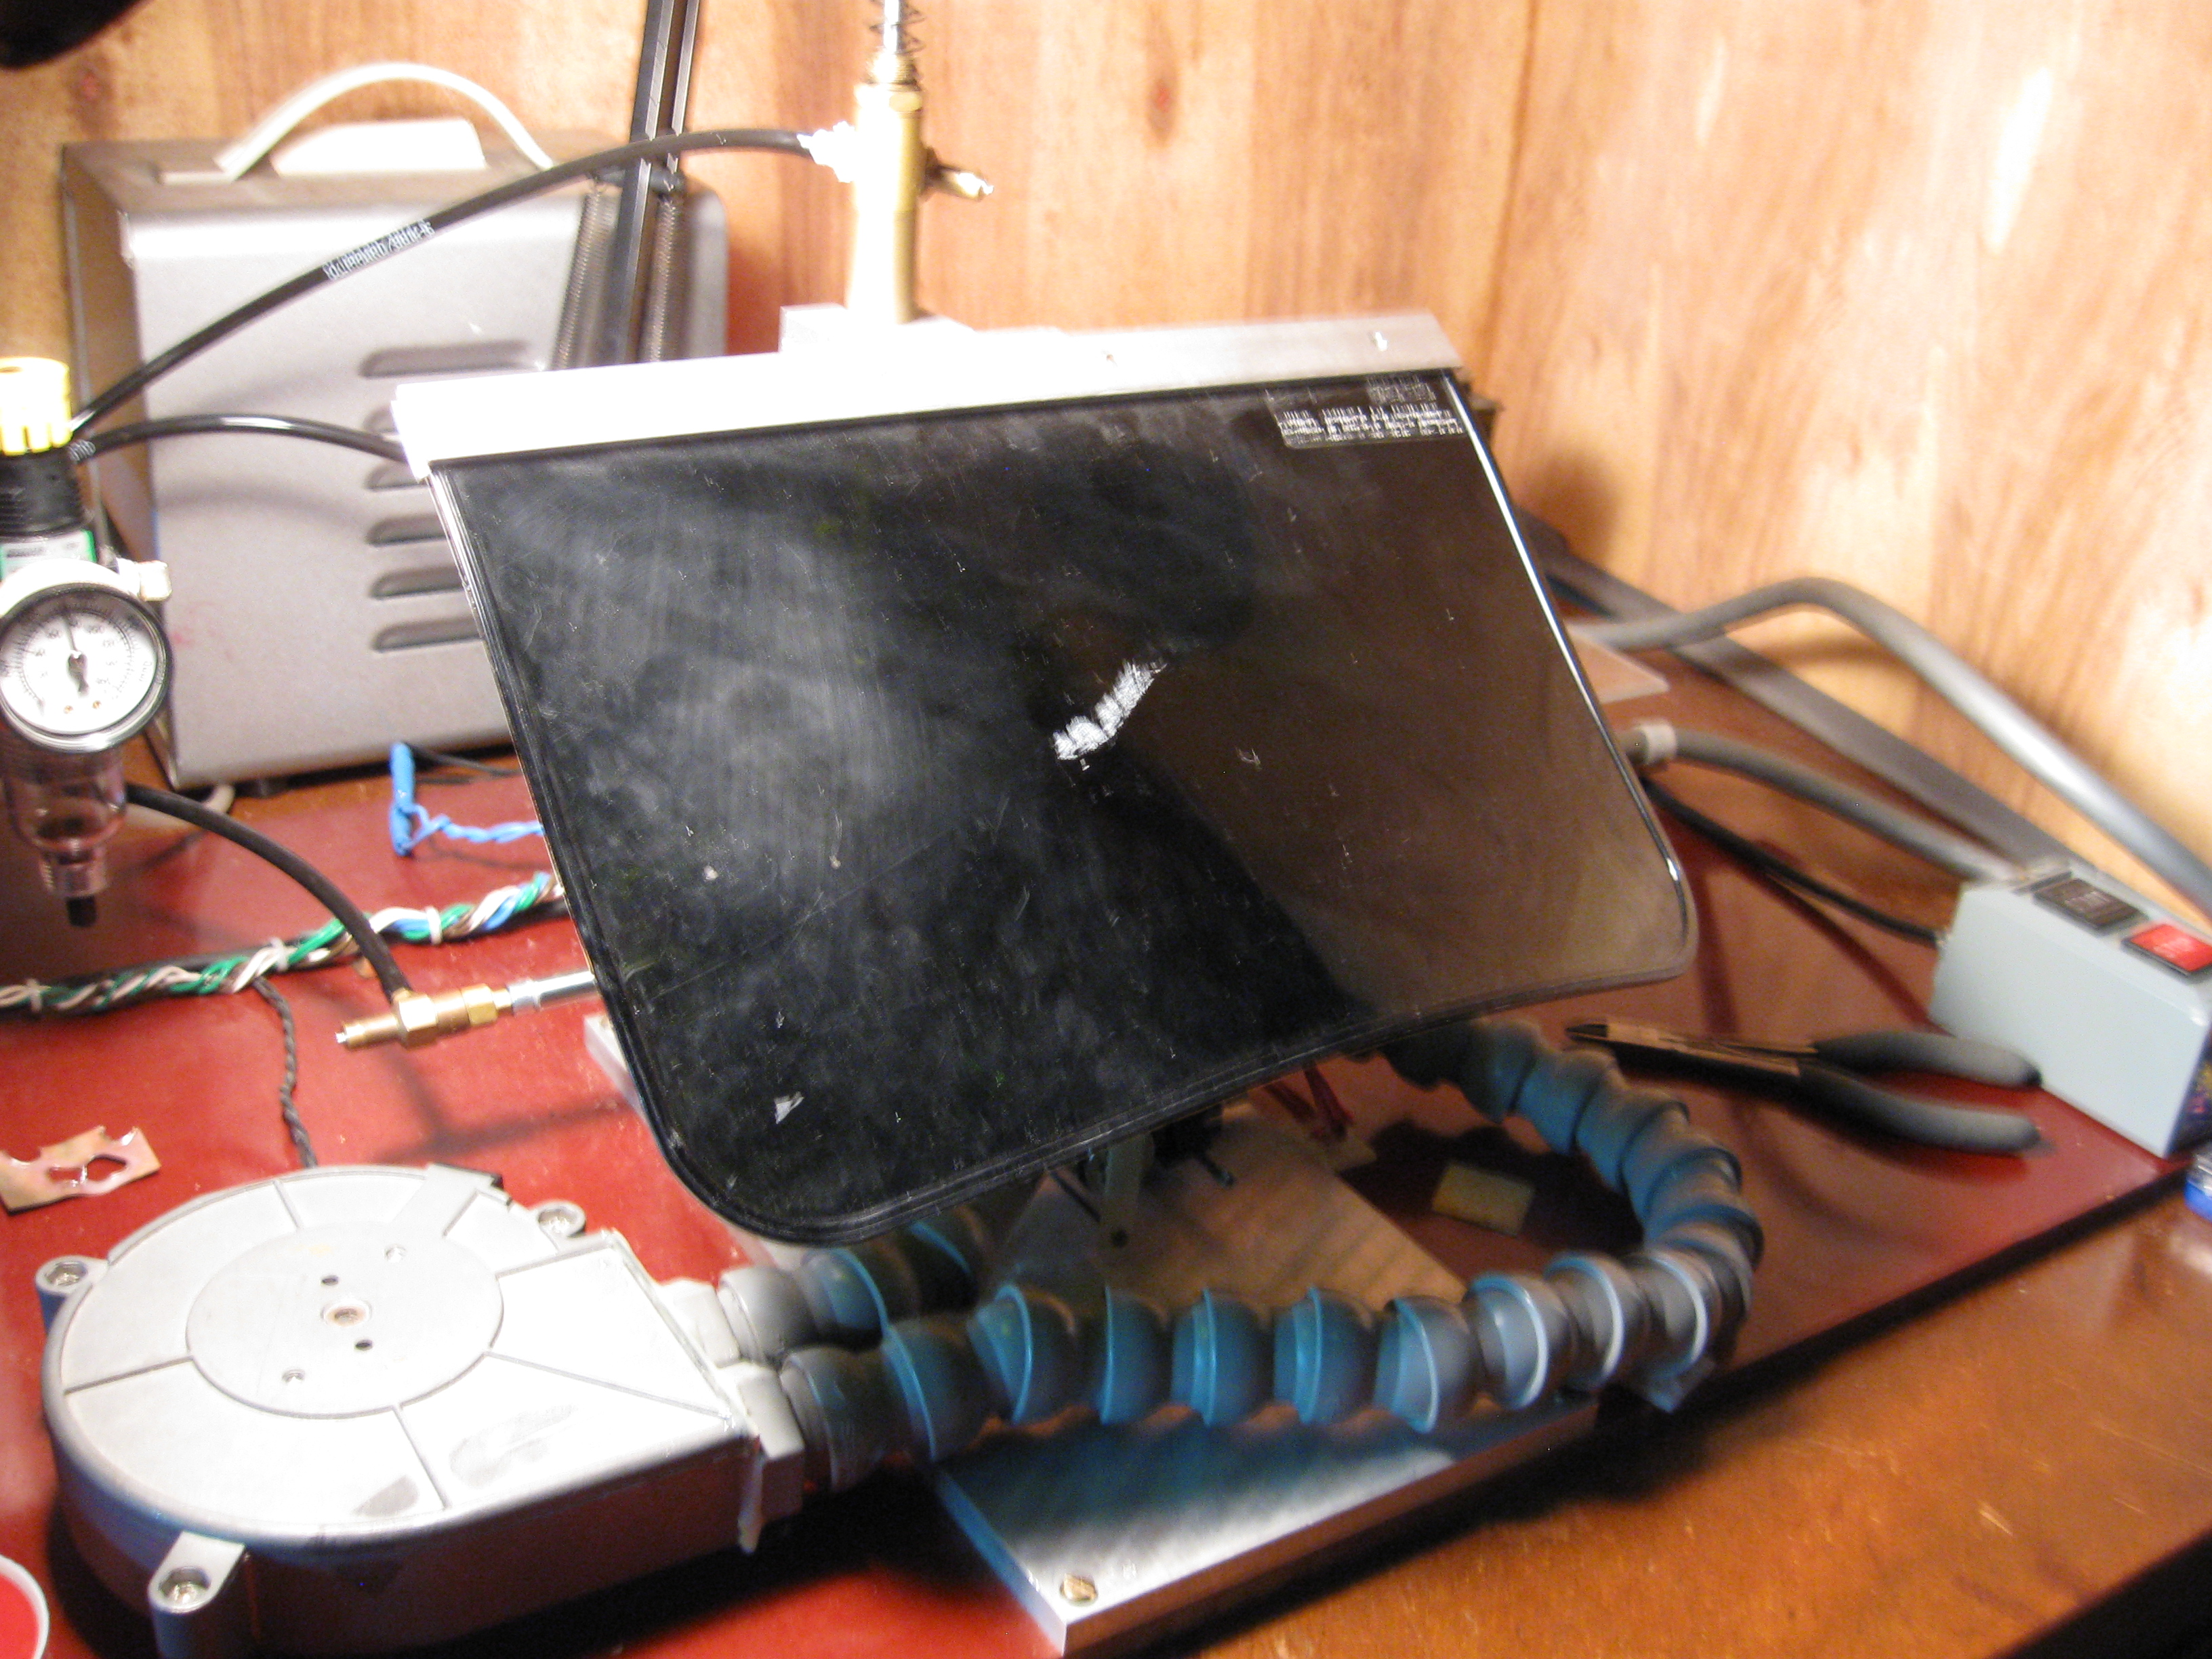
| 21:14, 13 January 2014 | Splicing screen lowered.JPG (file) |  |
3.3 MB | The eye protective screen in the lowered position. | 1 |
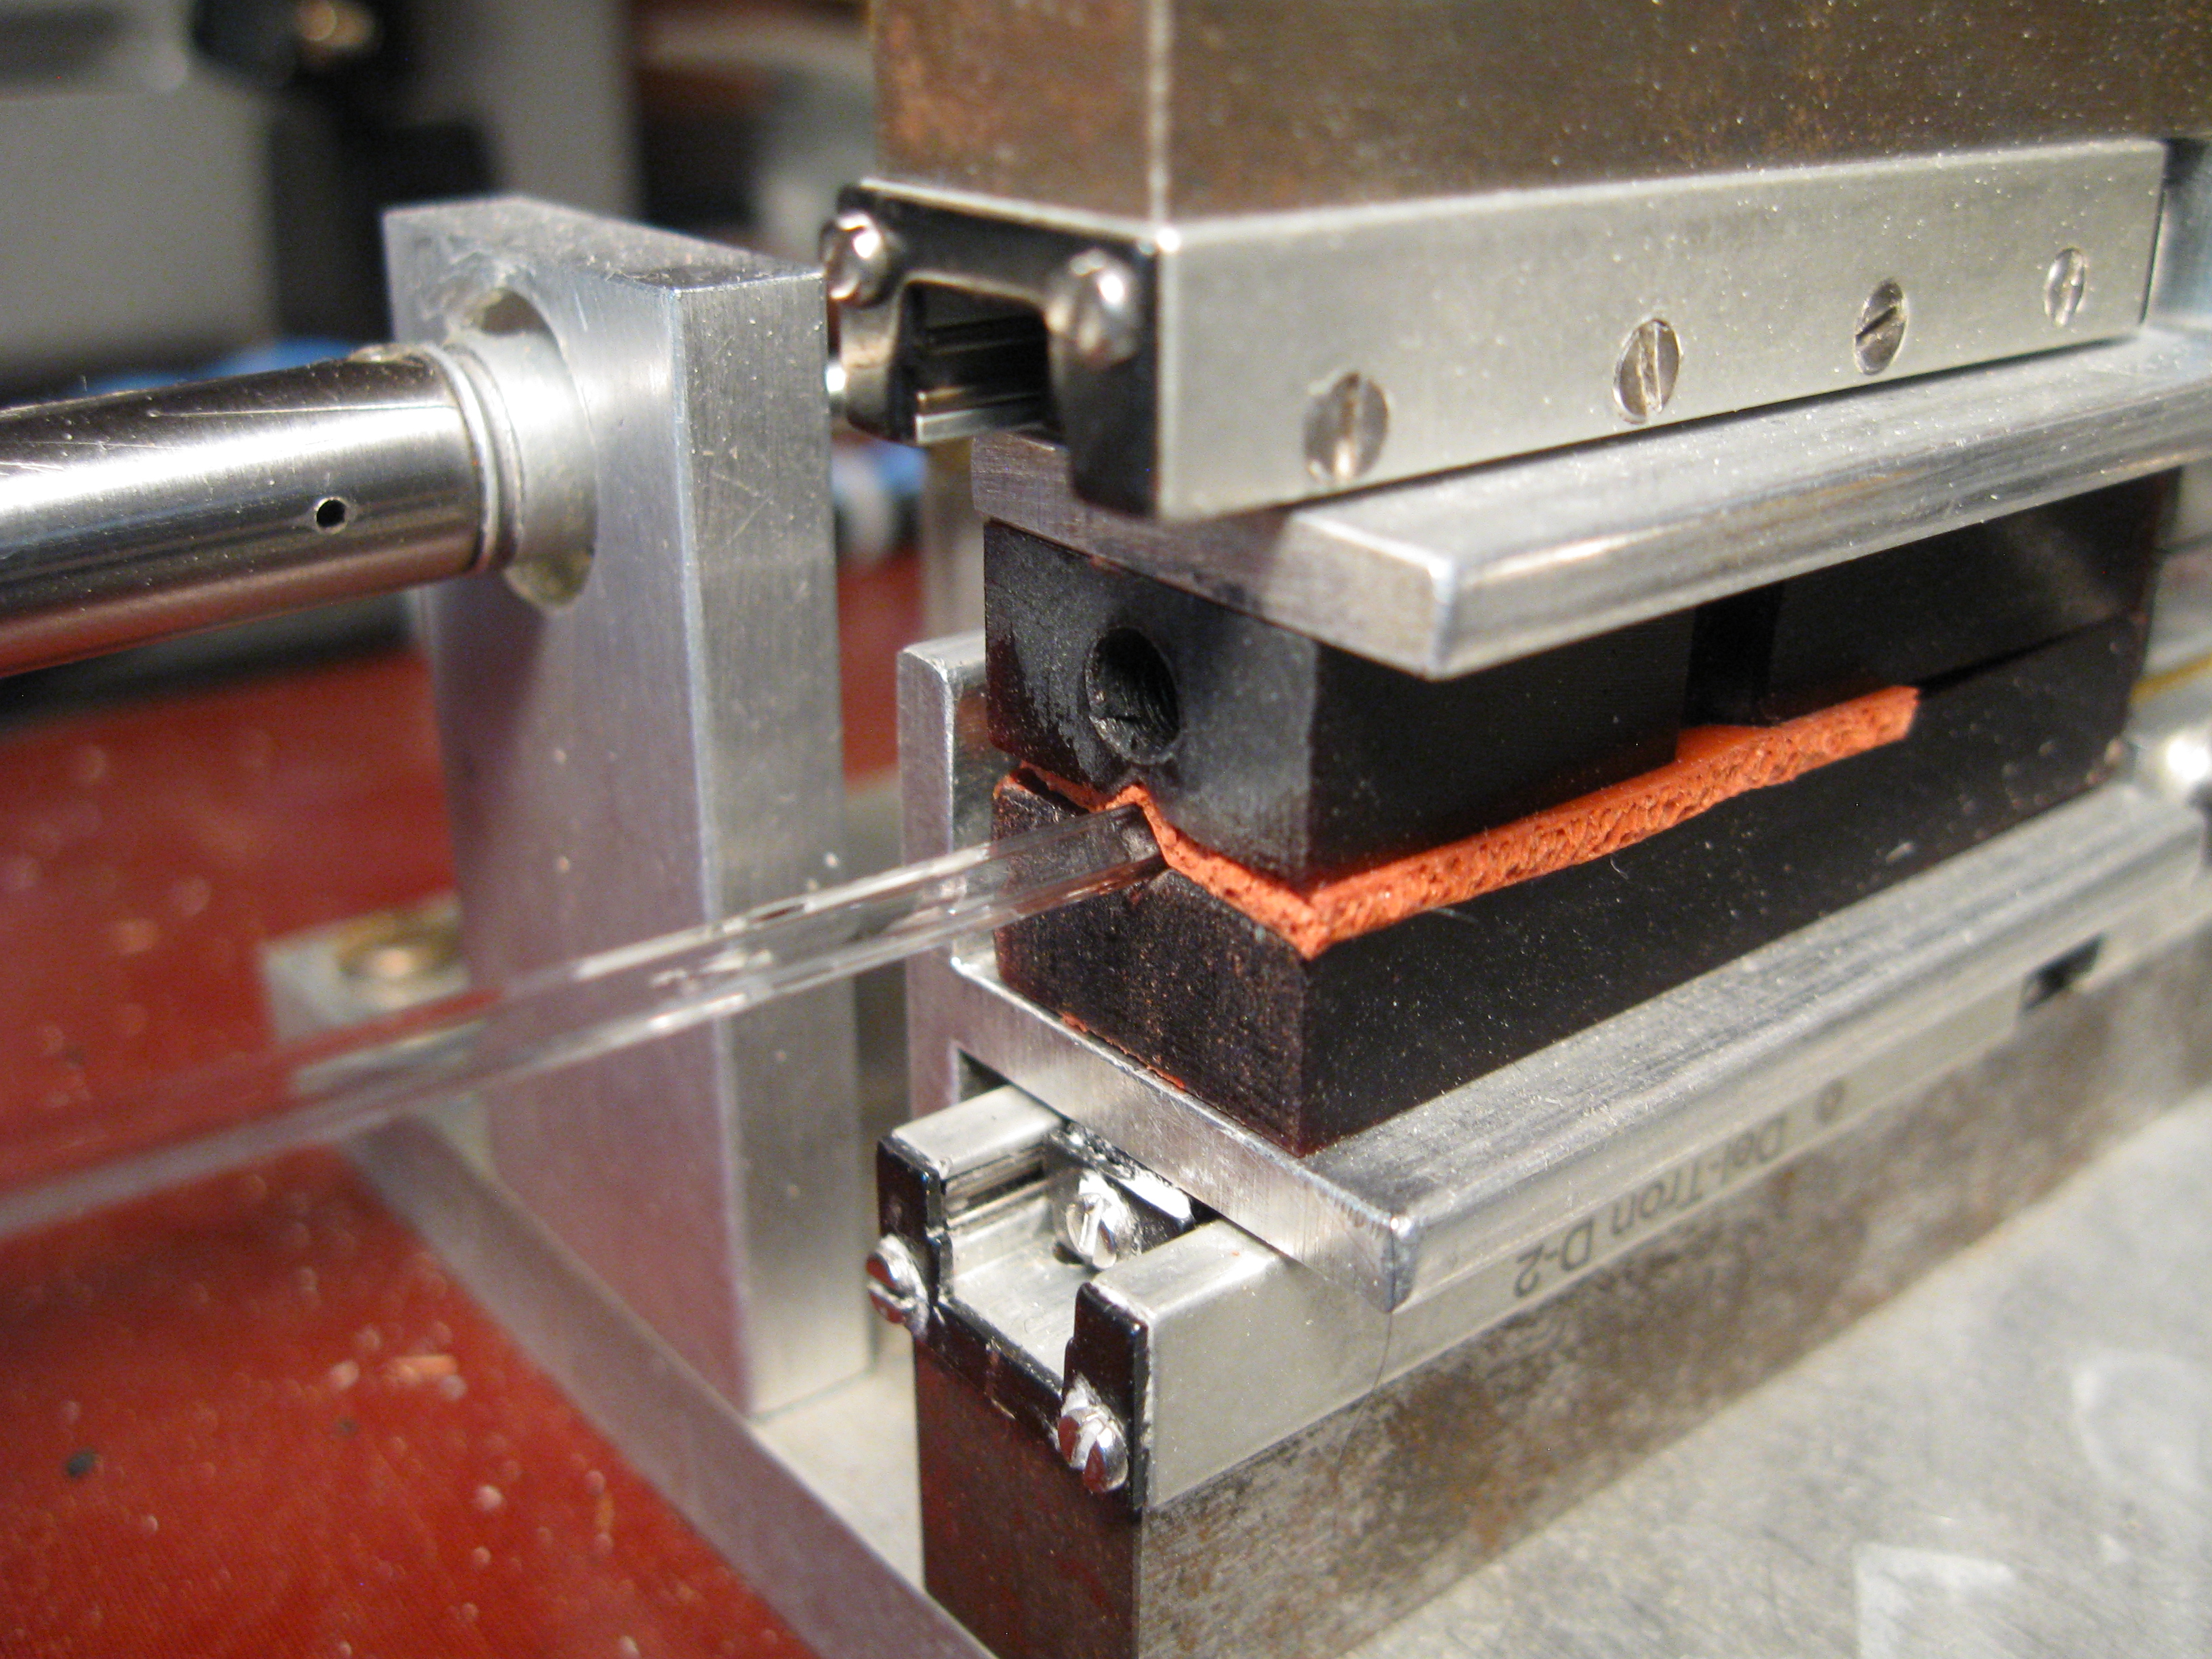
| 21:09, 13 January 2014 | Splicing gasket clamp check.JPG (file) |  |
3.59 MB | The solid clamp you should check for when activating the clamp. | 1 |
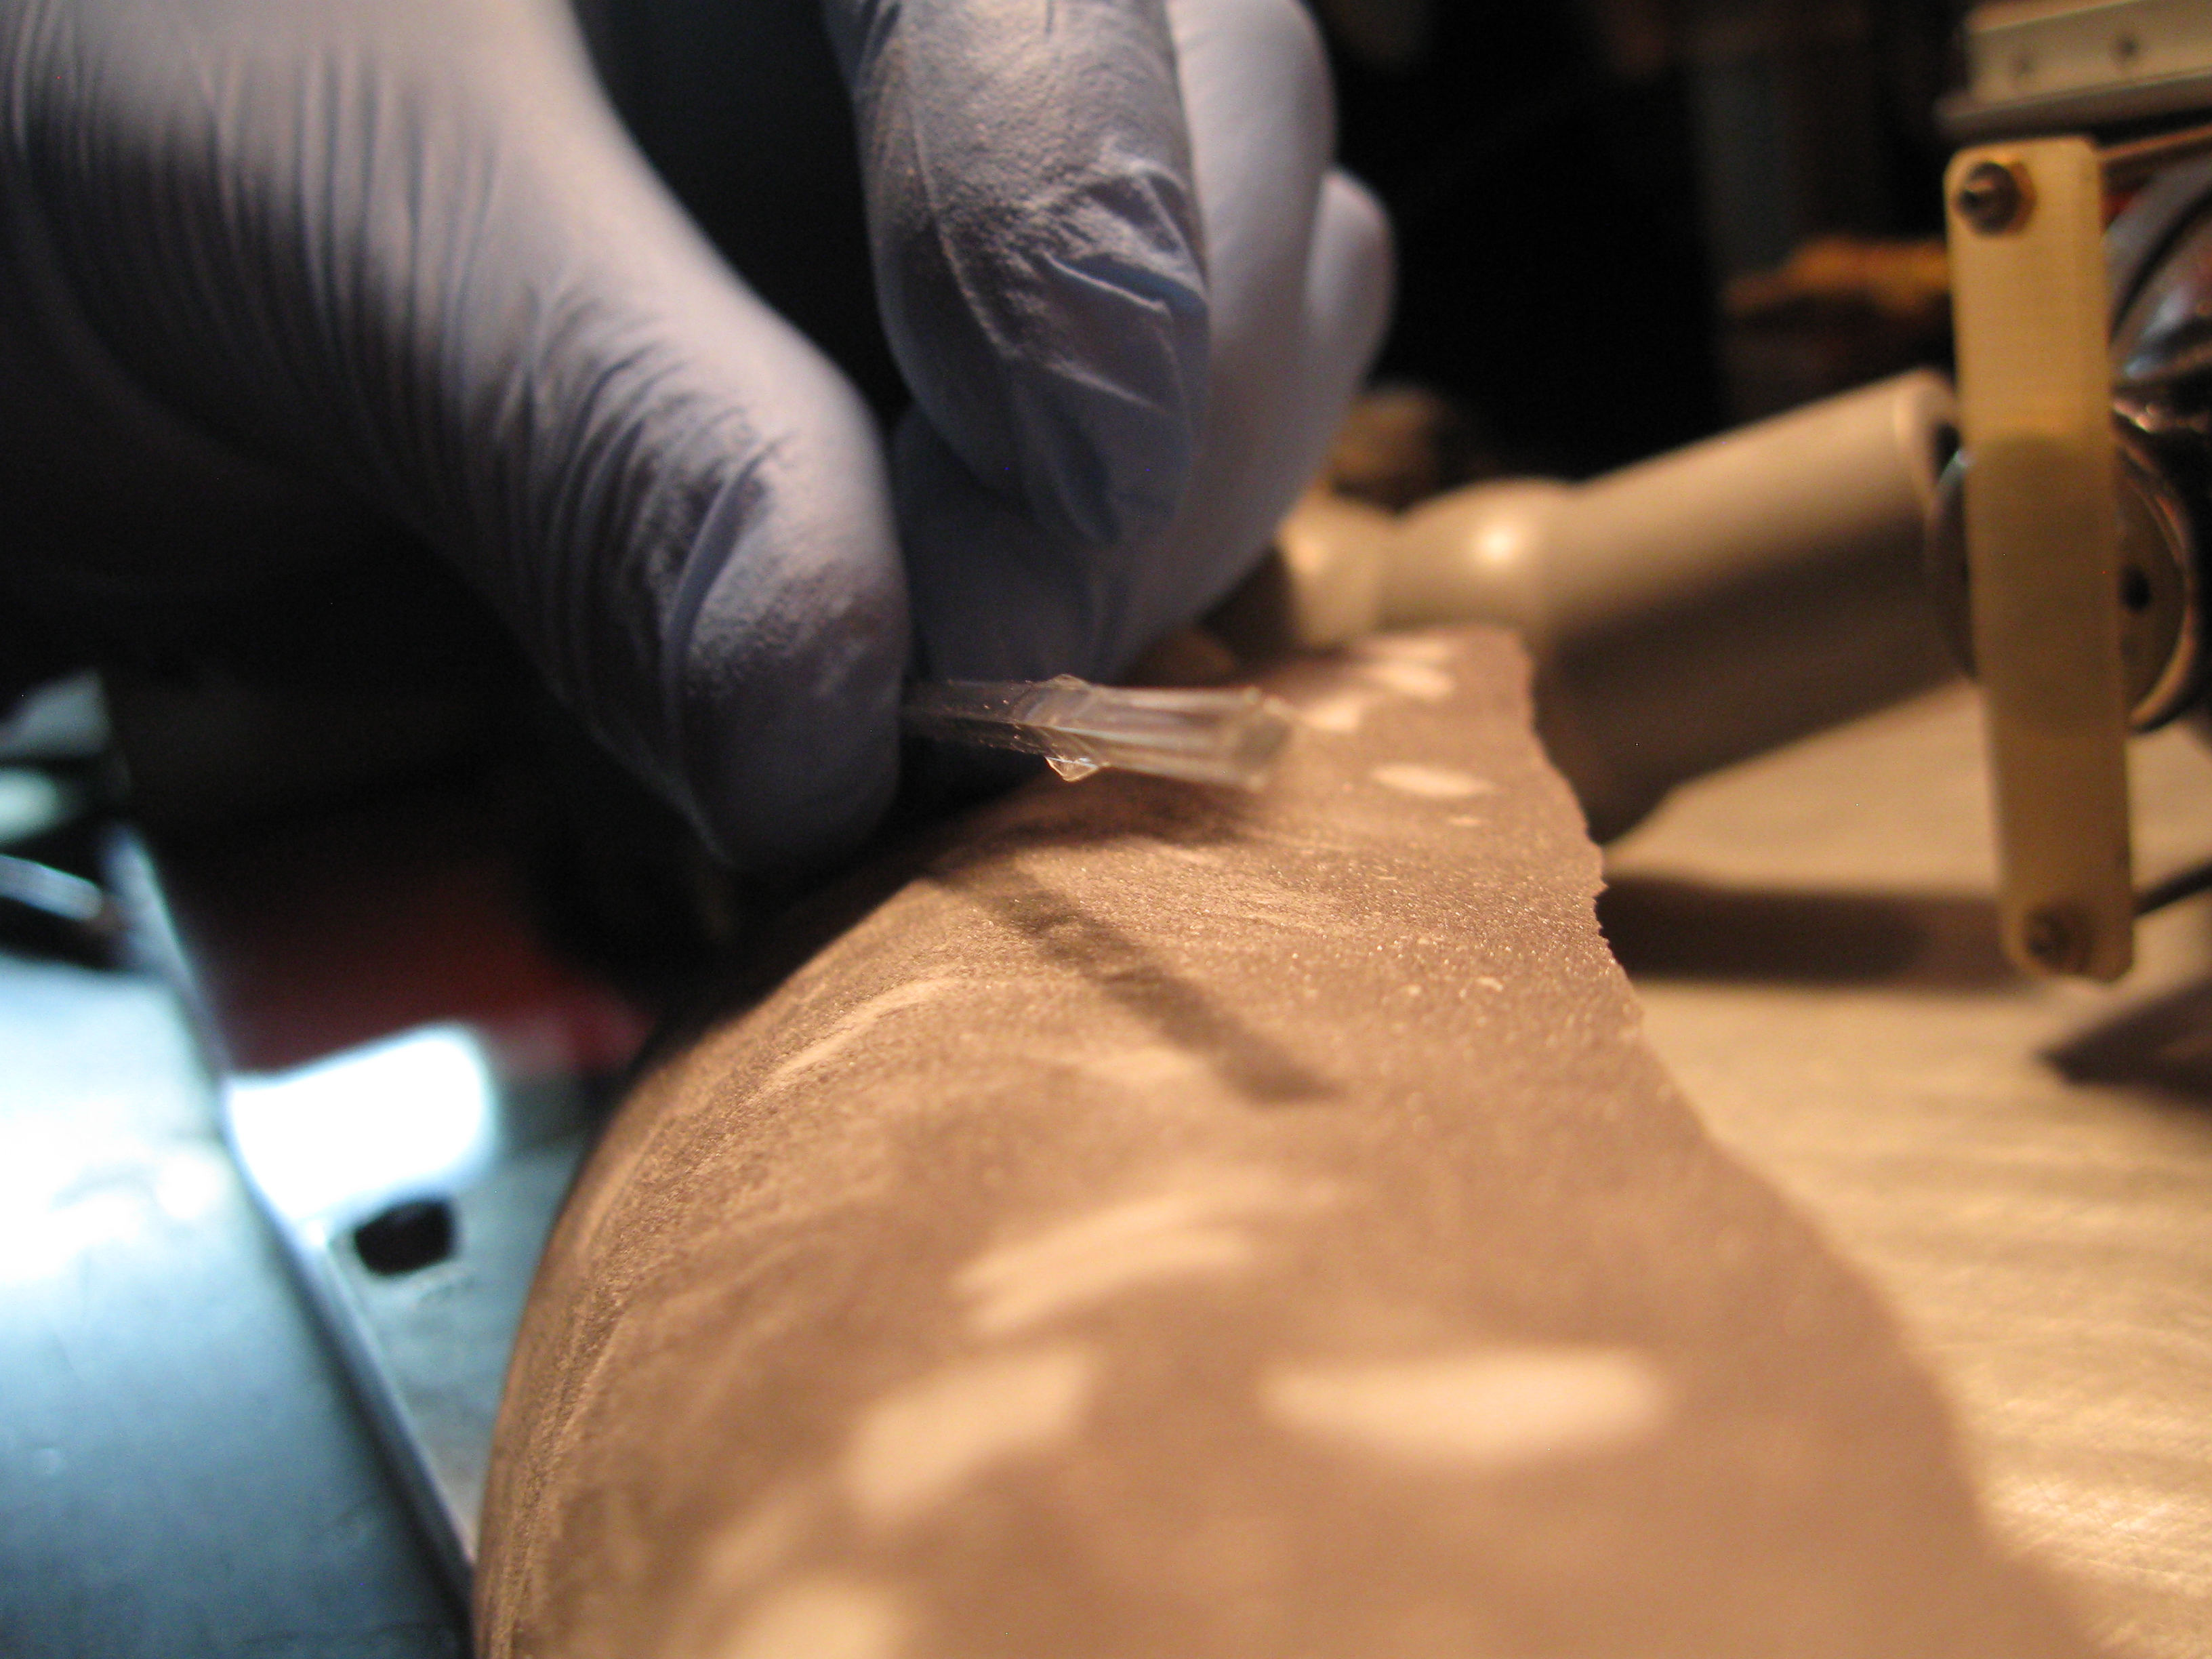
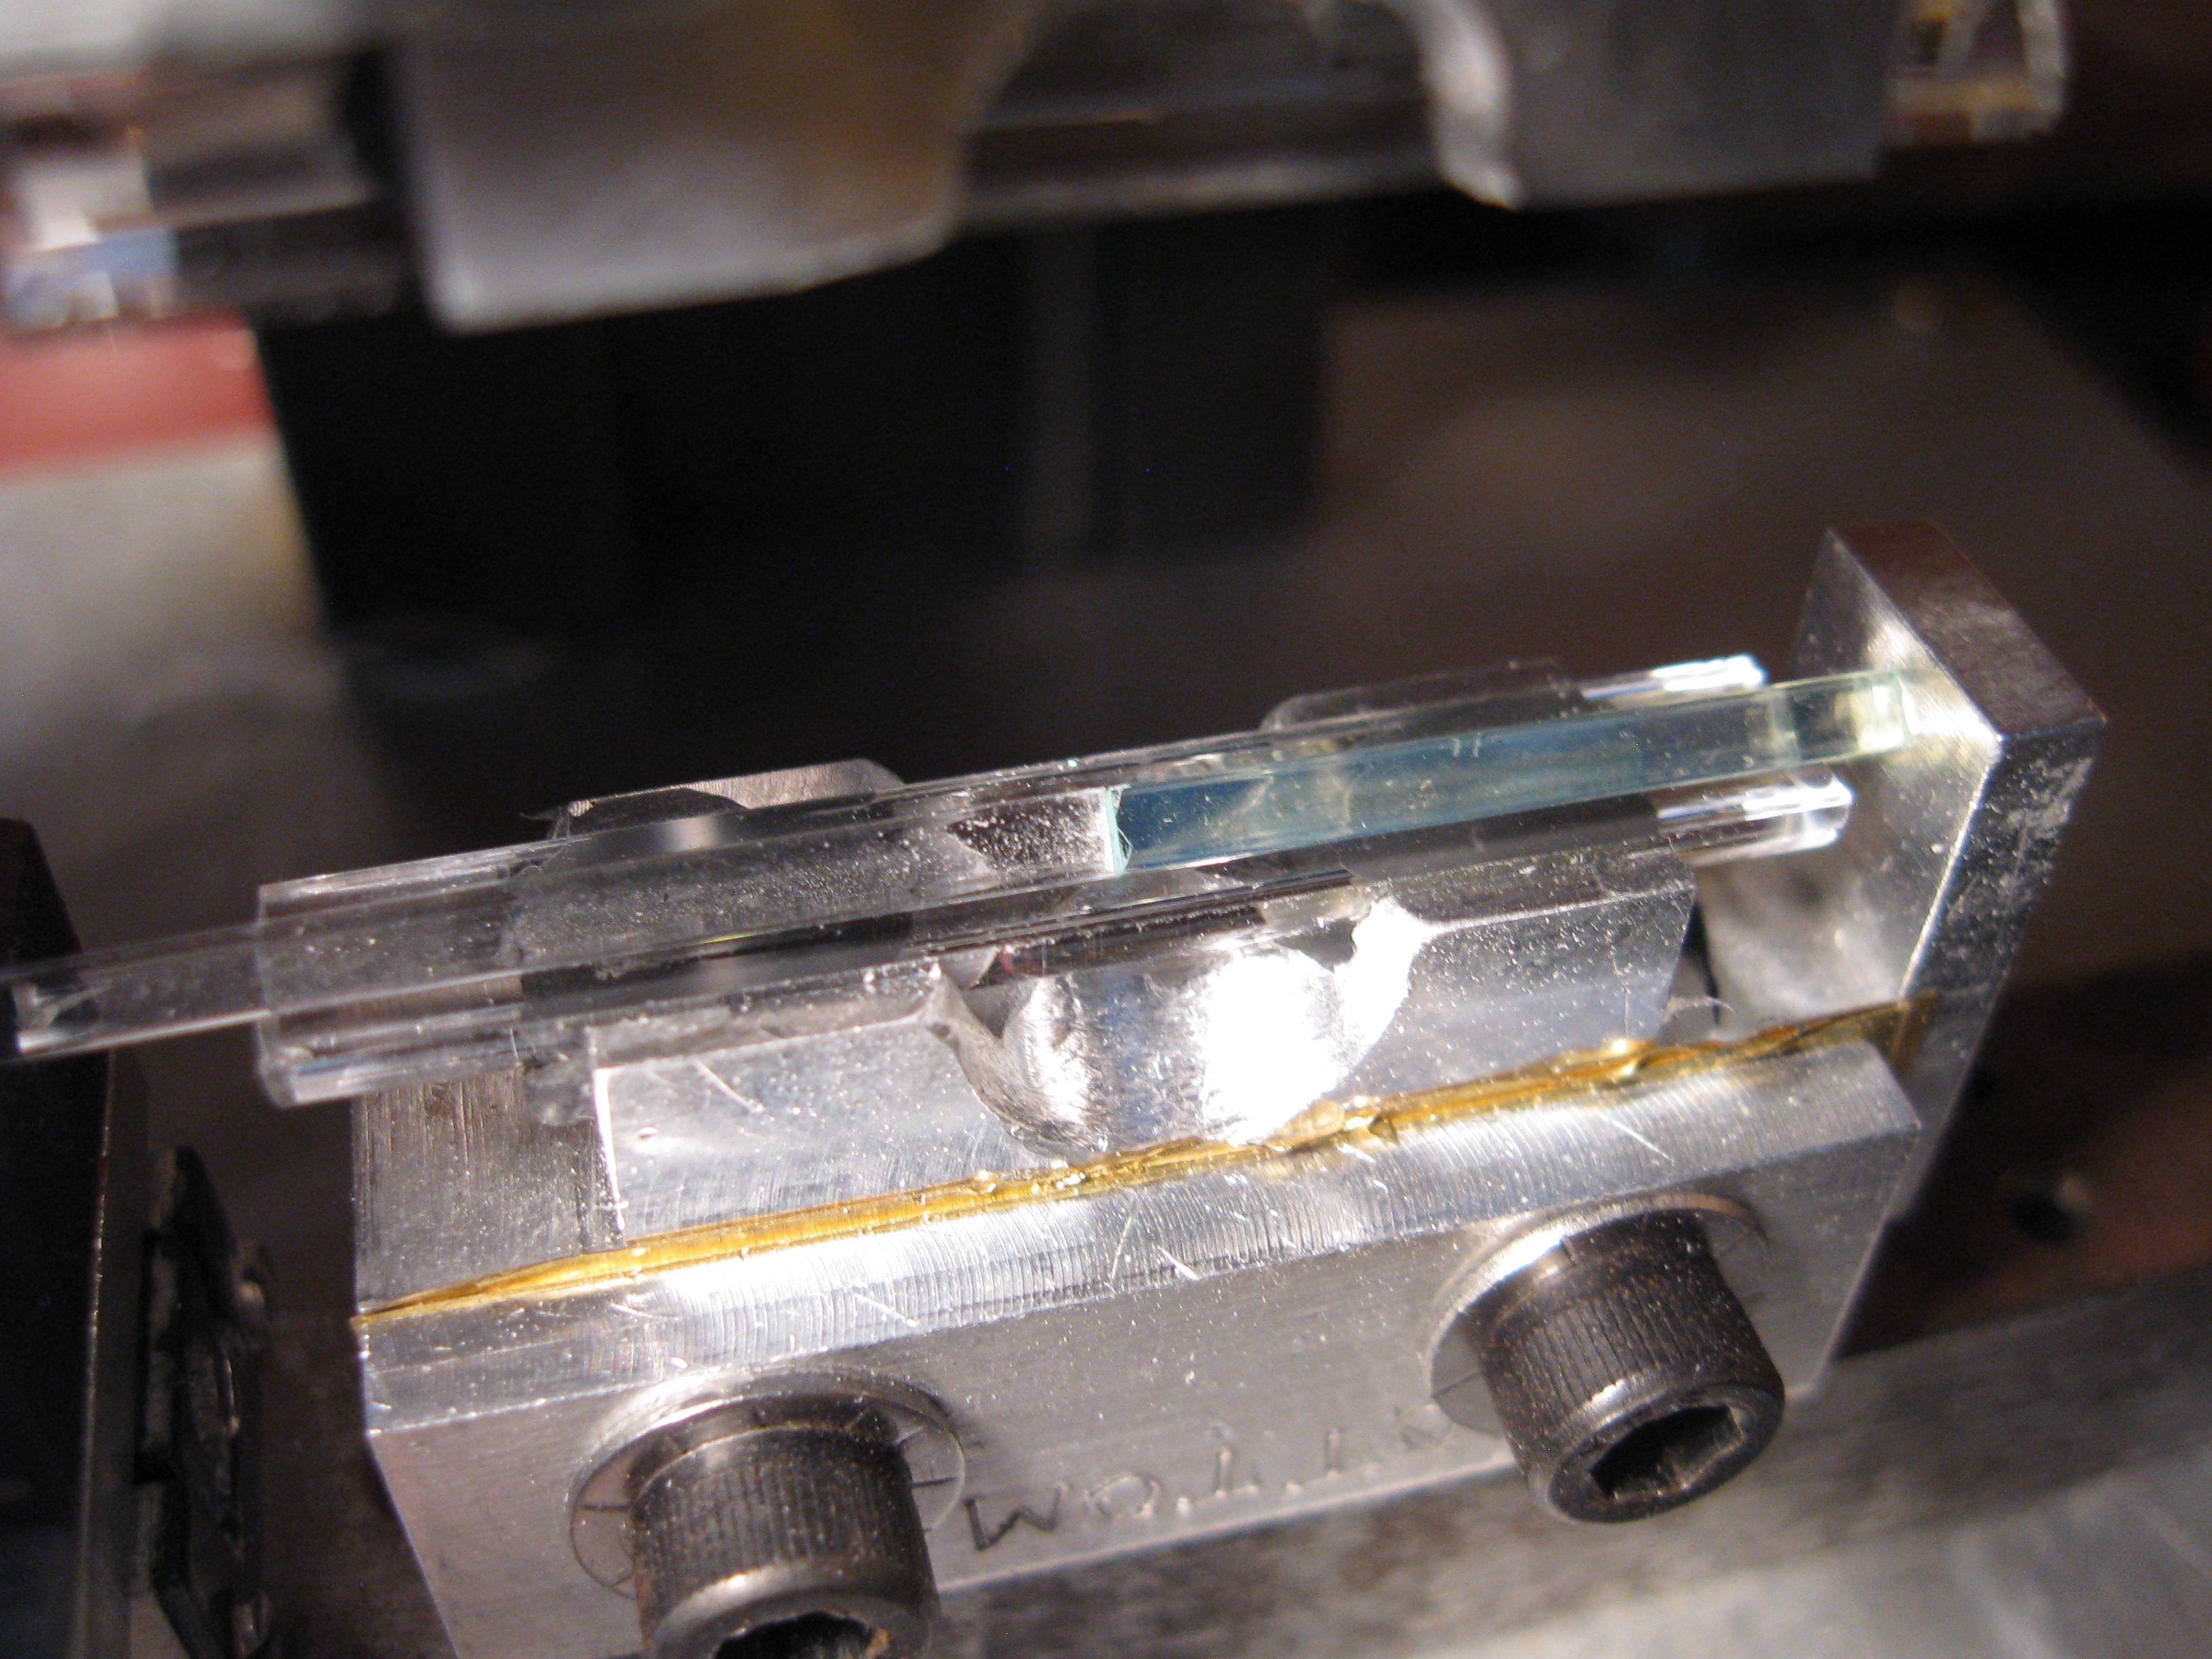
| 21:06, 13 January 2014 | Splicing lightguide pressing.JPG (file) |  |
2.8 MB | A picture showing how to push the lightguide into place in the splicing unit. | 1 |
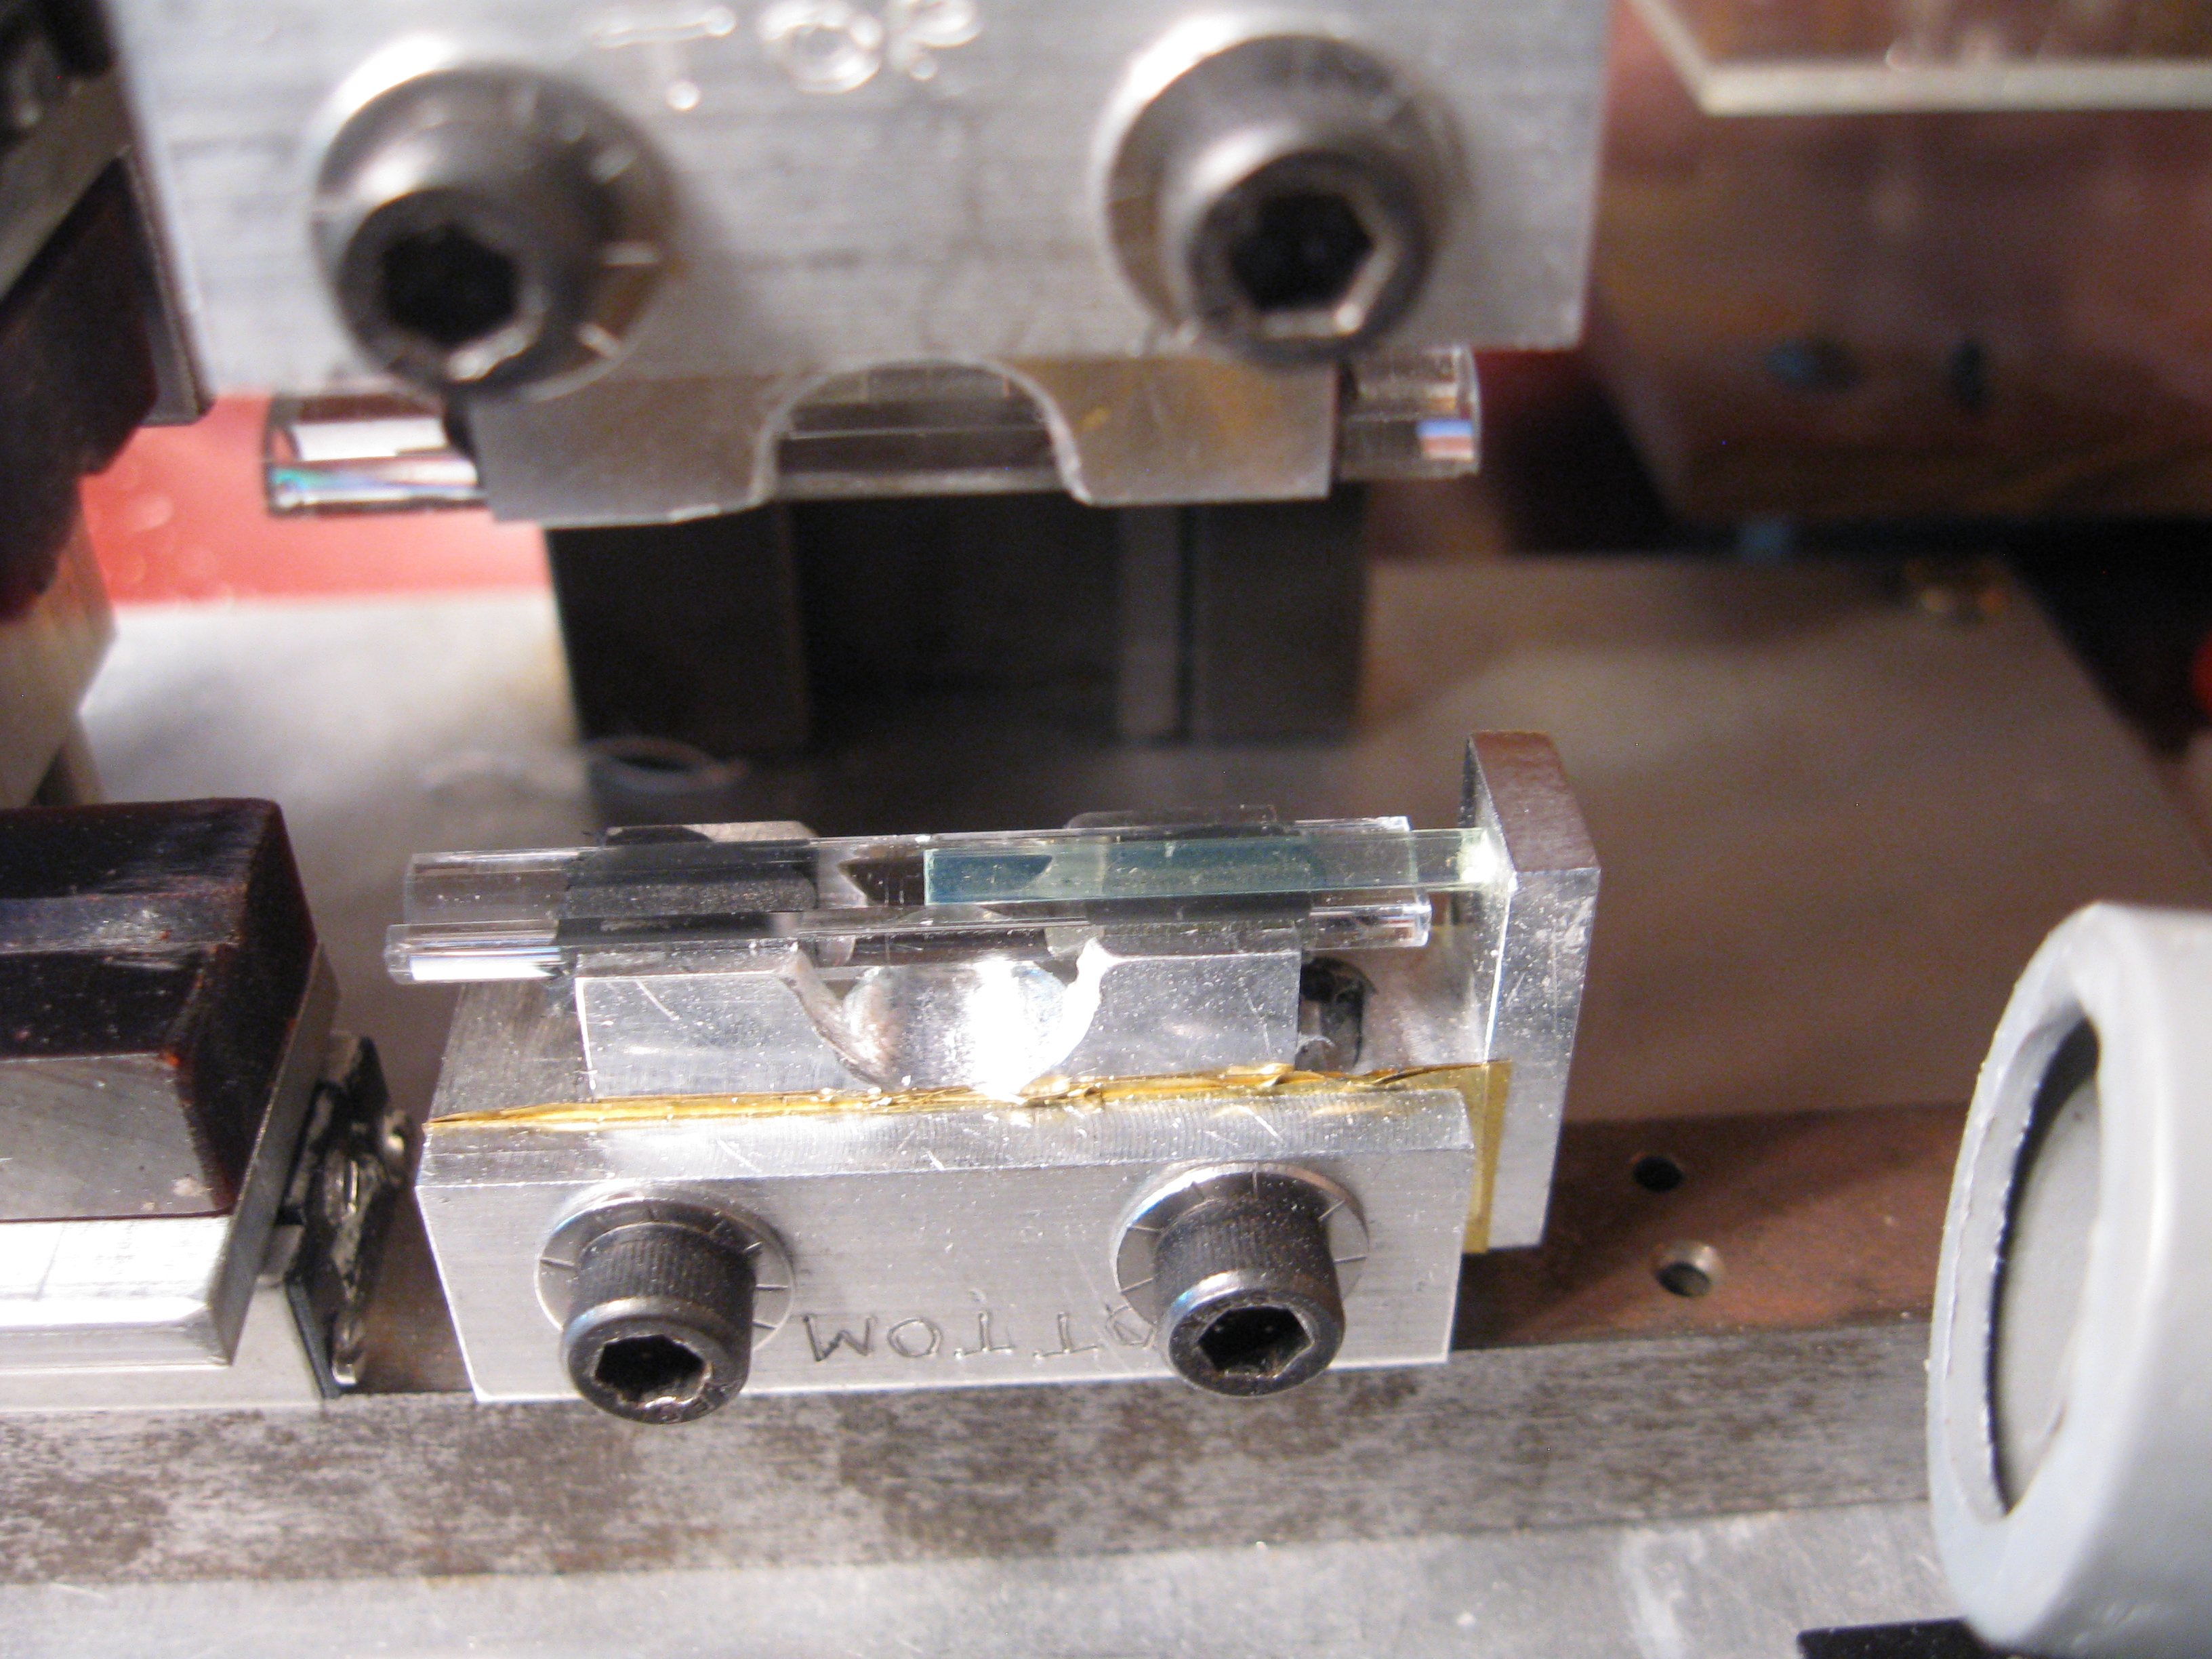
| 21:04, 13 January 2014 | Splicing lightguide added front.JPG (file) |  |
3.4 MB | A front view of the lightguide being placed in the splicing unit. | 1 |
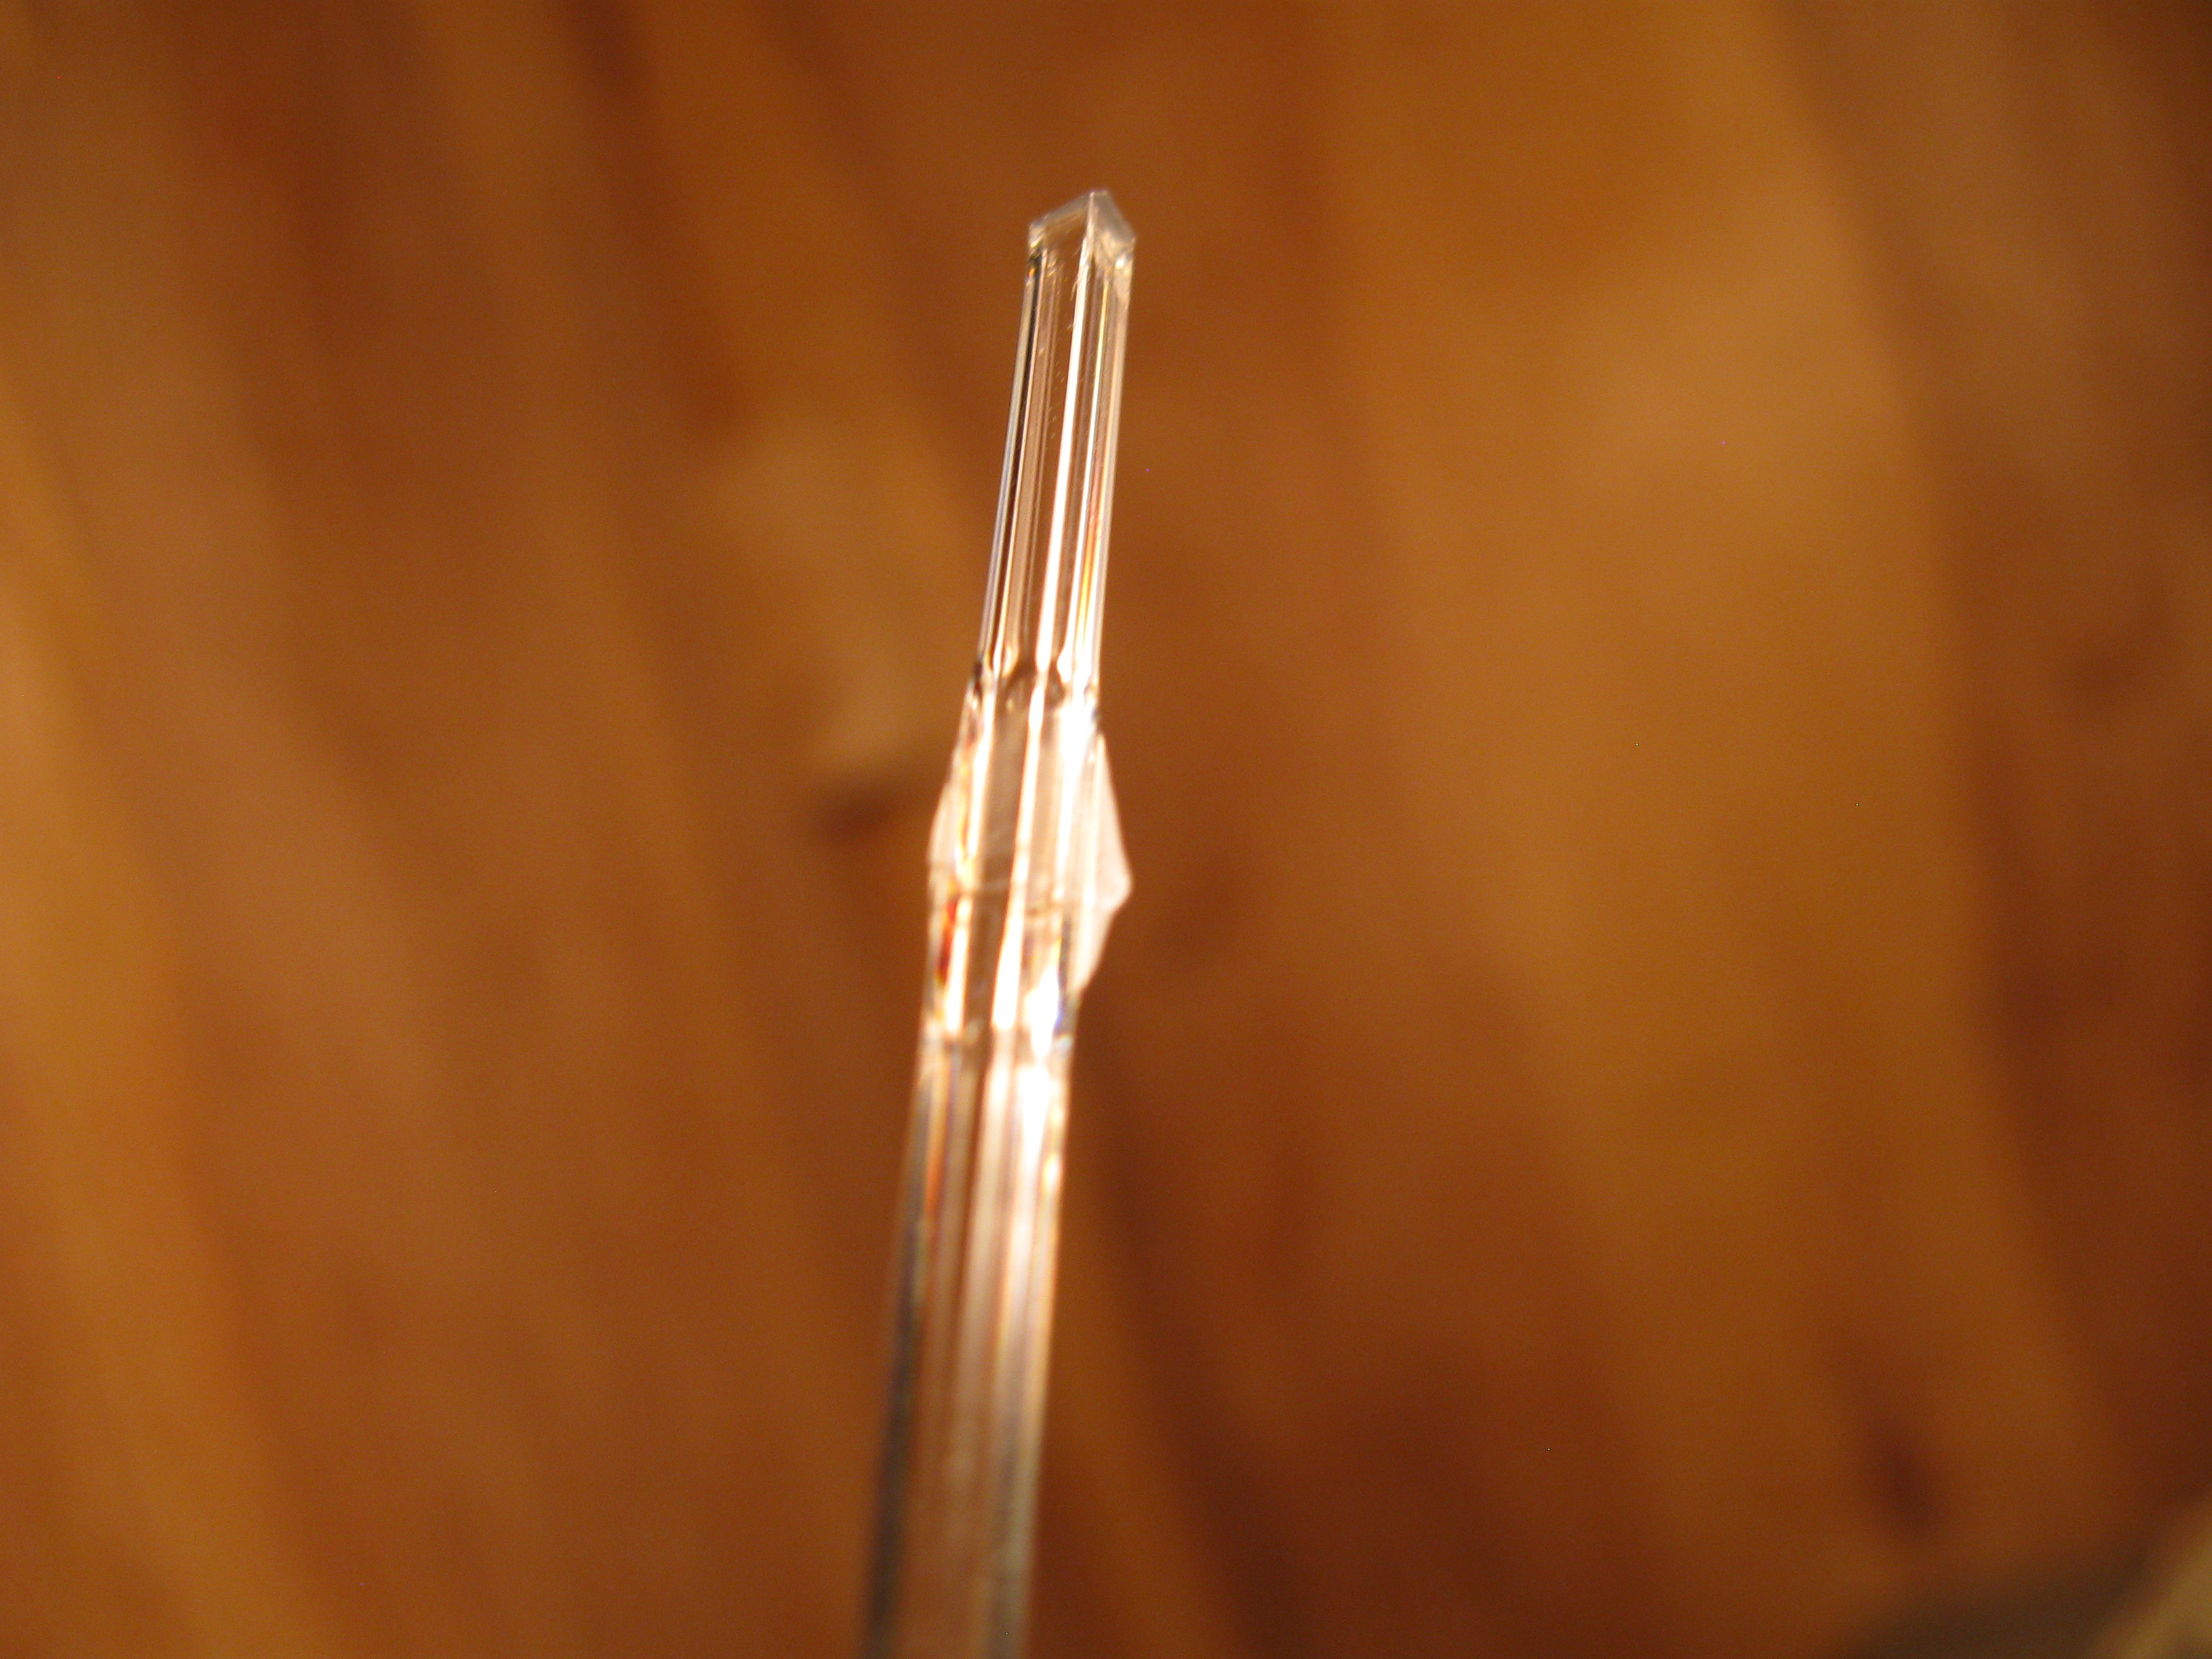
| 21:00, 13 January 2014 | Splicing scifi front view.JPG (file) |  |
3.42 MB | A frontal view showing where the end of the scifi should rest in the splicing unit. | 1 |
| 20:58, 13 January 2014 | Splicing scifi side view.JPG (file) |  |
2.66 MB | A corner view showing the scifi sitting in the splicing unit. | 1 |
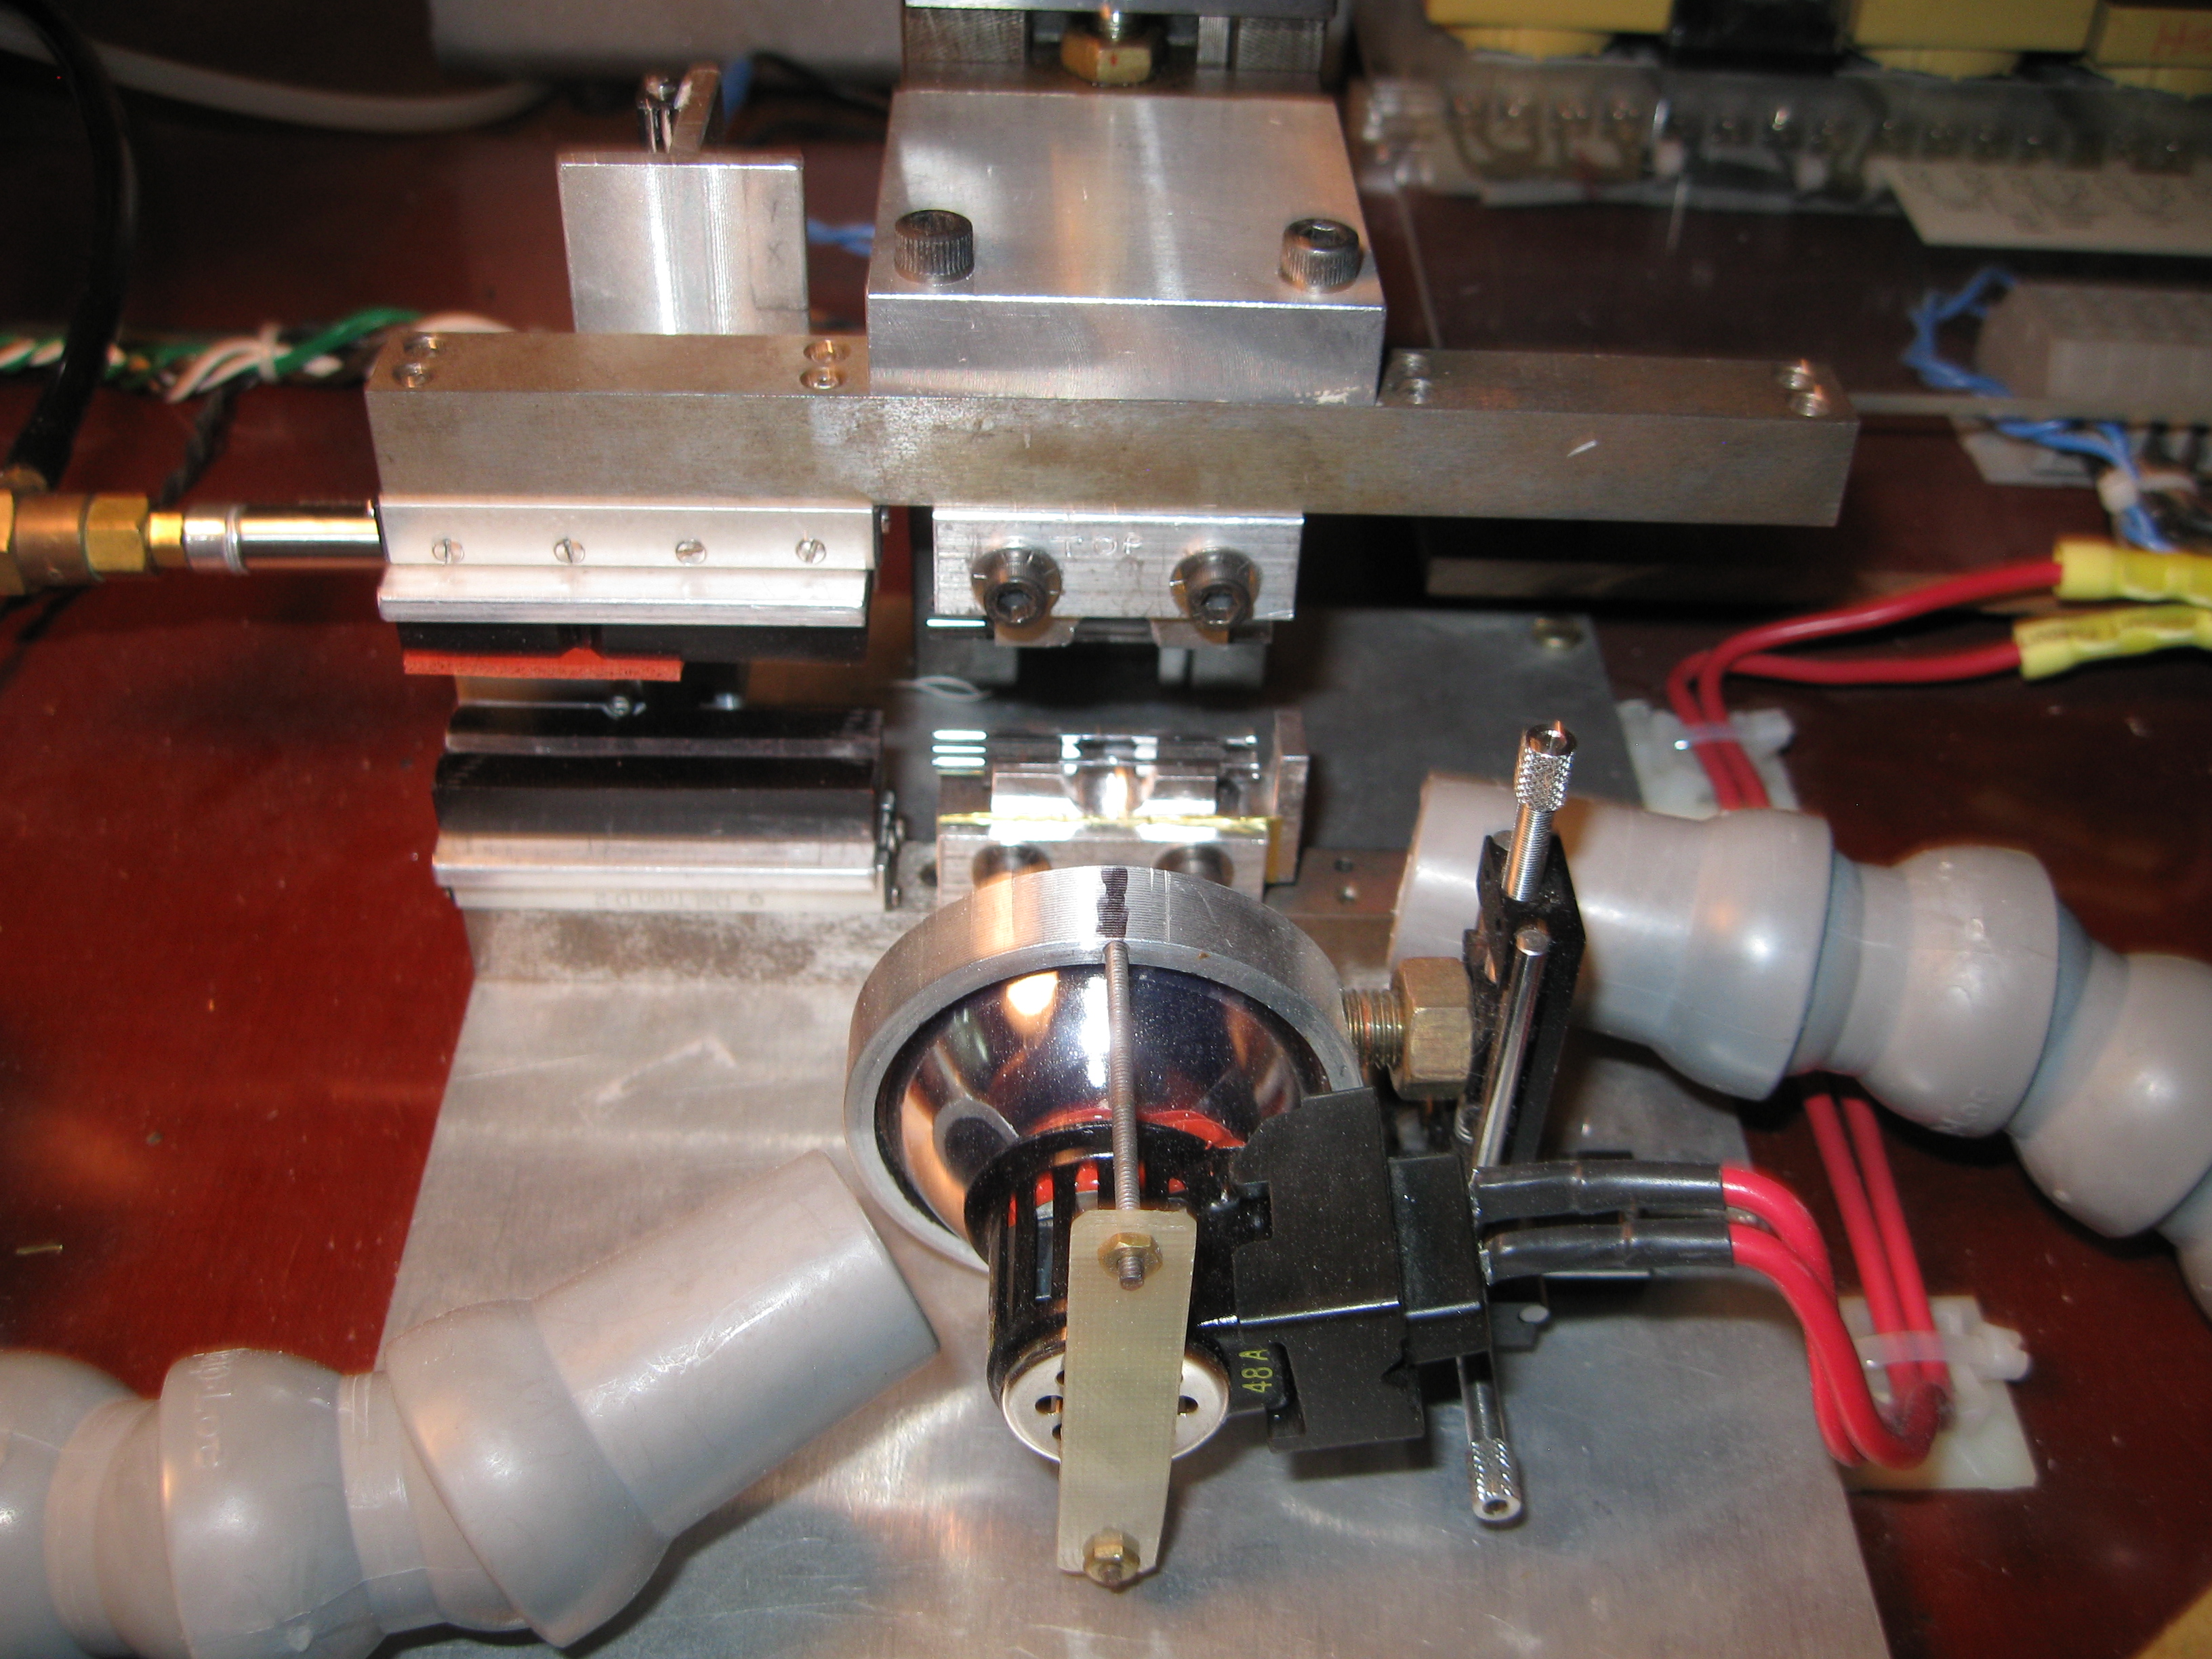
| 20:54, 13 January 2014 | Splicing pressure gauges.JPG (file) |  |
3.5 MB | The pressure gauges for the vertical and horizontal pressures in the splicing unit. | 1 |
| 20:51, 13 January 2014 | Splicing gasket clamp horizontal.JPG (file) |  |
3.42 MB | The gasket clamp should also be able to slide to the right as shown. | 1 |
| 20:49, 13 January 2014 | Splicing gasket clamp vertical.JPG (file) |  |
3.37 MB | The gasket clamp should be able to lower on its rail without much resistance. | 1 |
| 20:47, 13 January 2014 | Splicing gasket clamp.JPG (file) |  |
3.35 MB | The gasket clamp which grips the lightguide during fusing. | 1 |
| 20:45, 13 January 2014 | Splicing ferrules.JPG (file) |  |
2.72 MB | The glass ferrules which hold the fibers to be spliced. | 1 |
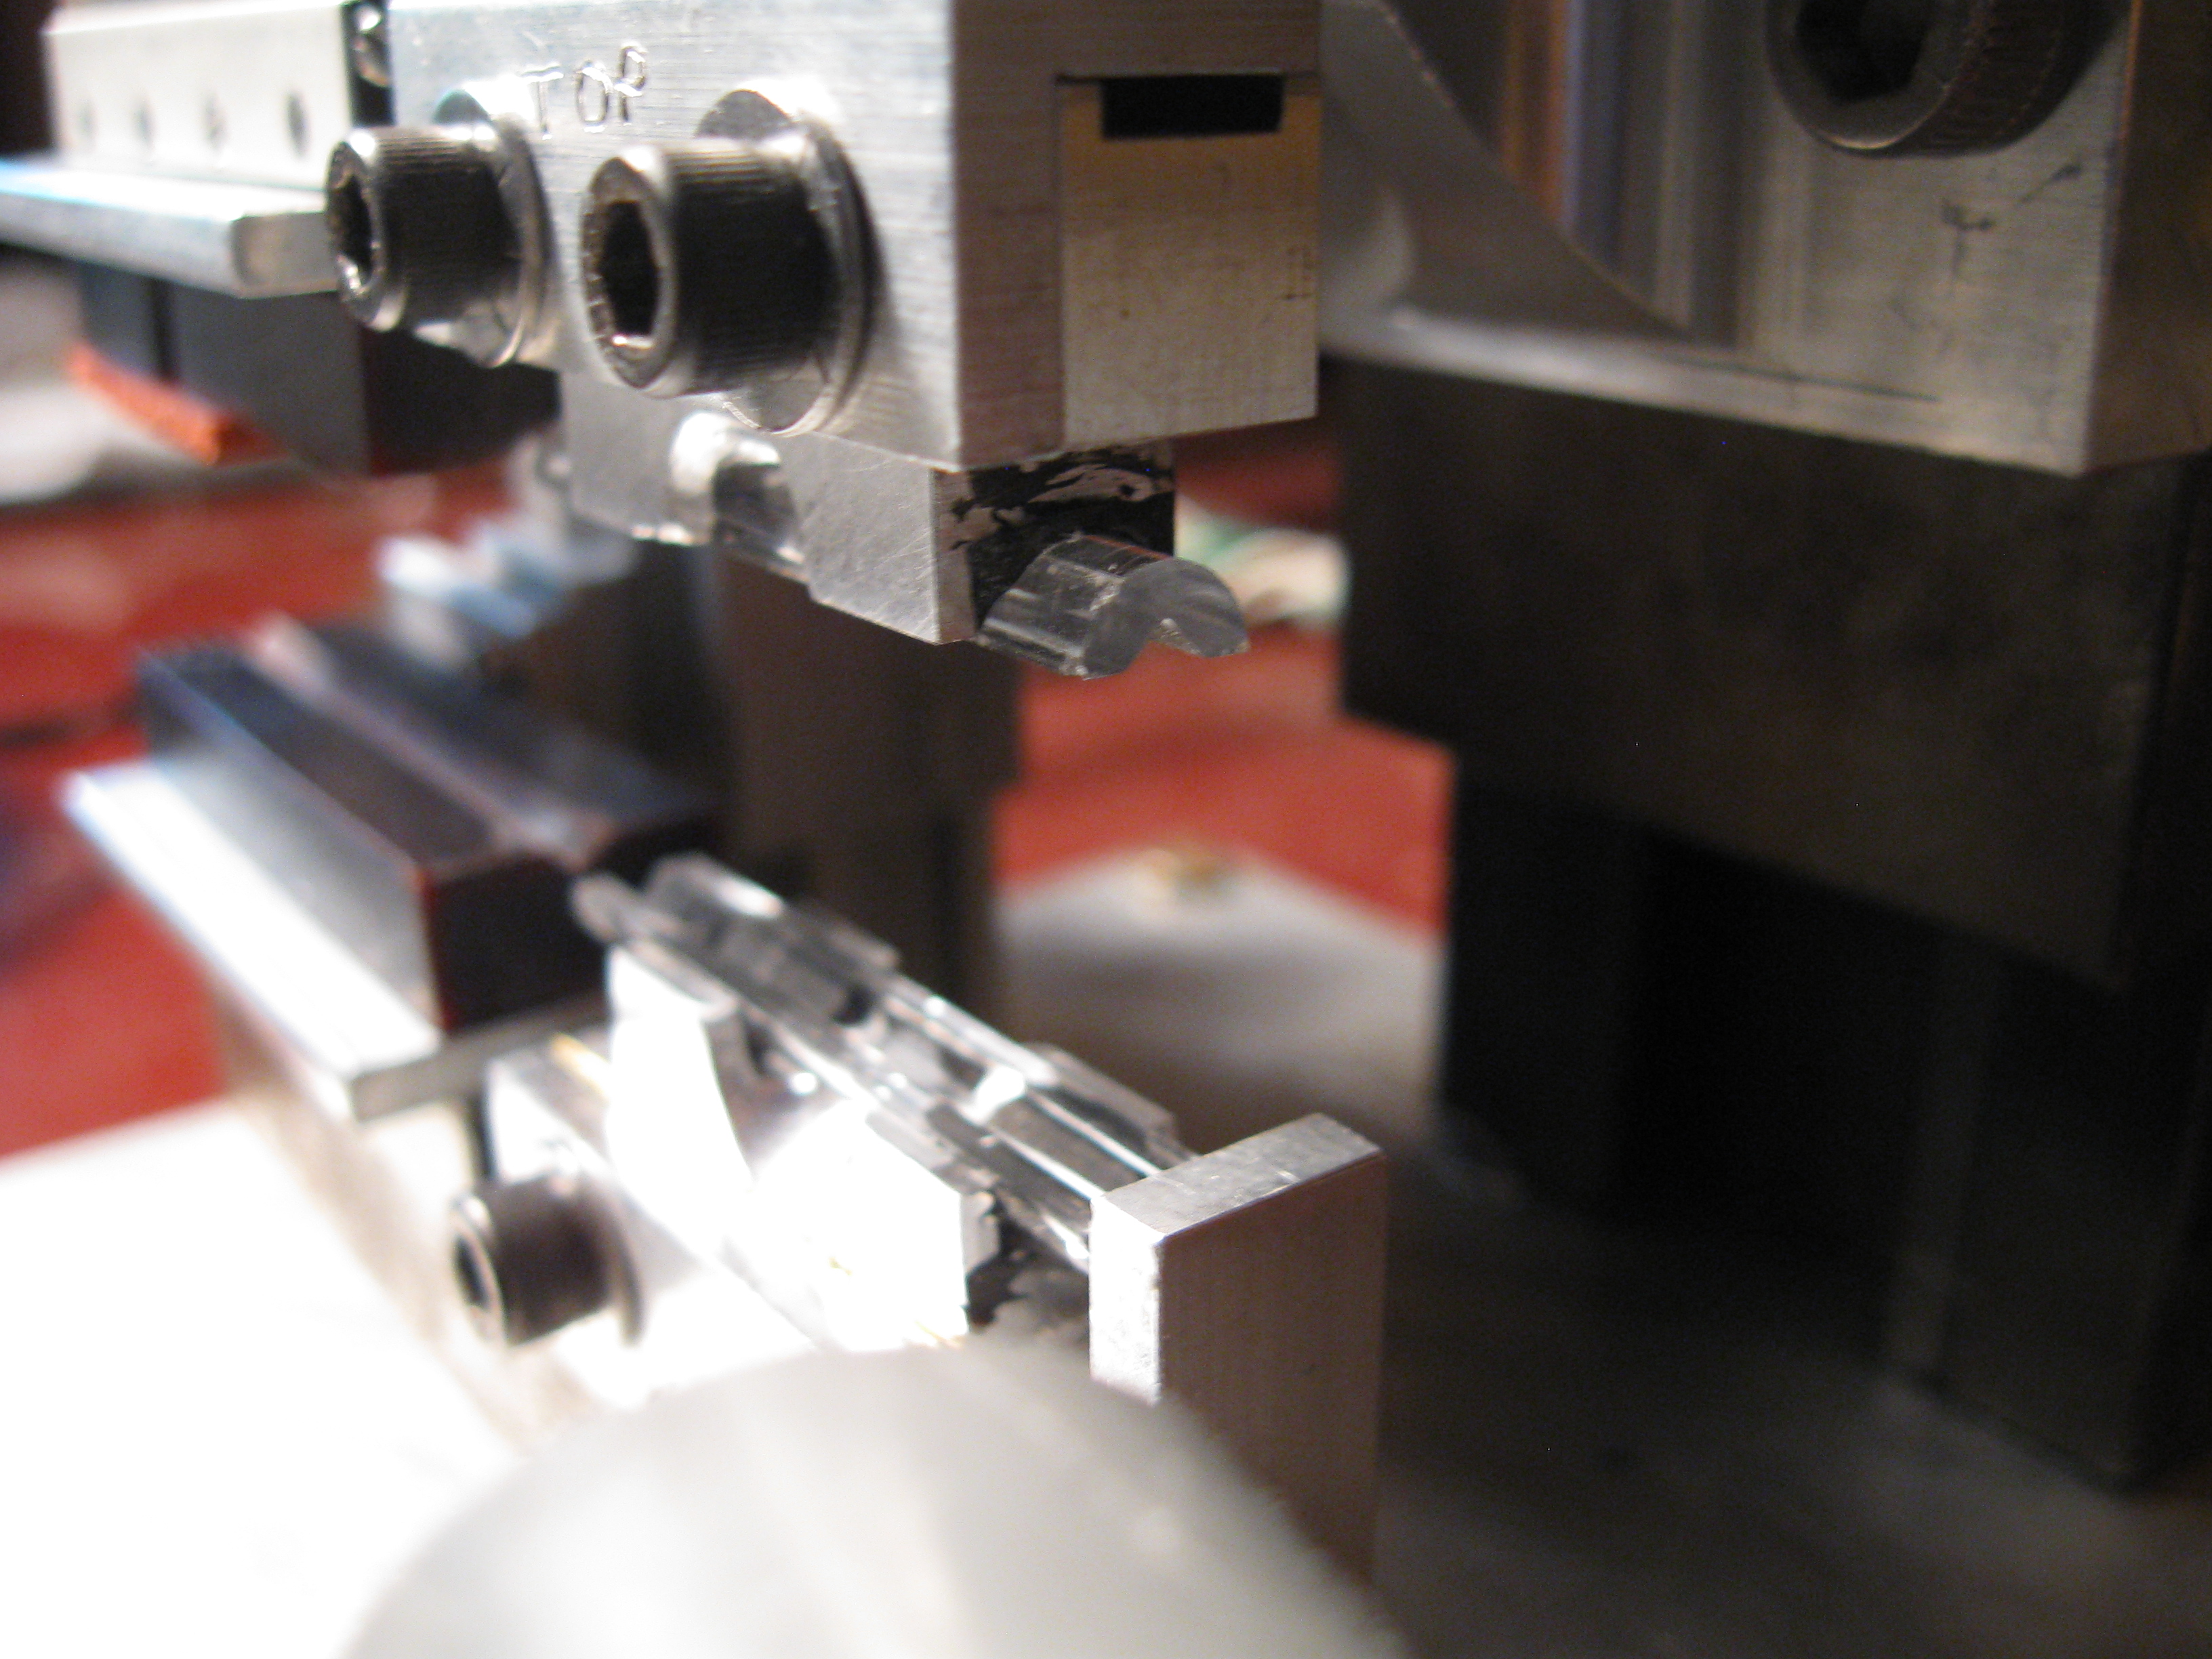
| 20:43, 13 January 2014 | Splicing junction overview.JPG (file) |  |
2.95 MB | The clamp which holds the fibers together for splicing, in its open state. | 1 |
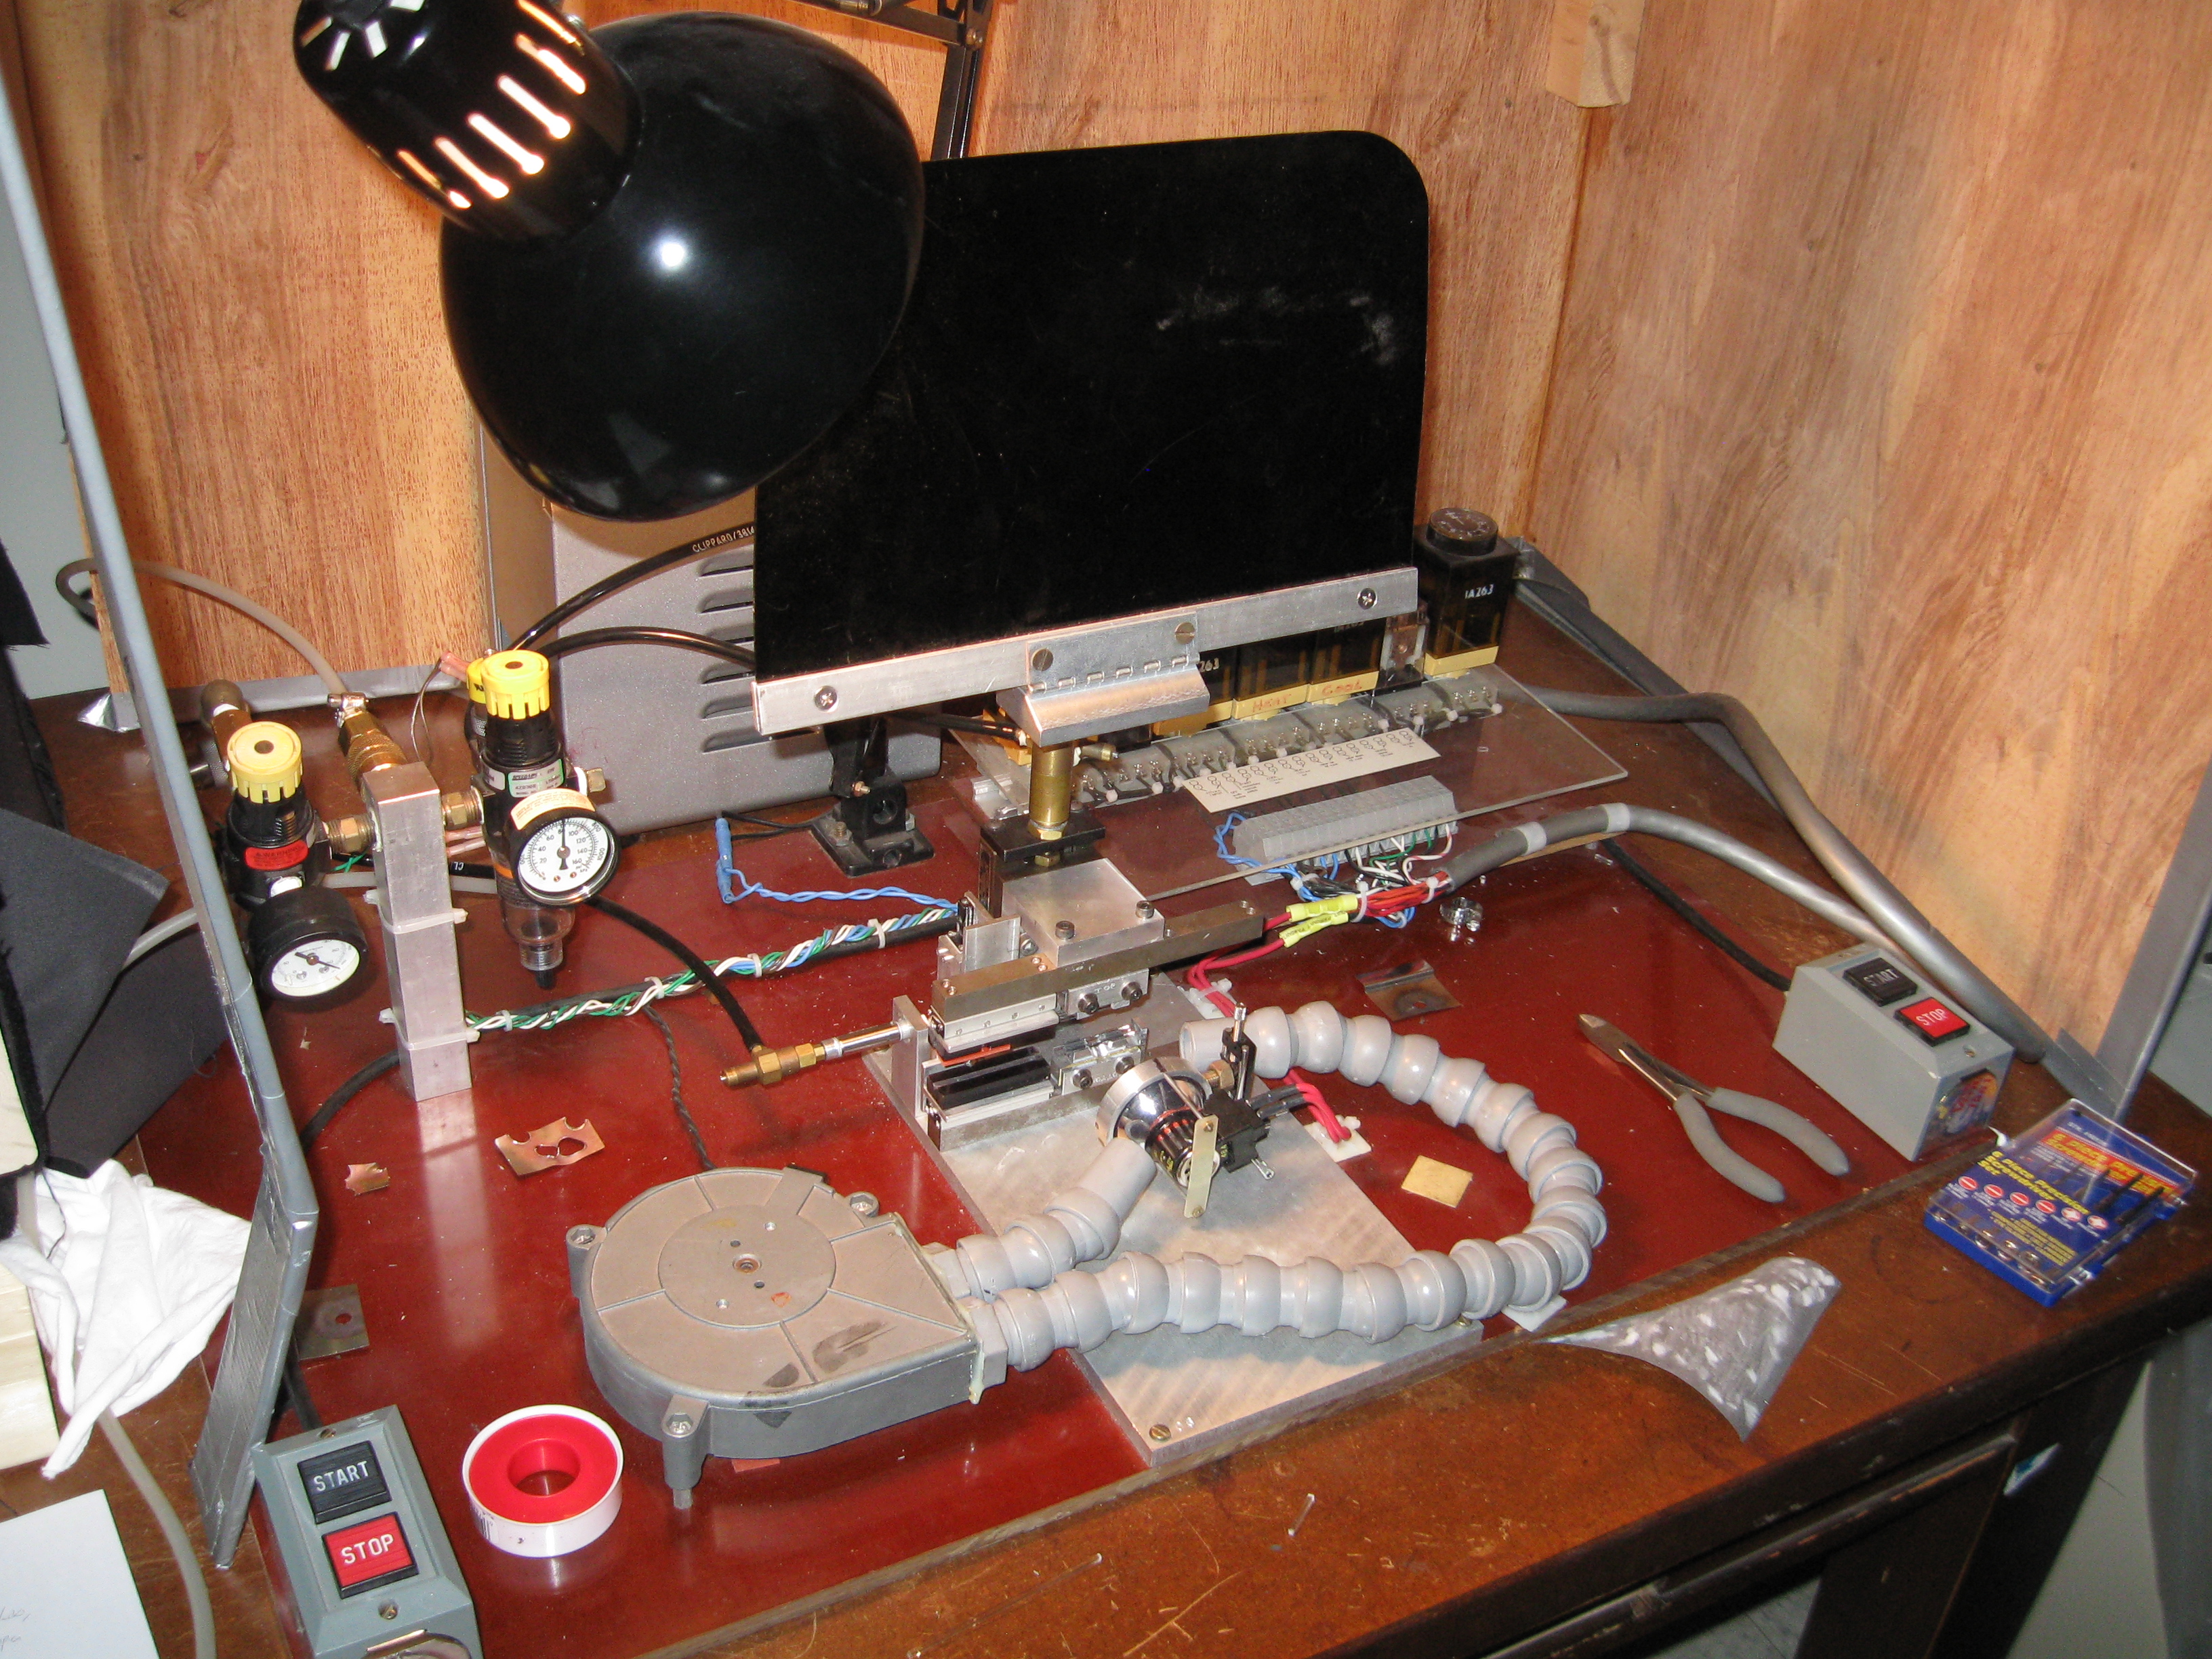
| 20:40, 13 January 2014 | Splicing unit overview.JPG (file) |  |
3.75 MB | The entire splicing table setup. | 1 |
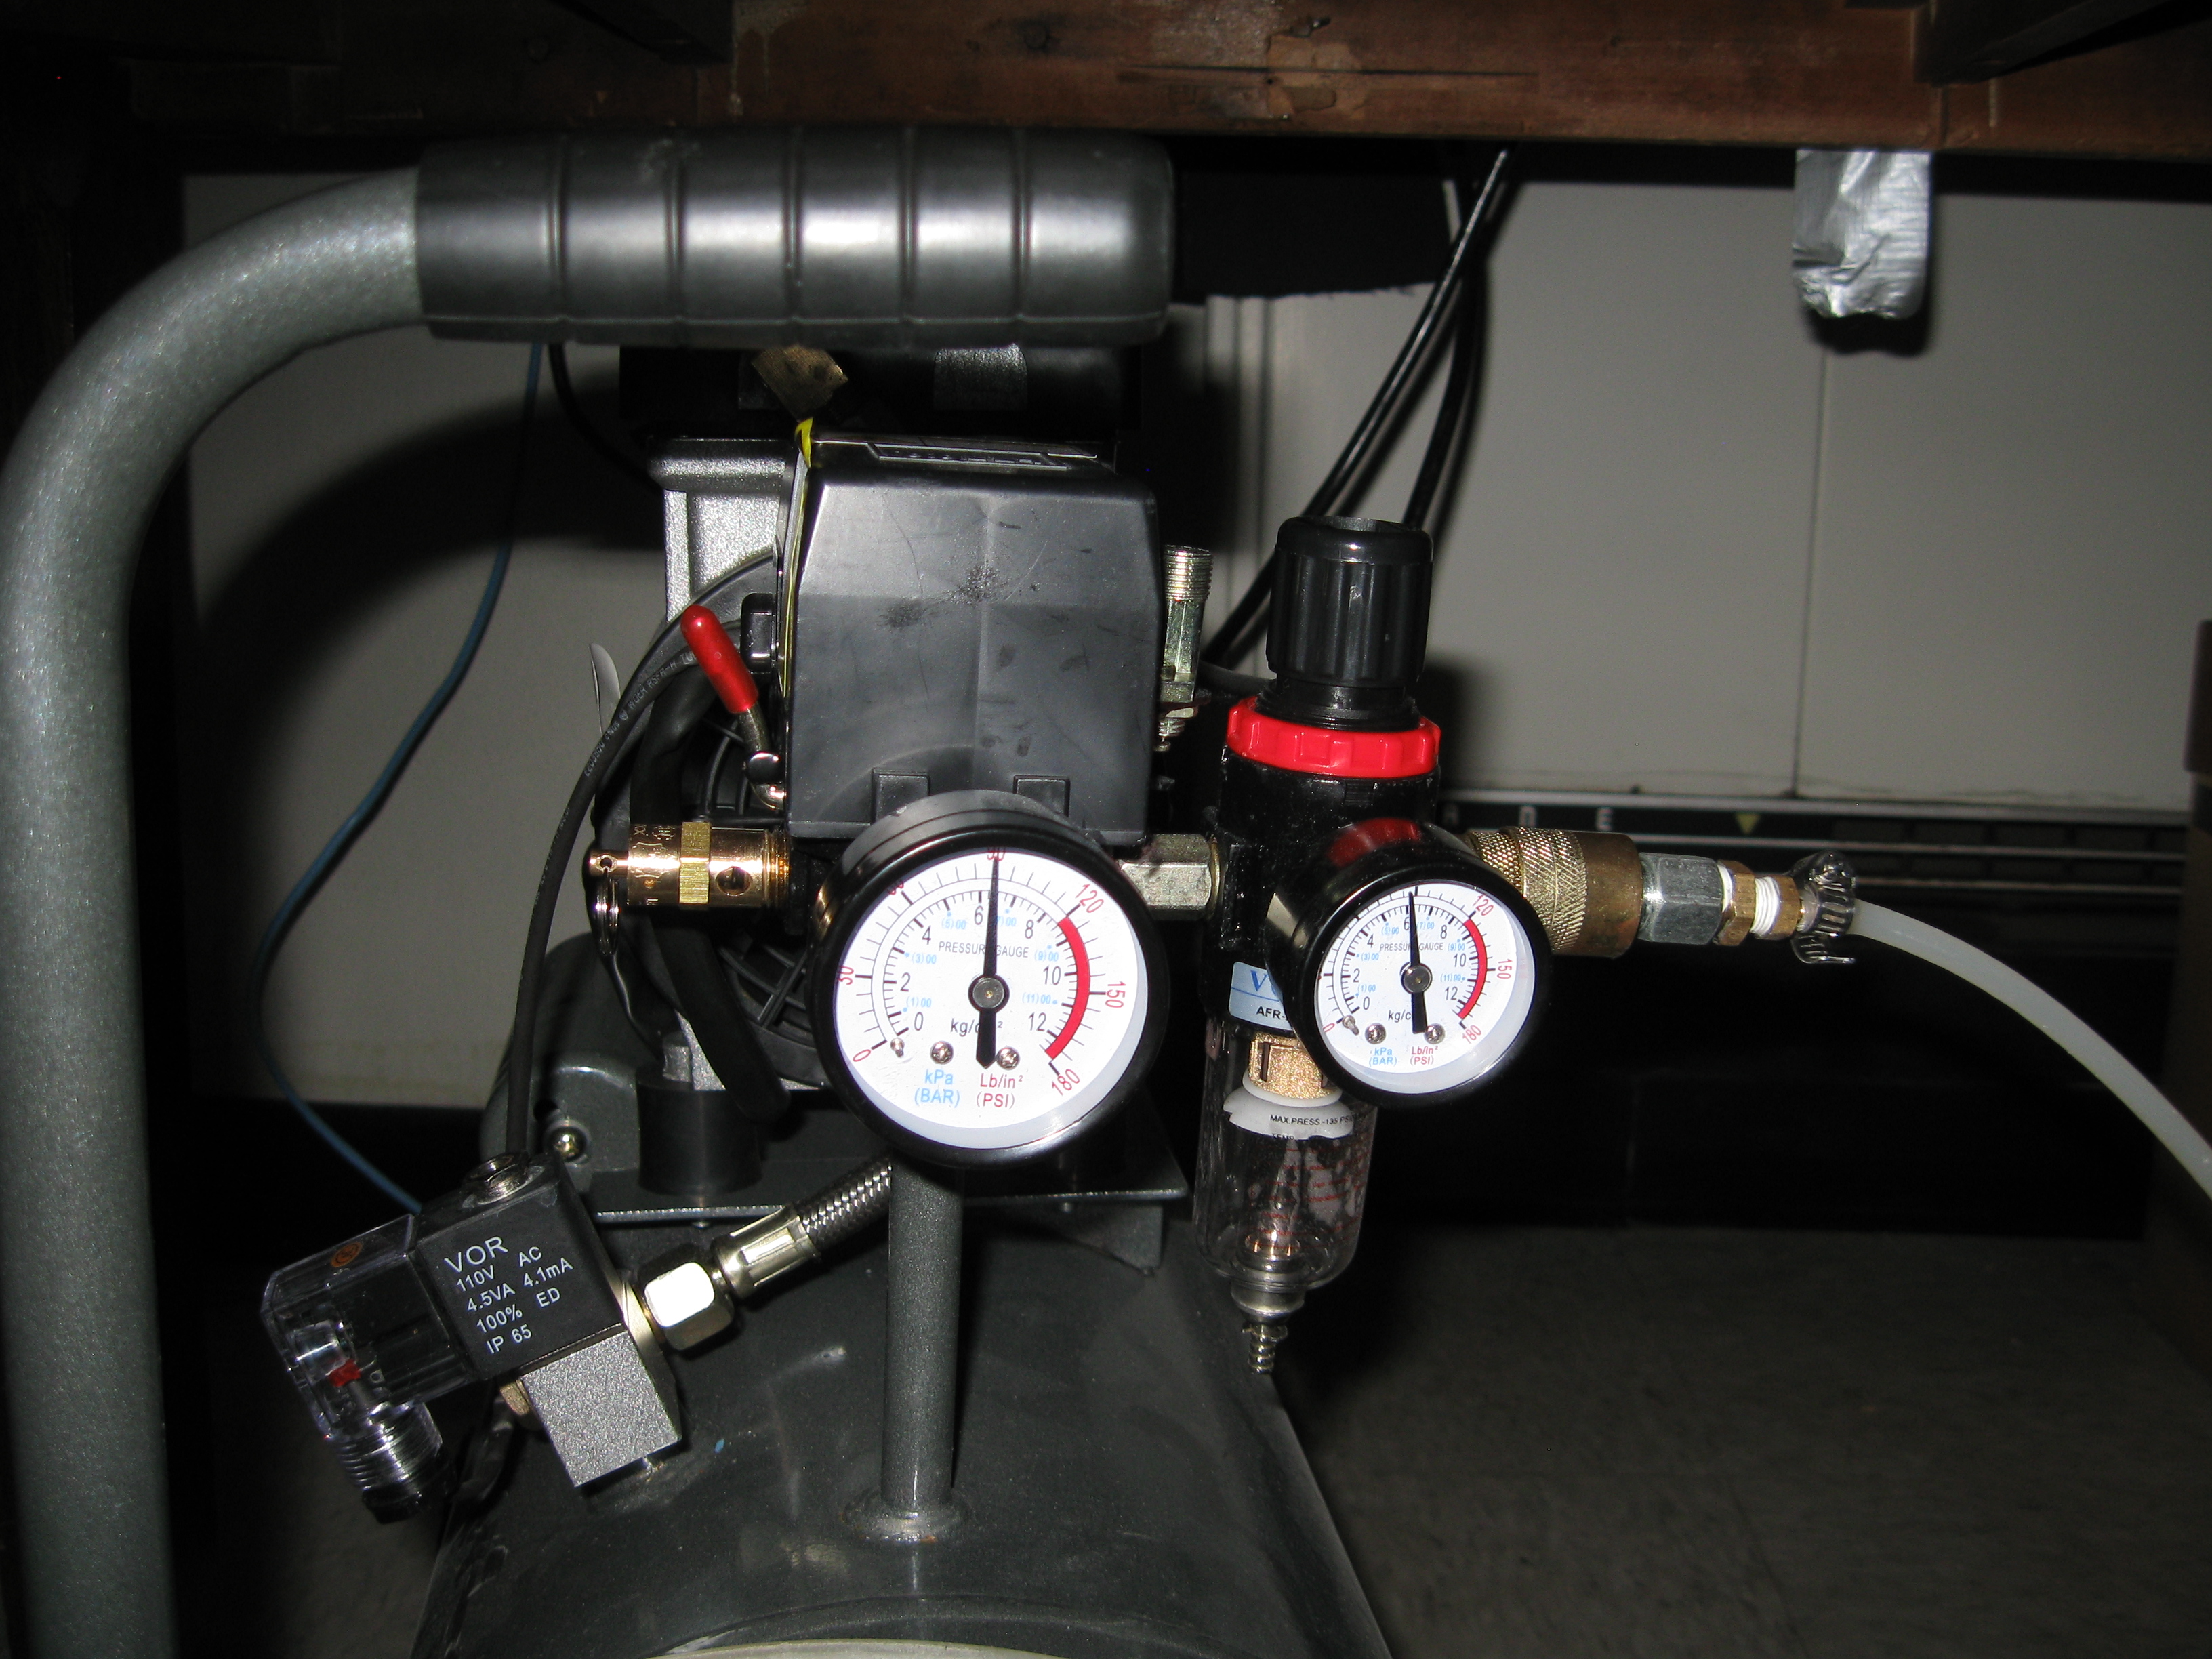
| 20:38, 13 January 2014 | Splicing compressor.JPG (file) |  |
2.63 MB | The compressor beneath the table should be turned on to splice. | 1 |
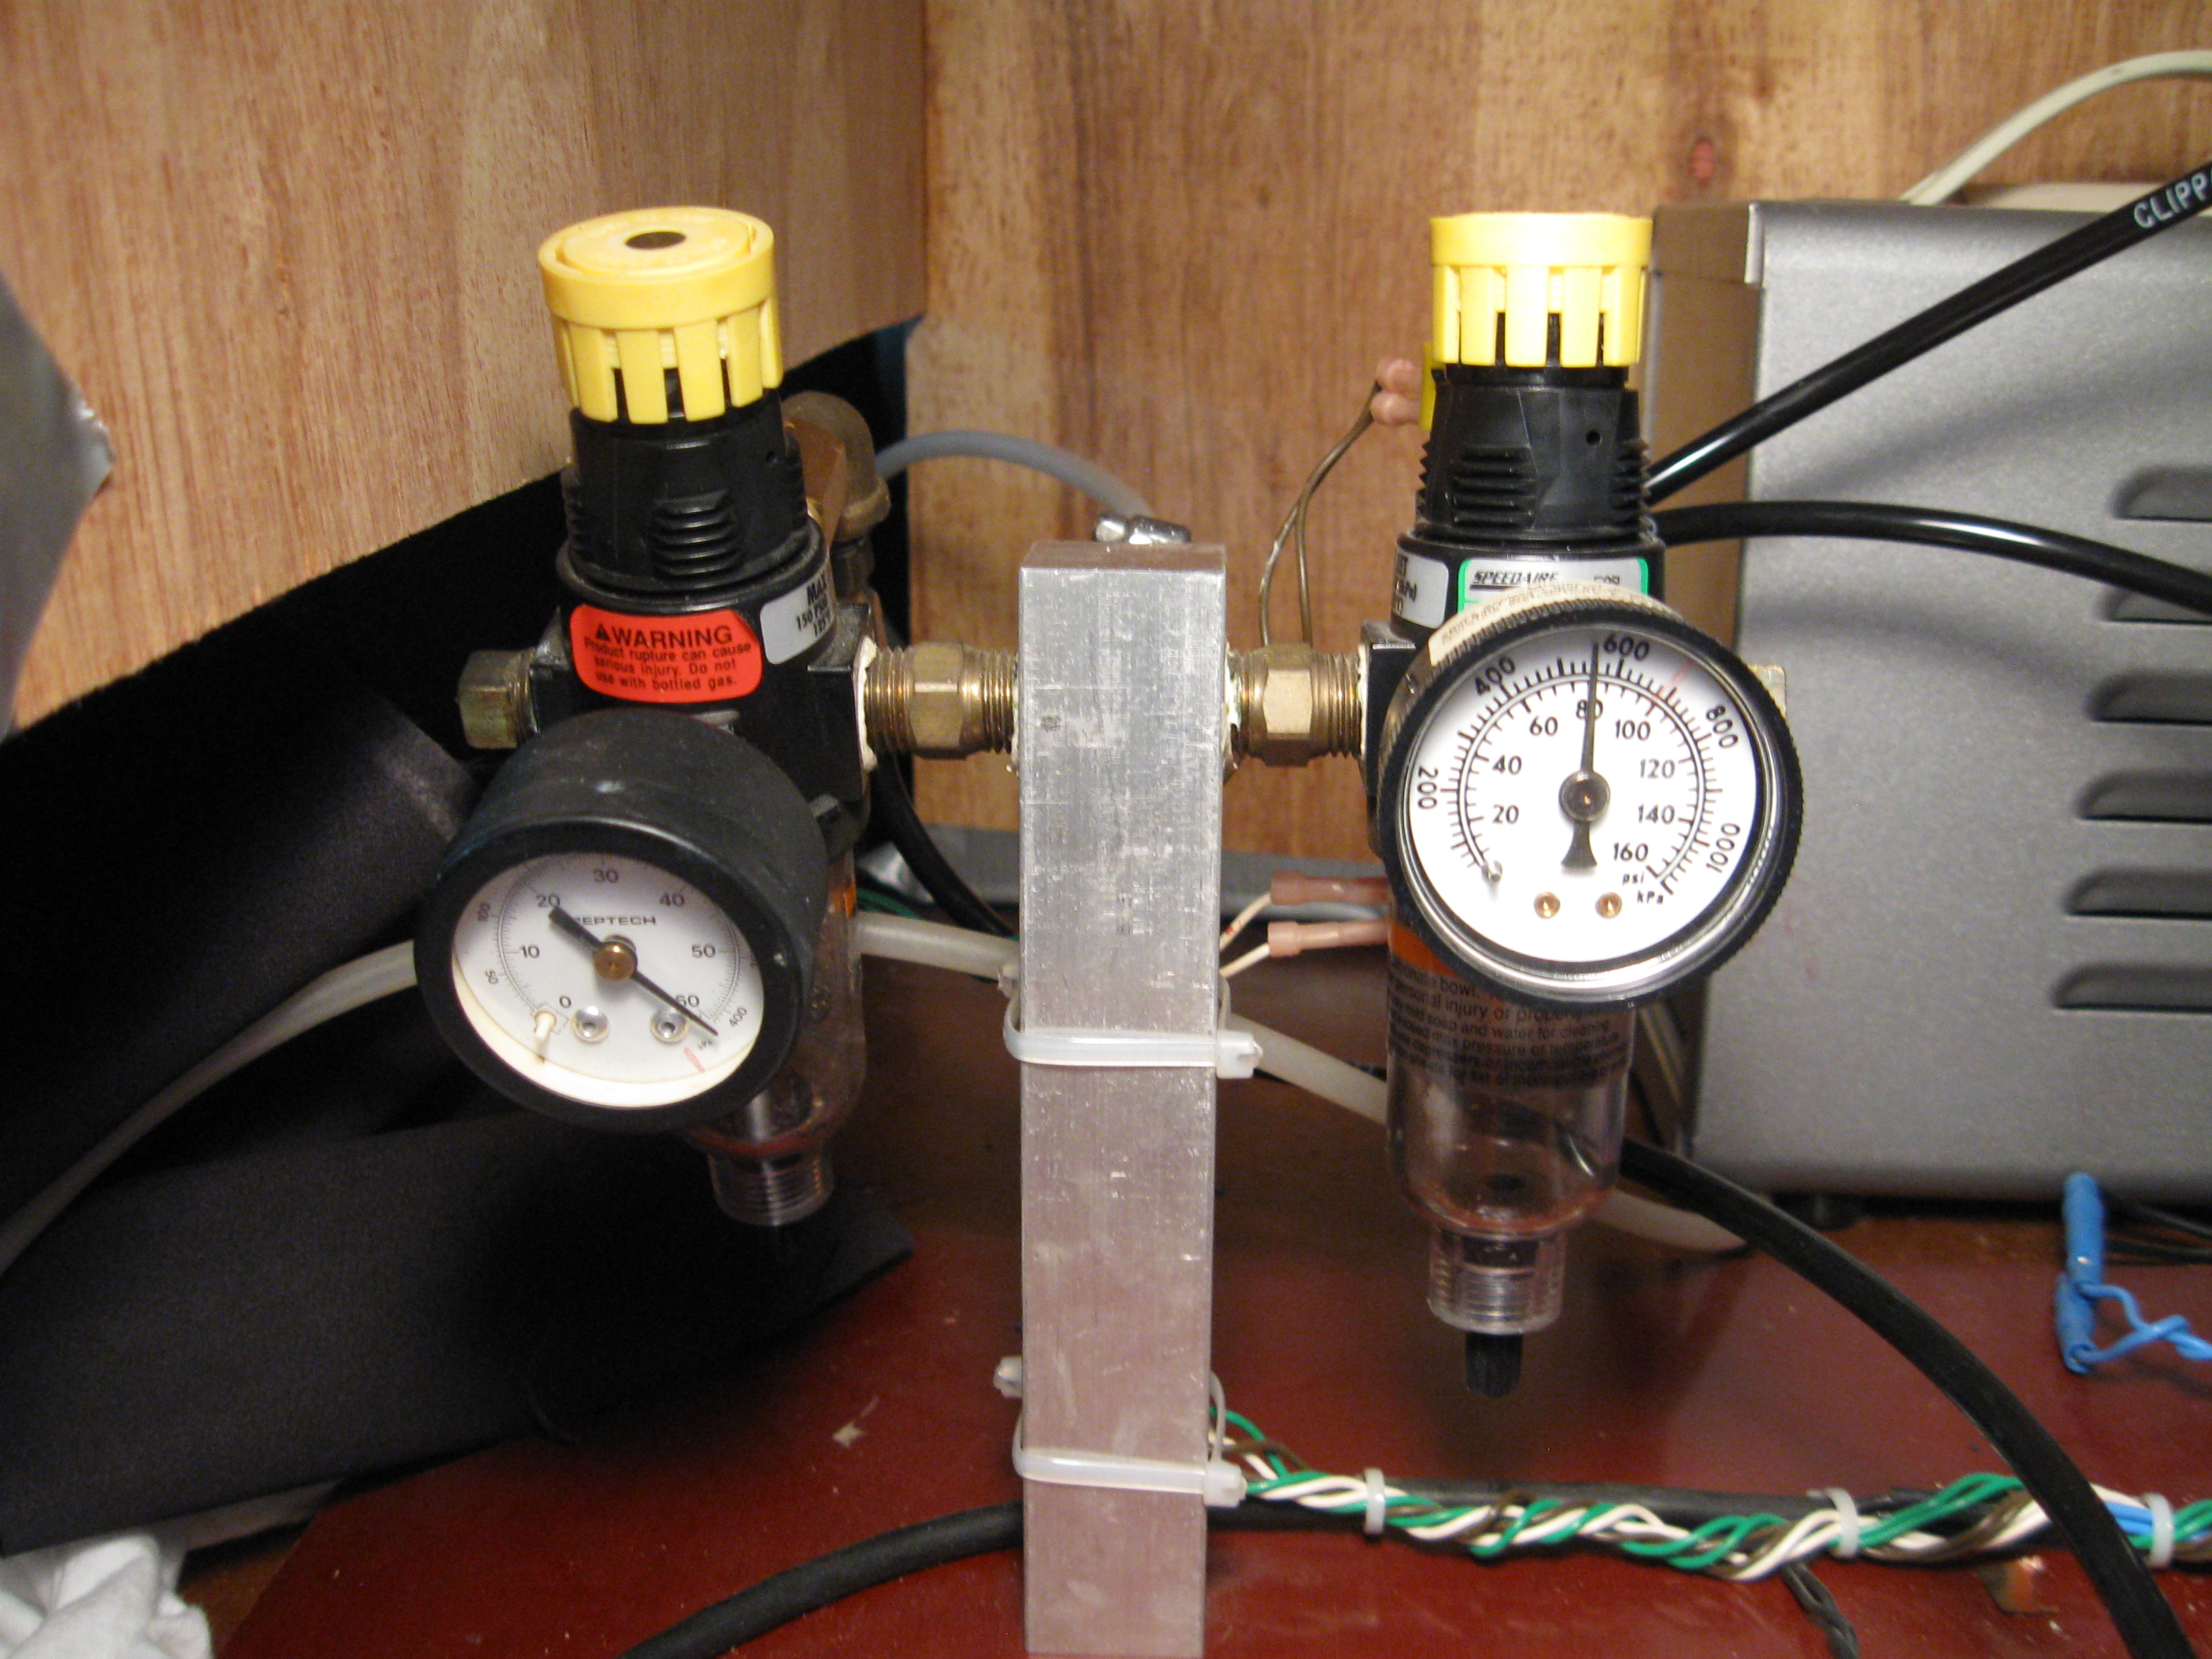
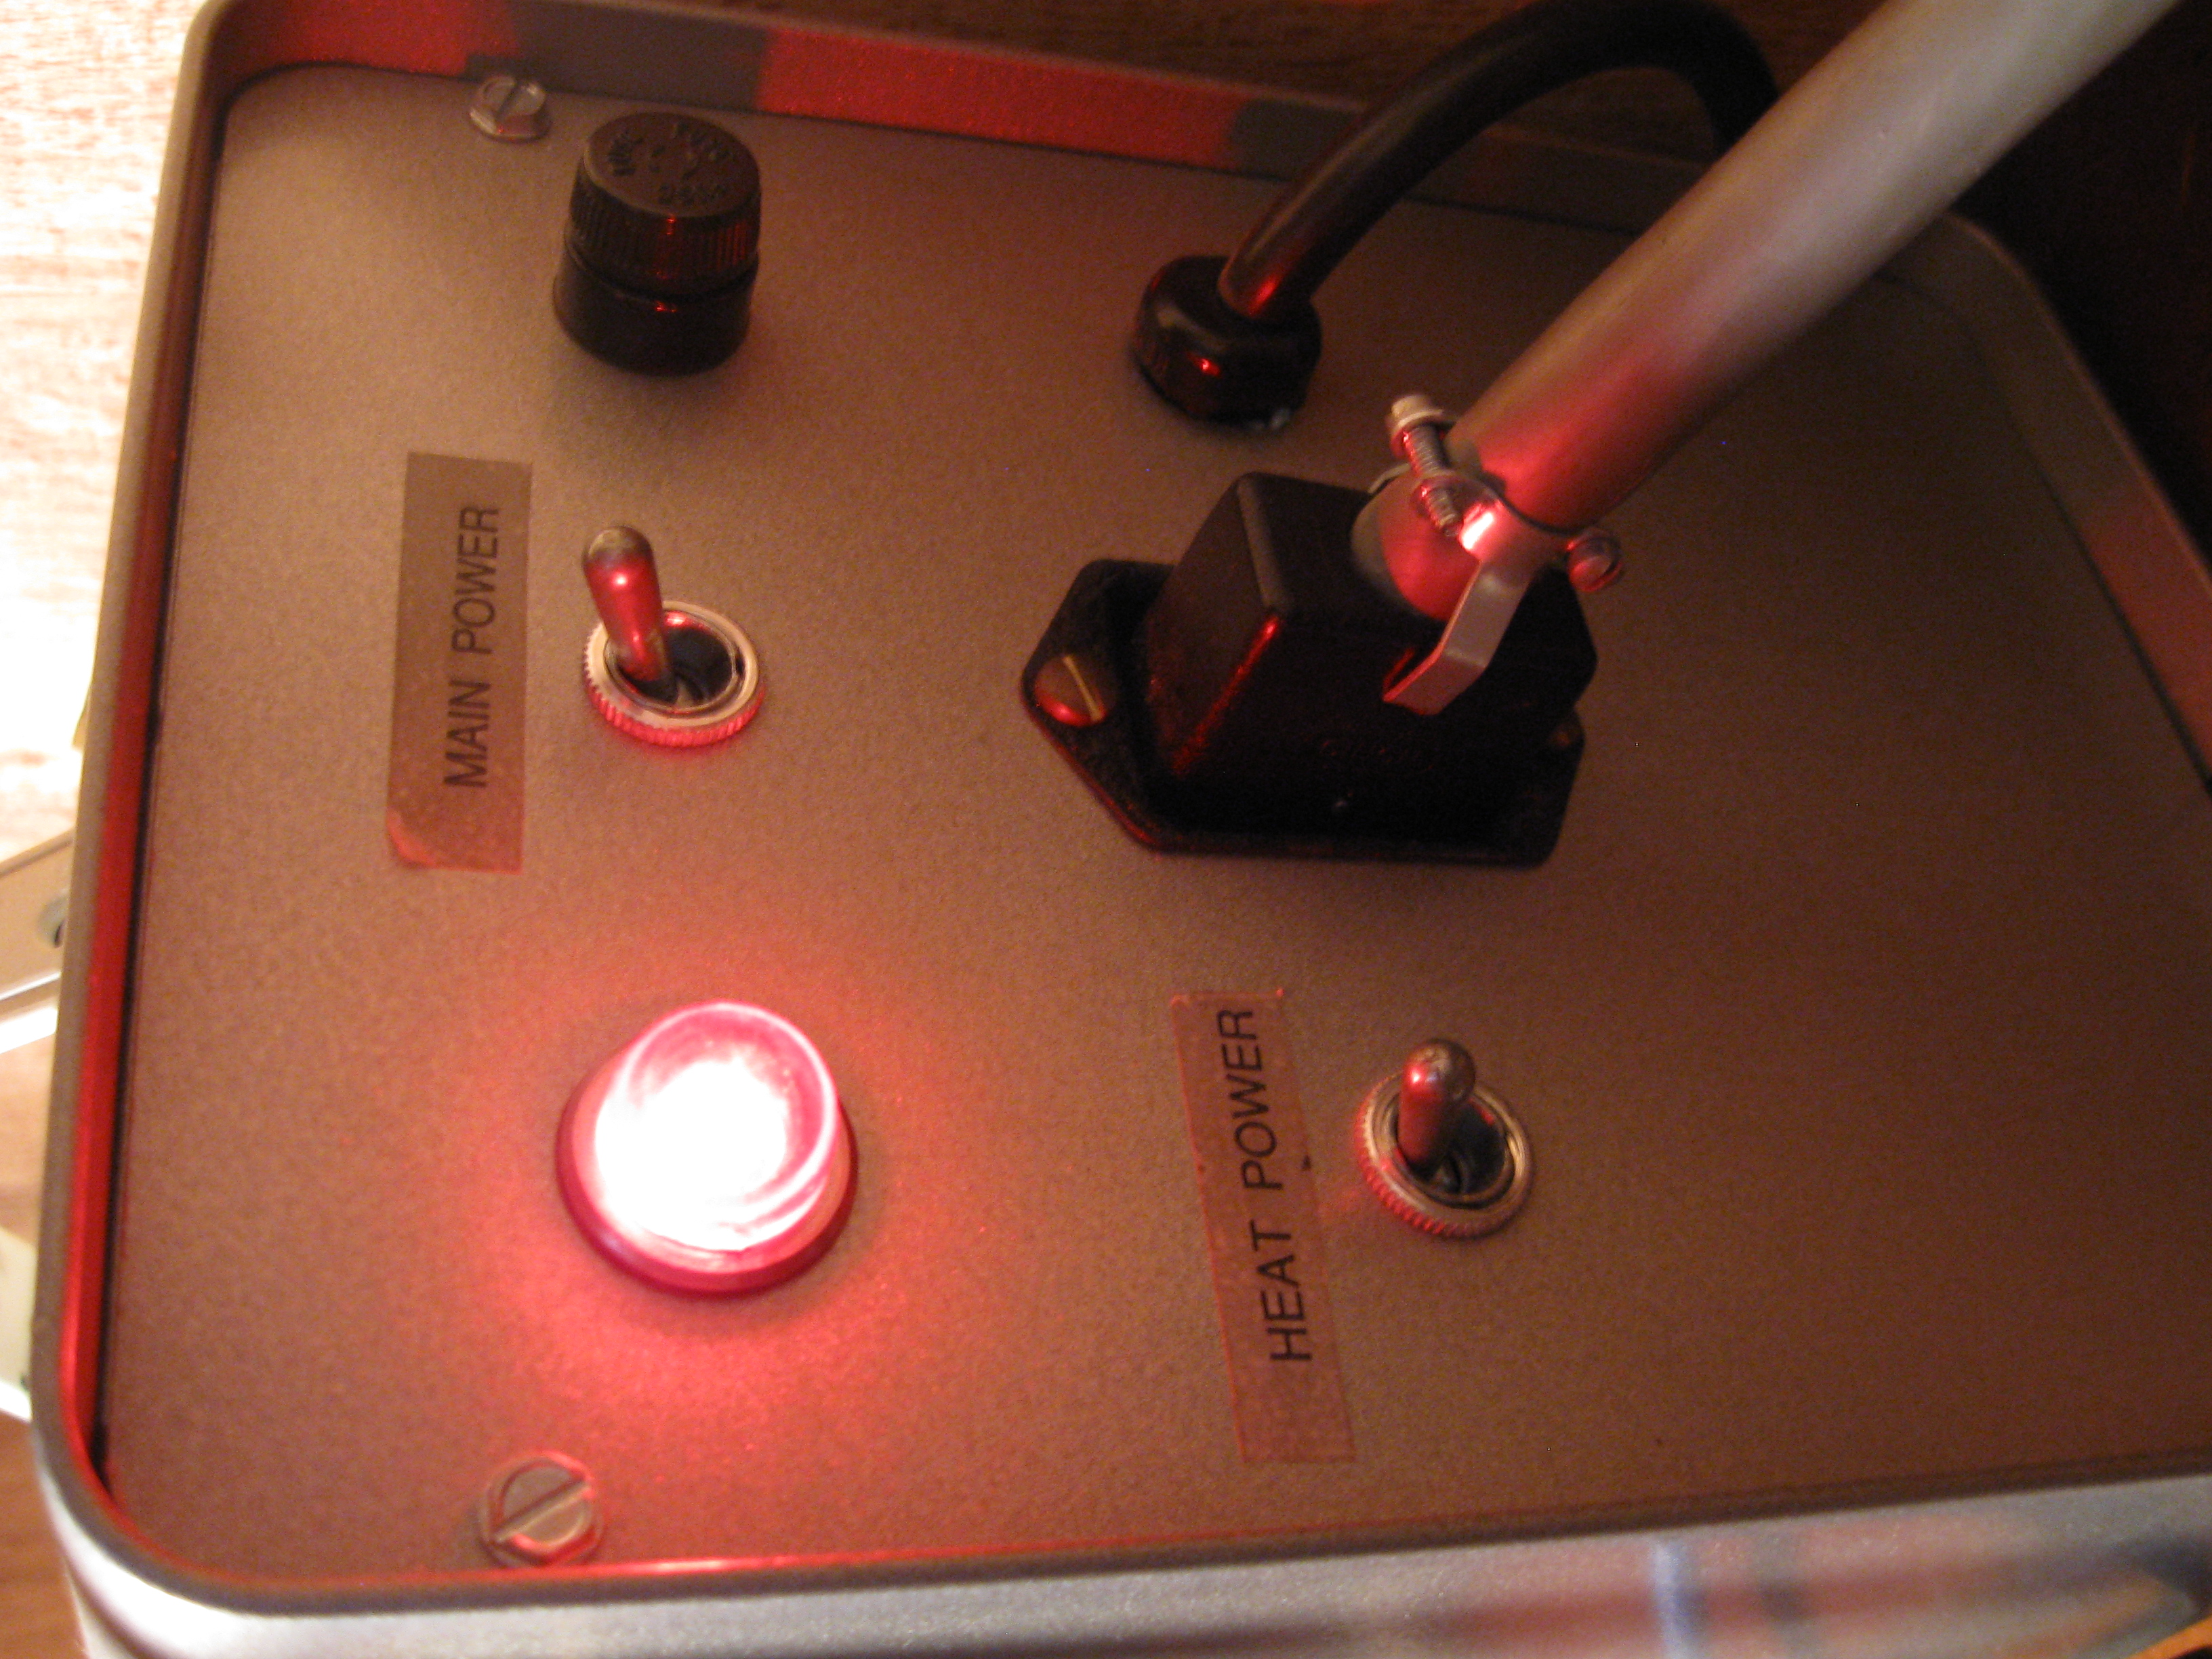
| 20:35, 13 January 2014 | Power supply.JPG (file) |  |
3.39 MB | Switches turned on on the splicing unit power supply. | 1 |
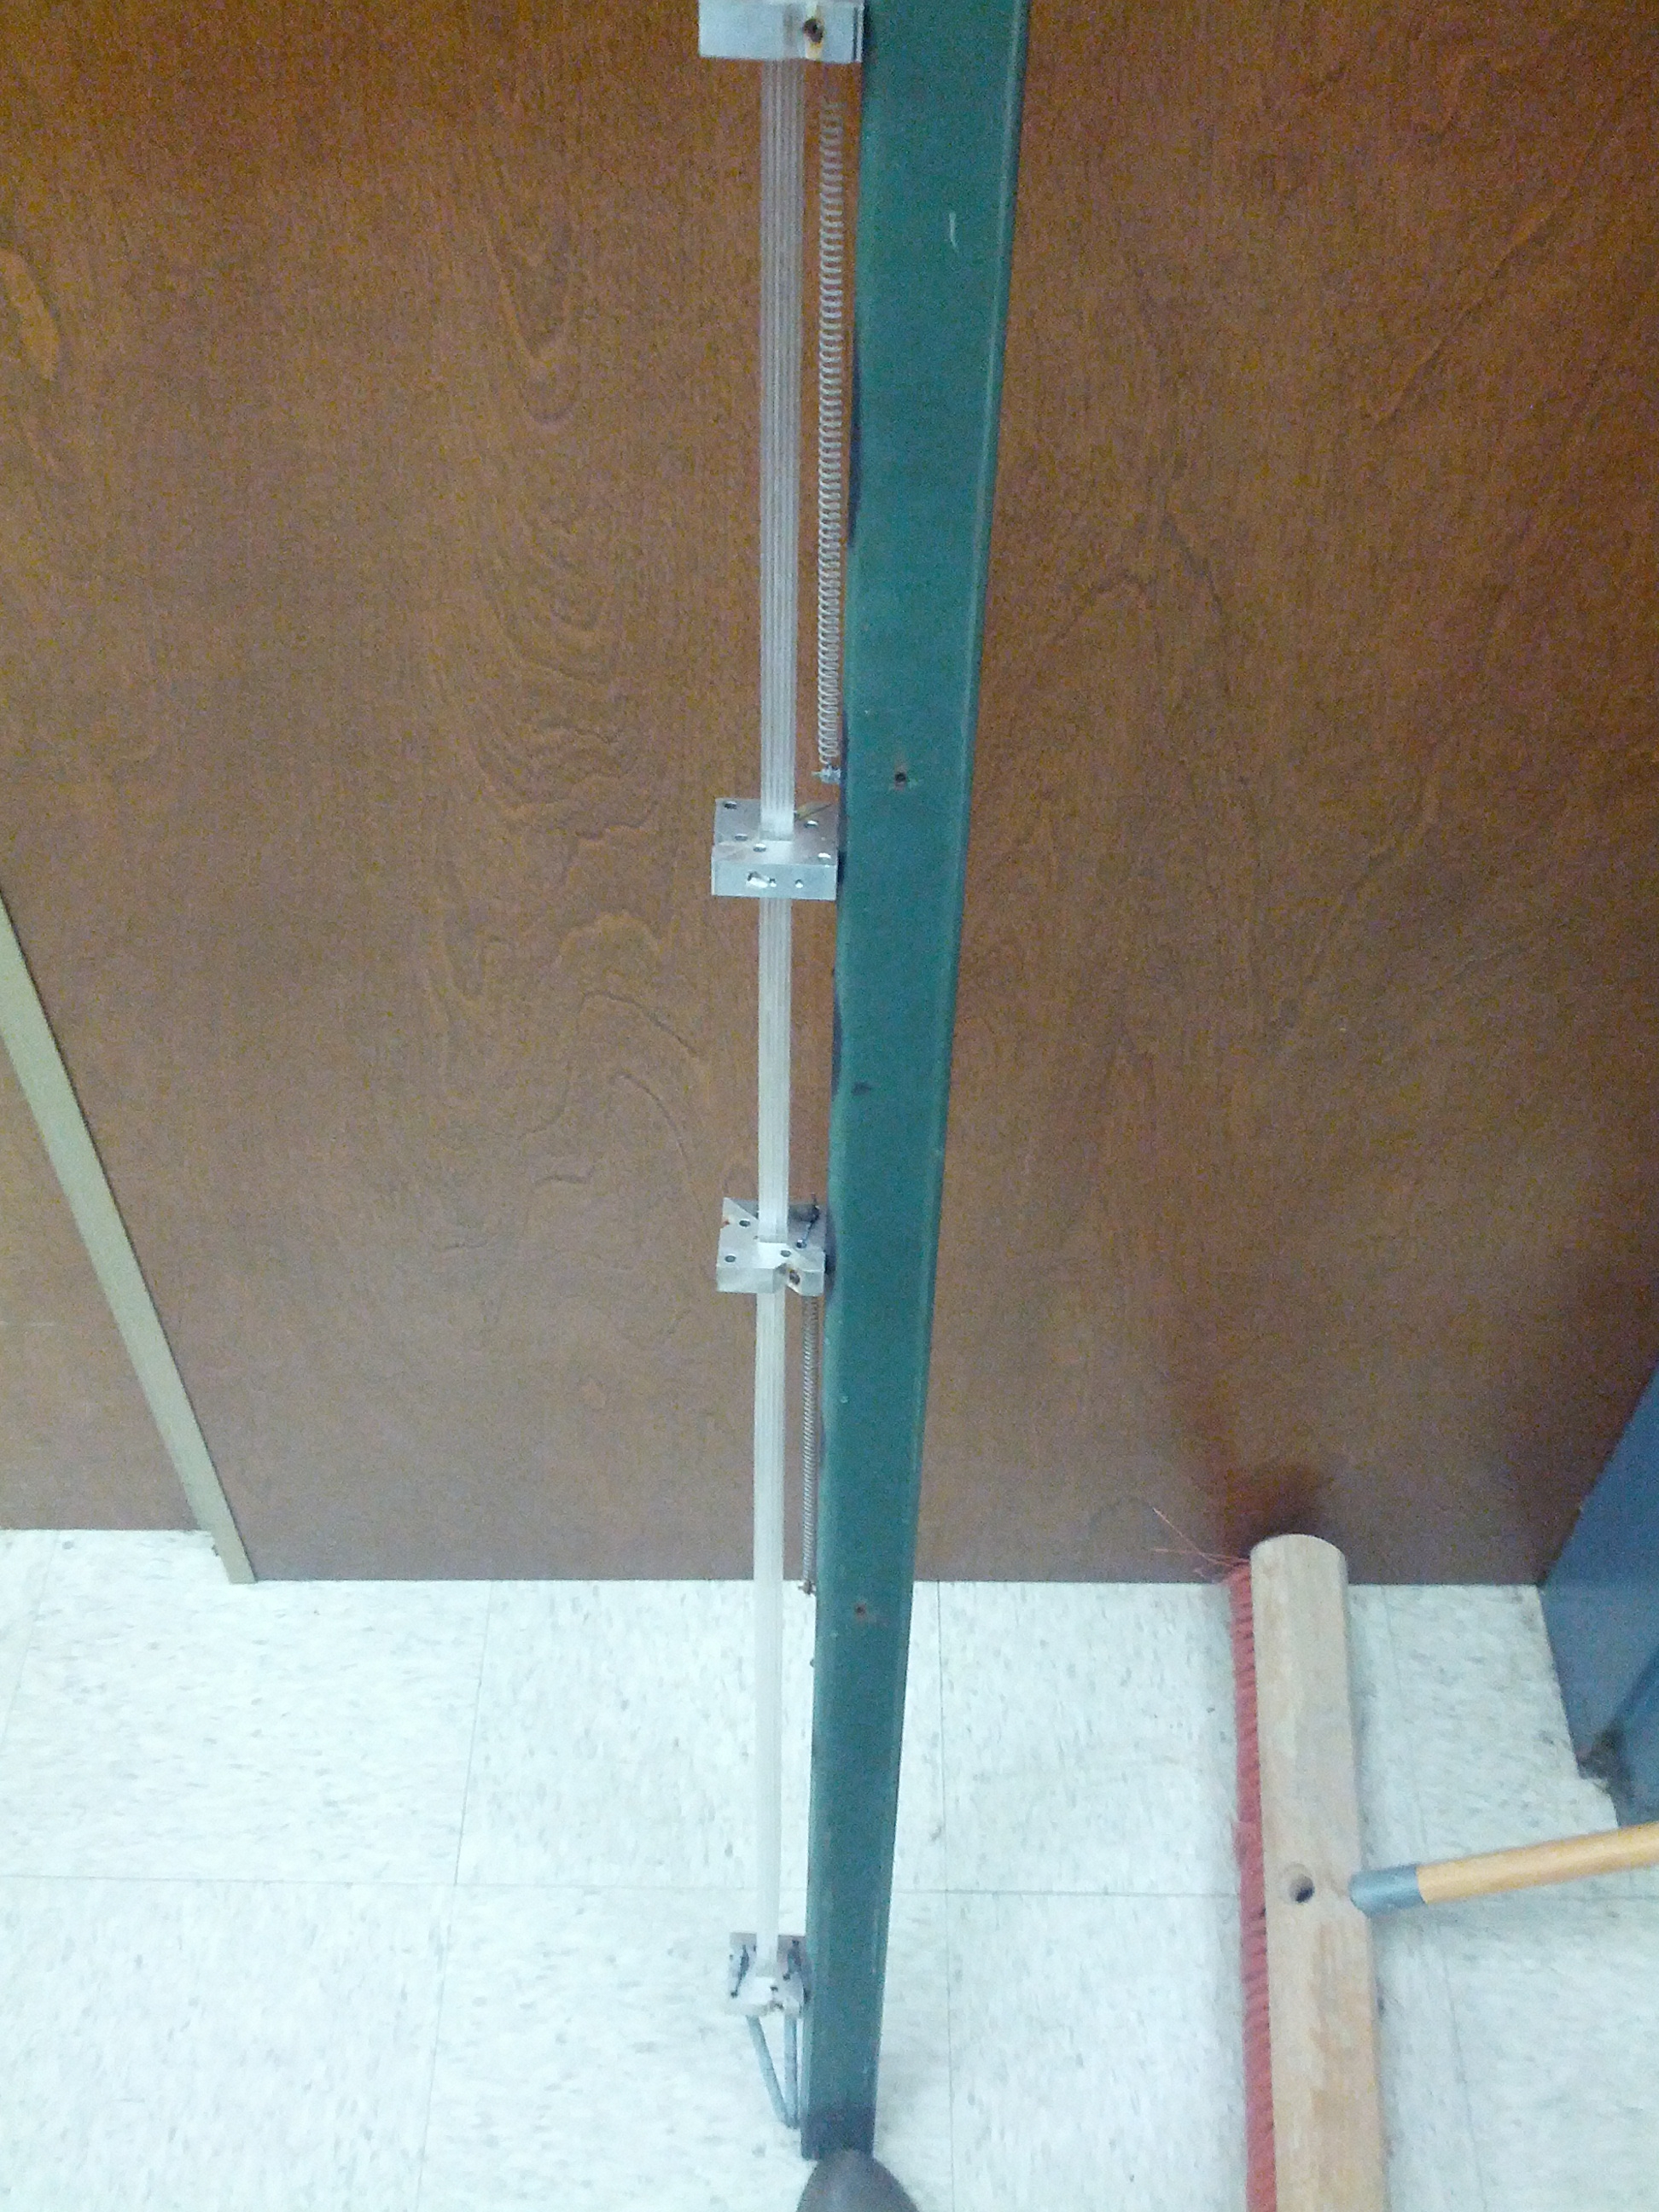
| 19:43, 13 January 2014 | Final springs.JPG (file) |  |
3.13 MB | The springs now apply tension to the entire bundle. | 1 |
| 19:42, 13 January 2014 | End springs knots.JPG (file) |  |
3.22 MB | The knots in the wires holding the final two springs. | 1 |
| 19:40, 13 January 2014 | End springs wires.JPG (file) |  |
3.18 MB | the wire loops holding the end springs. | 1 |
| 19:38, 13 January 2014 | End springs anchor.JPG (file) |  |
3.08 MB | The anchor for the two springs on the moving end. | 1 |
| 19:35, 13 January 2014 | Spring final.JPG (file) |  |
3.25 MB | The collar is applying tension to the fibers via a spring in this final view. | 1 |
| 19:33, 13 January 2014 | Spring knot.JPG (file) |  |
3.39 MB | The wire loop attached to the spring is tied in a knot through the collar. | 1 |
| 19:30, 13 January 2014 | Spring floating.JPG (file) |  |
3.43 MB | The floating end of the spring is attached to a wire loop. | 1 |
| 19:29, 13 January 2014 | Spring anchor.JPG (file) |  |
3.16 MB | The anchor for an example straightening spring. | 1 |
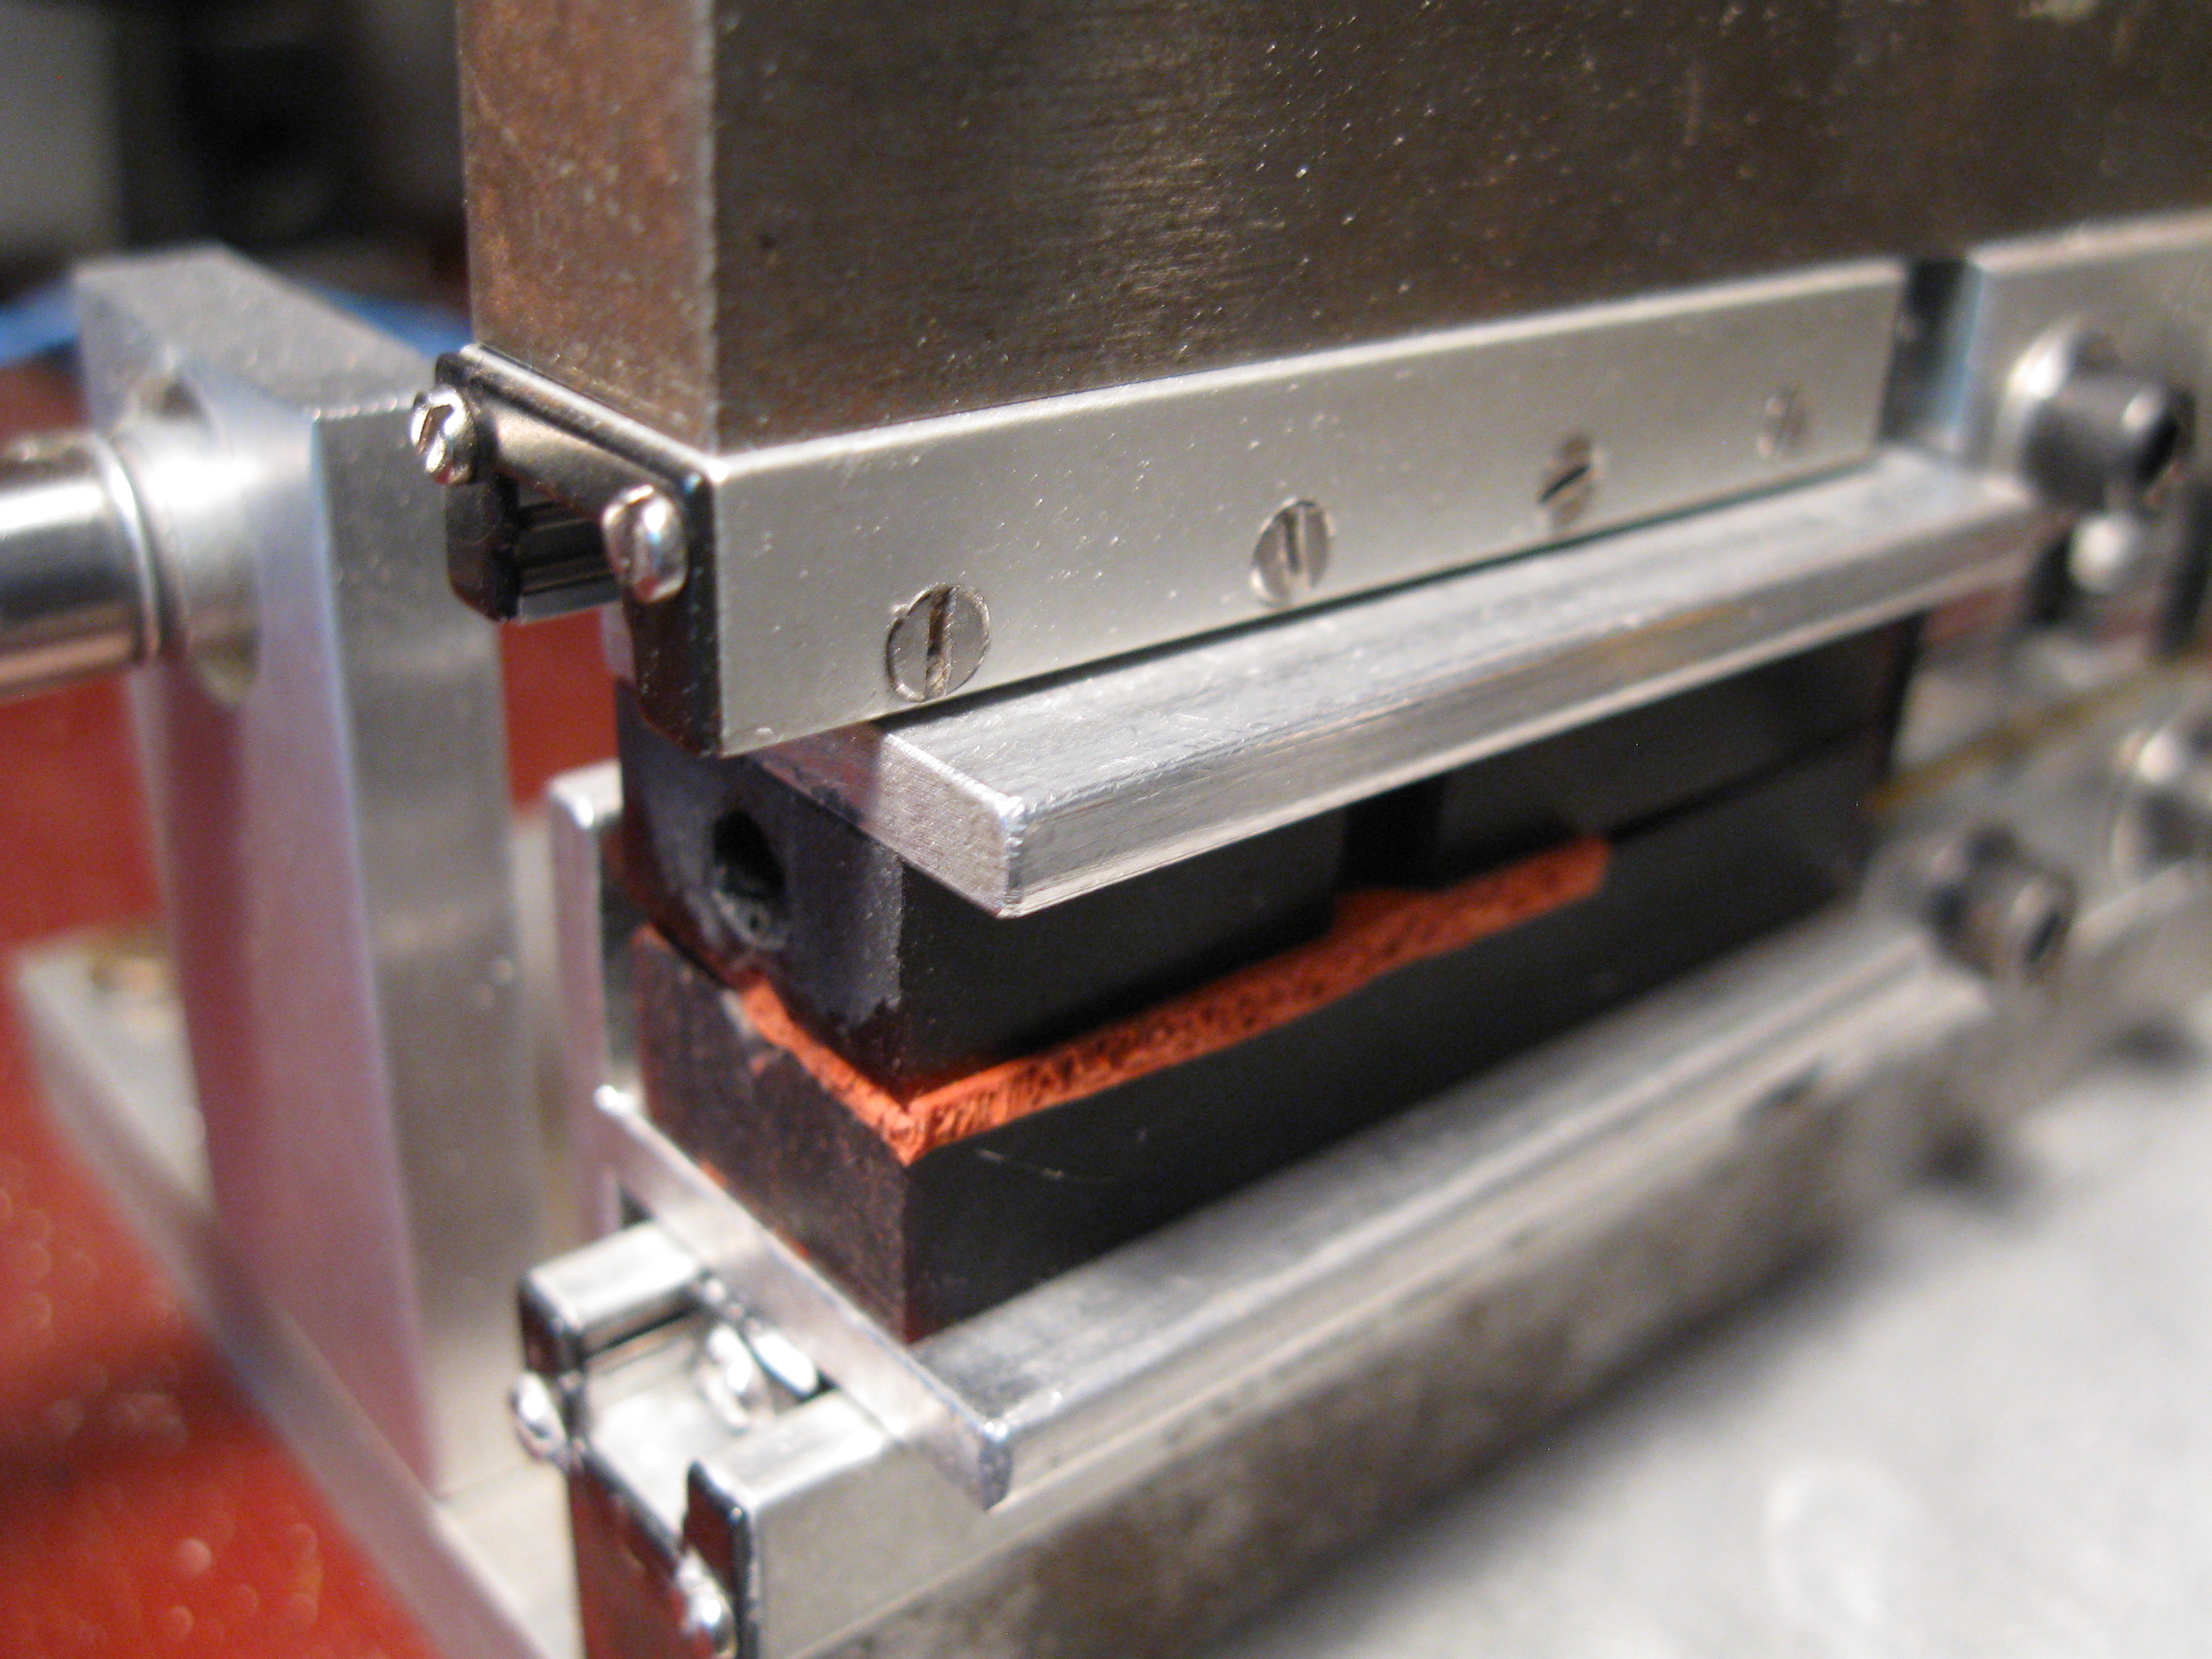
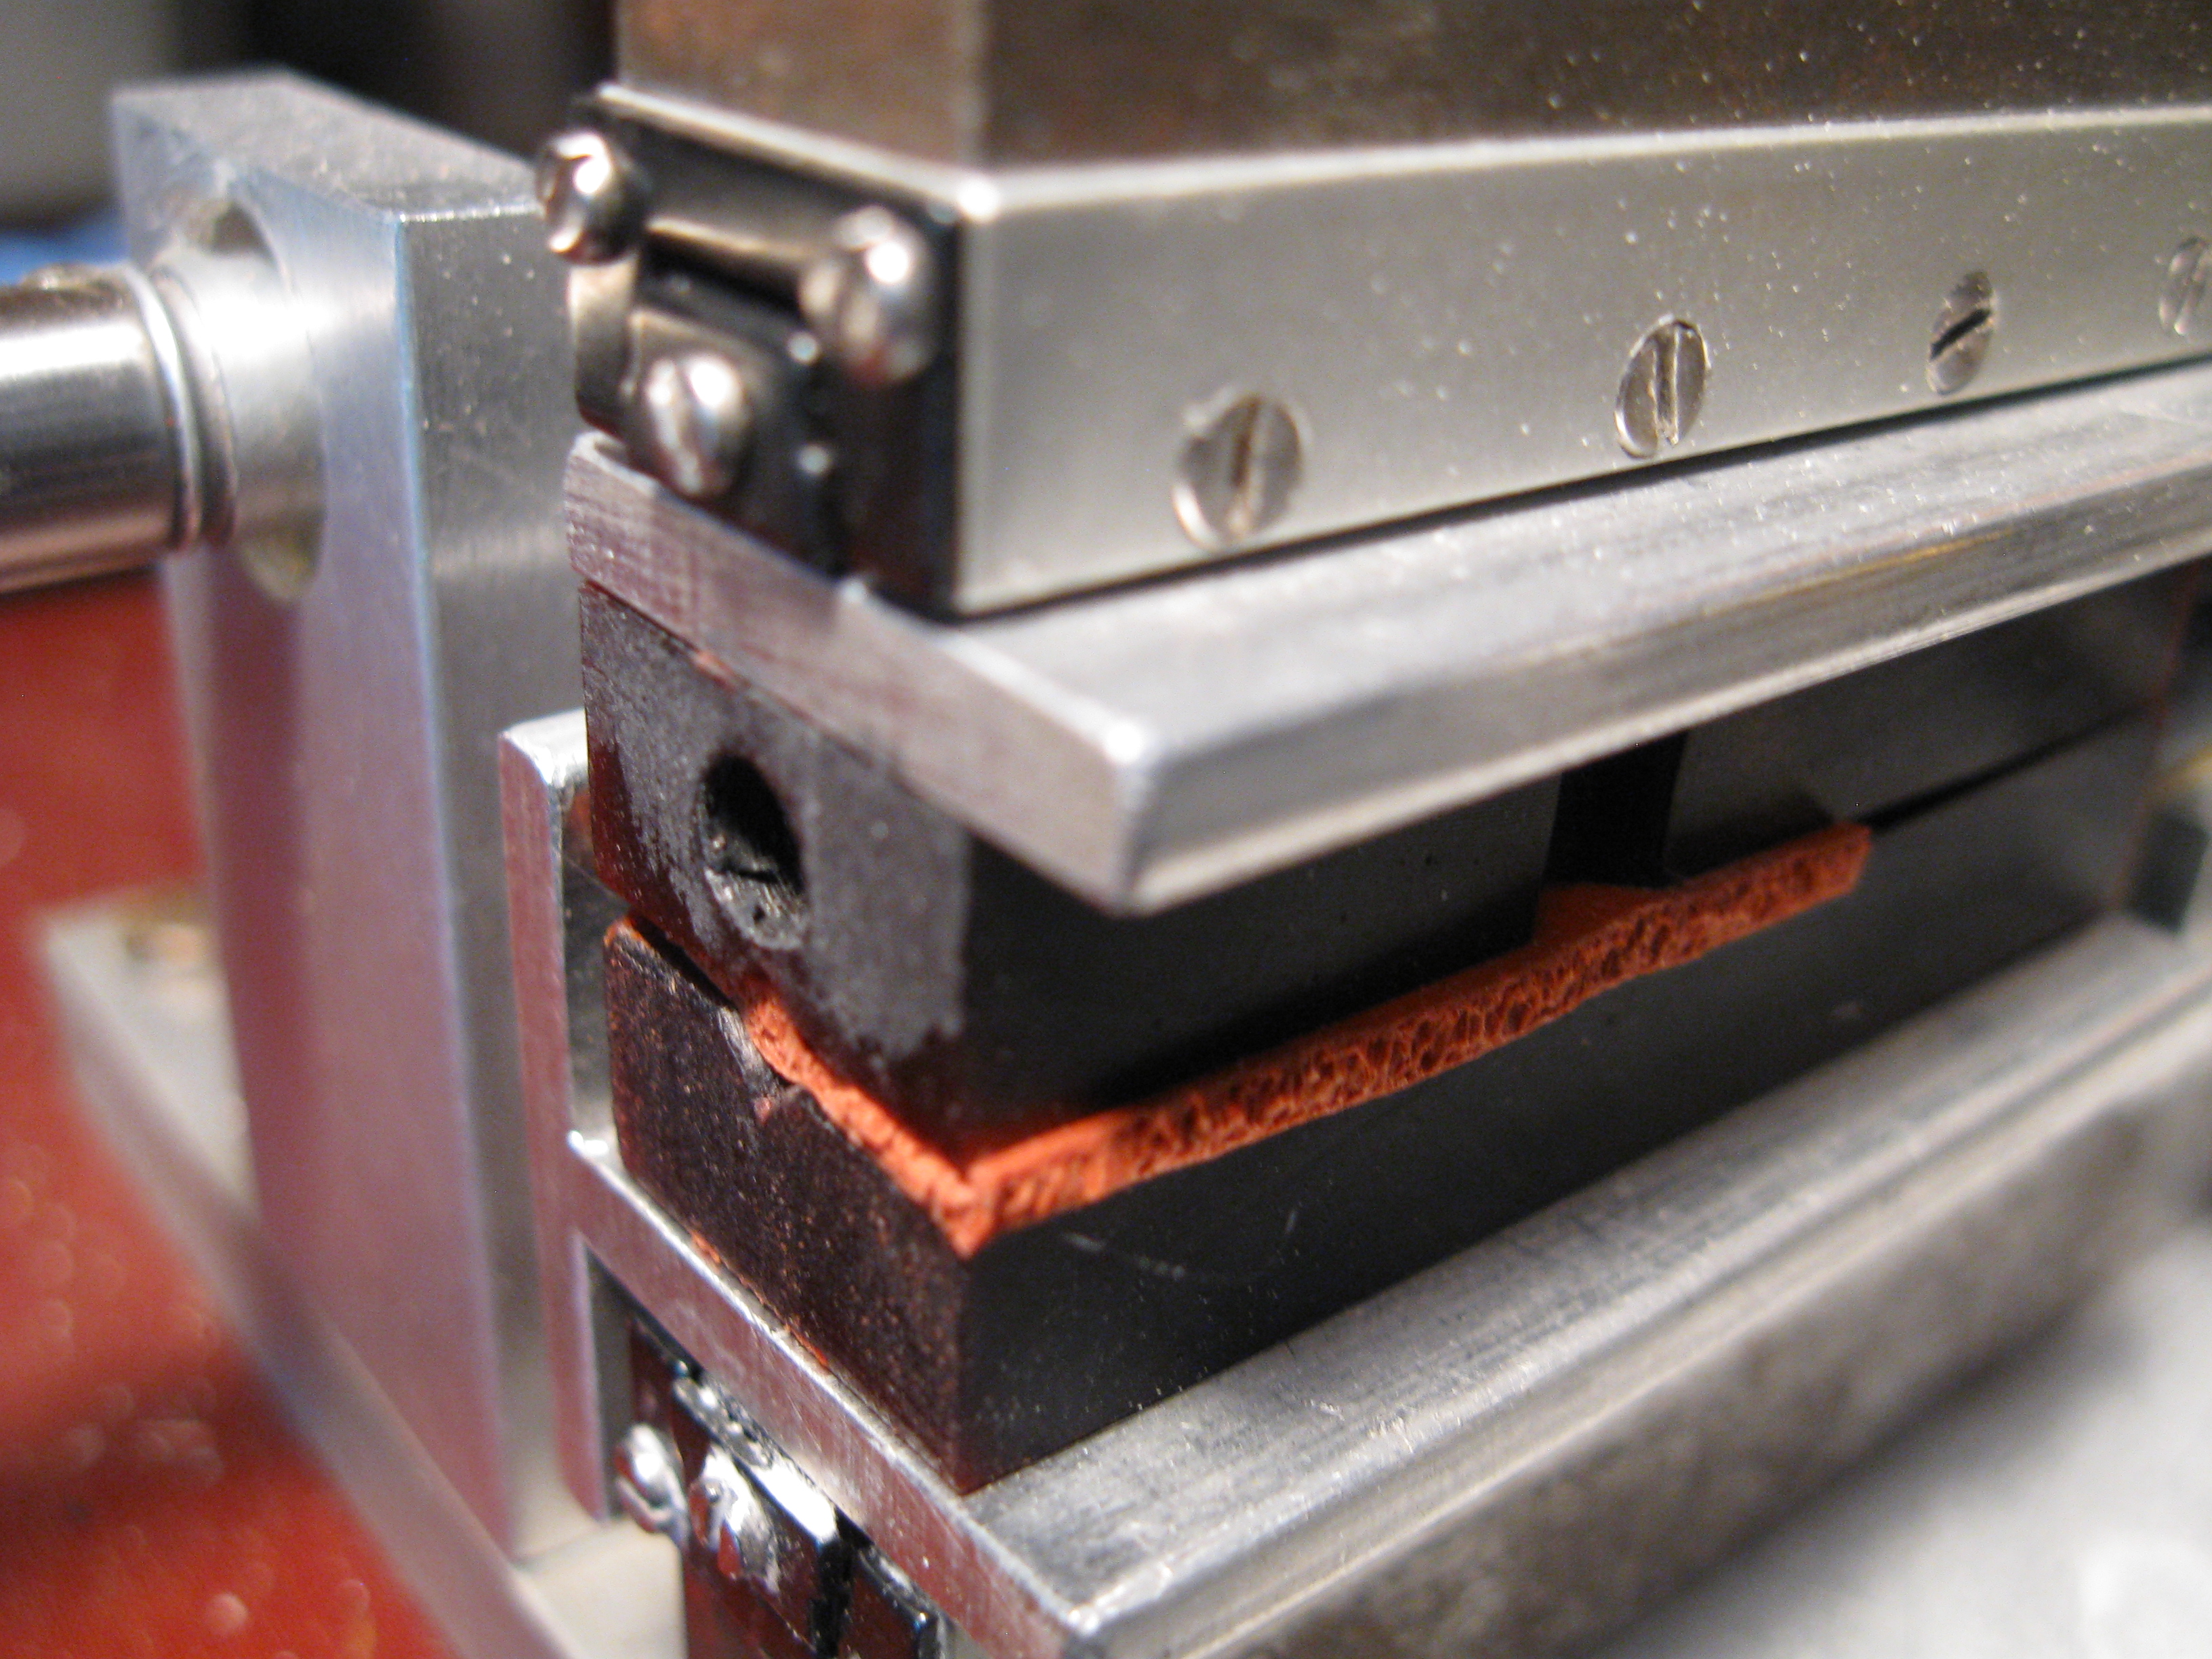
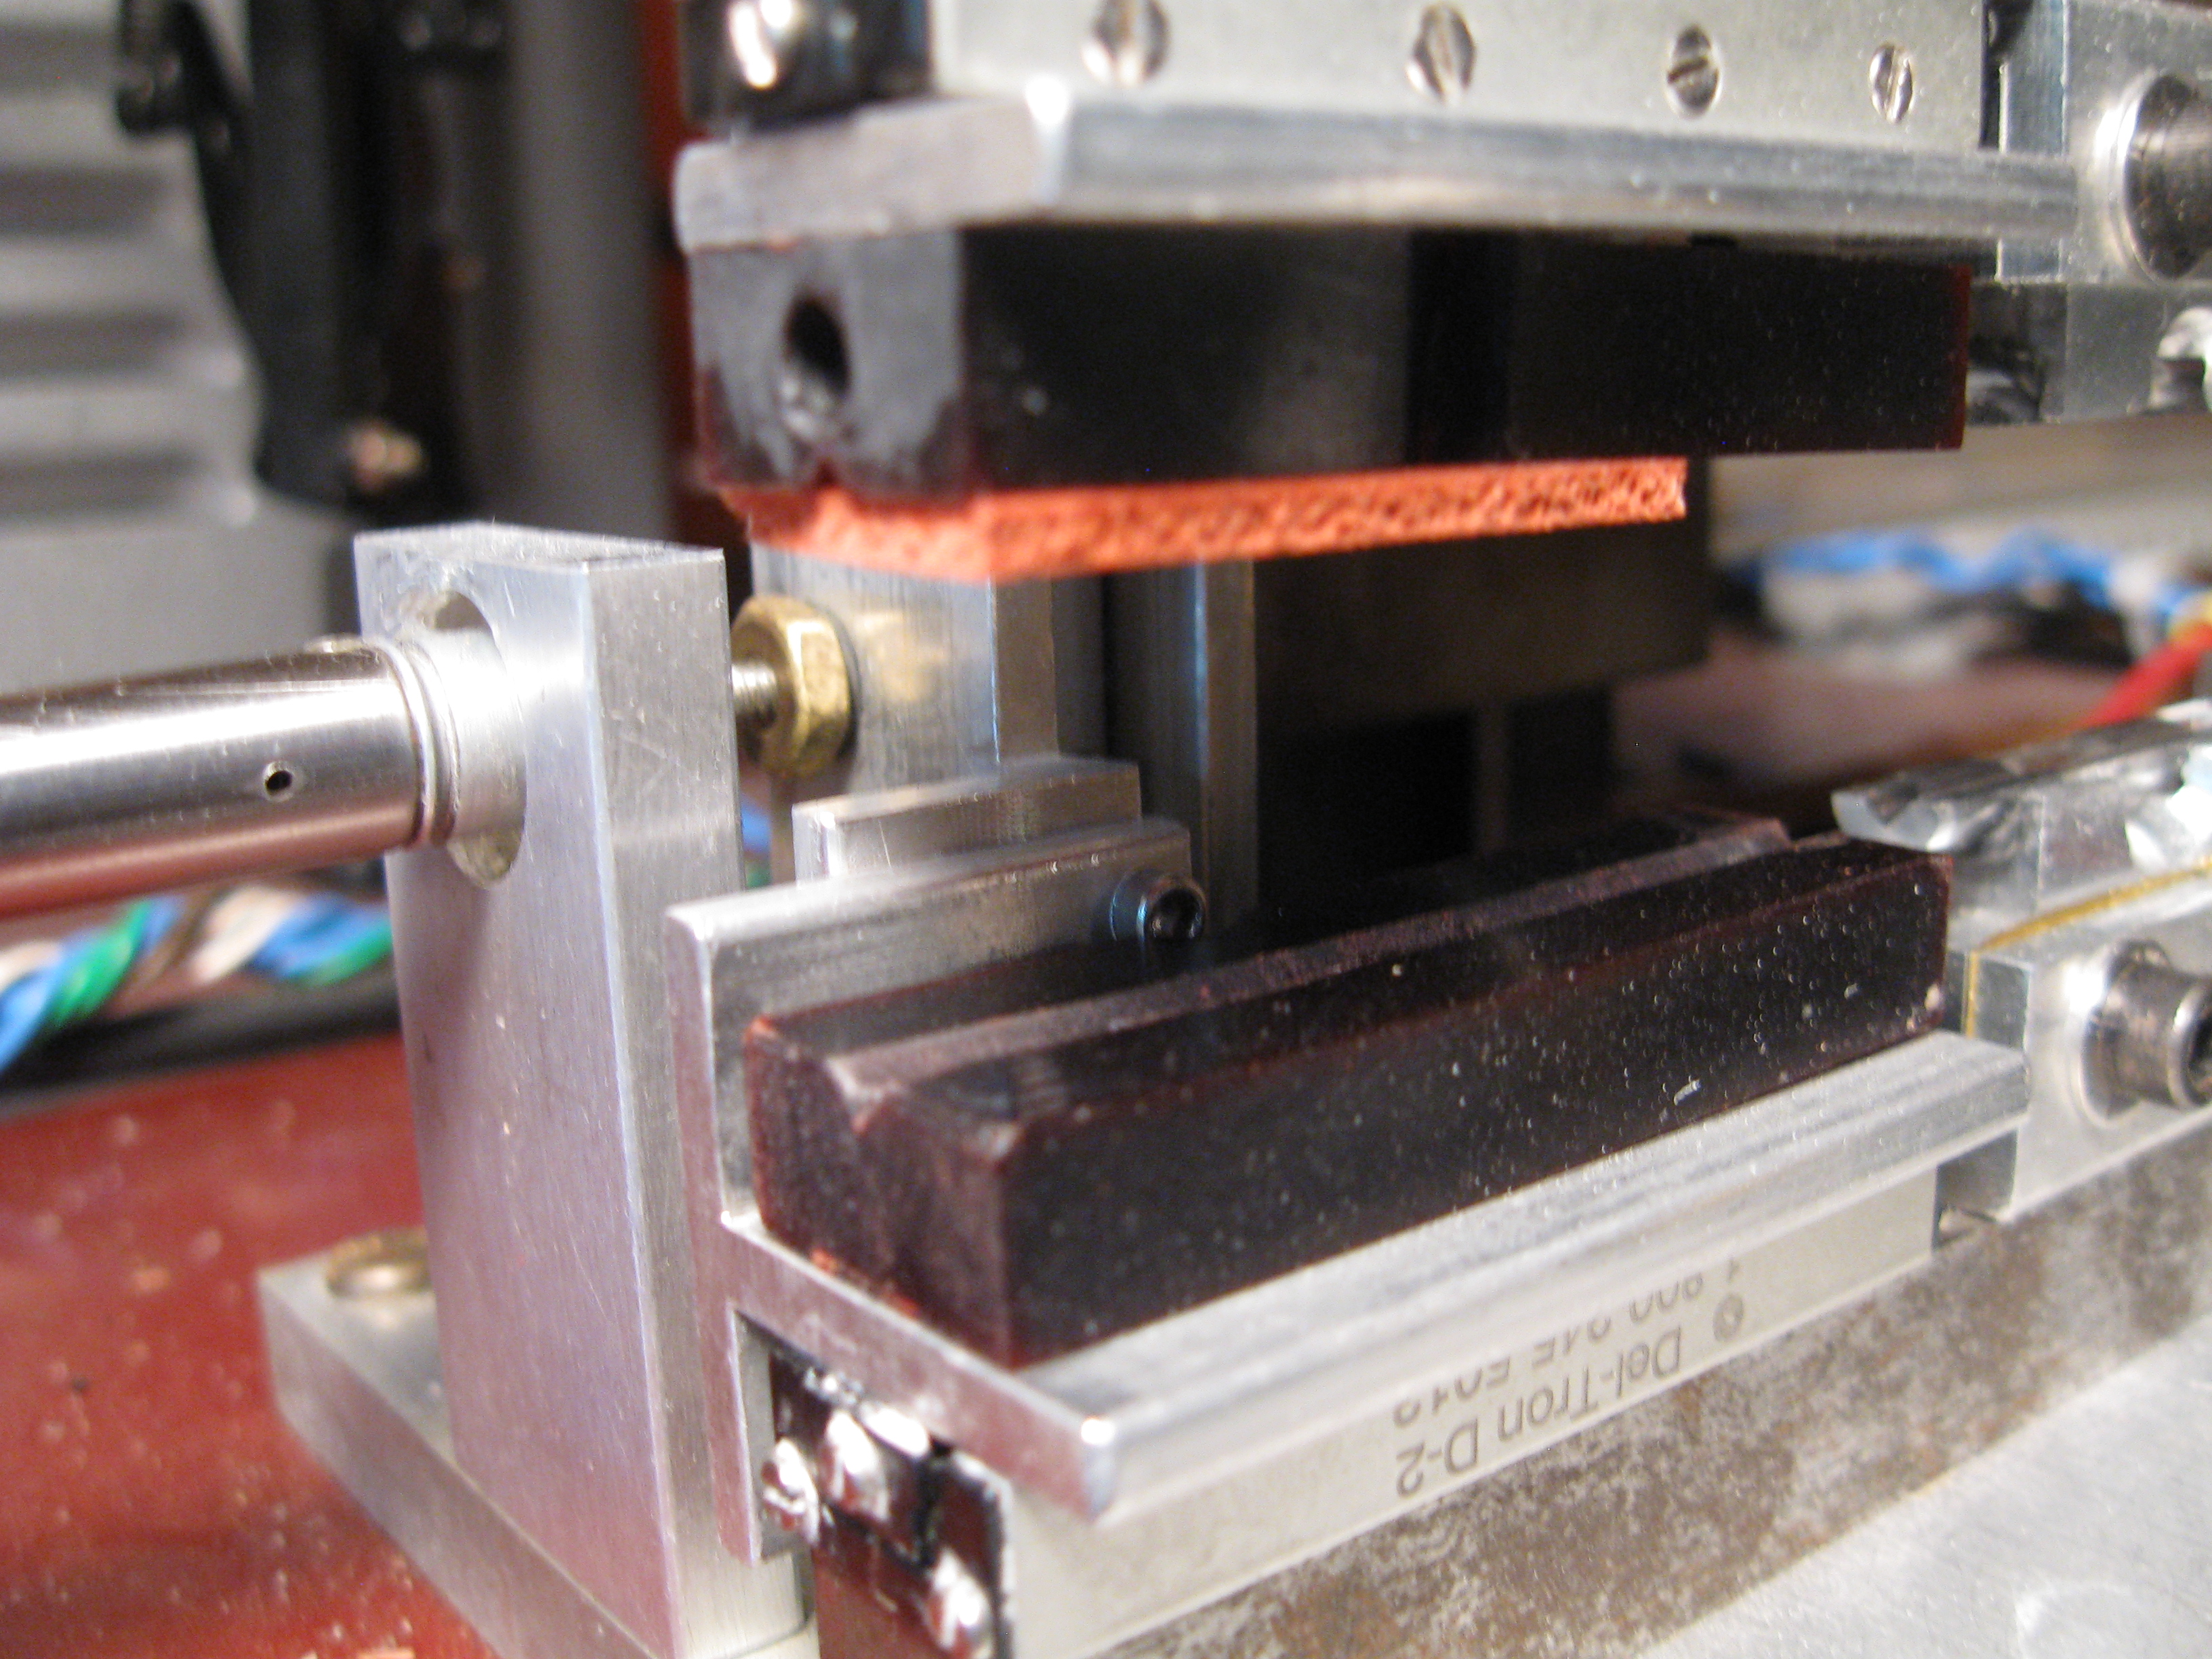
| 19:25, 13 January 2014 | Sliding brackets.JPG (file) |  |
3.01 MB | The brackets in which the collars can slide when stretching. | 1 |
| 19:21, 13 January 2014 | Final fastened end.JPG (file) |  |
3.18 MB | The unmoving end of the straightening unit in its final state. | 1 |
| 19:19, 13 January 2014 | Tapped fibers.JPG (file) |  |
2.92 MB | Fibers tapped so they all protrude same length. | 1 |
| 19:17, 13 January 2014 | Matrix.JPG (file) |  |
3.31 MB | 1 | |
| 19:13, 13 January 2014 | Aligner.JPG (file) |  |
2.92 MB | The aluminum block used to align fibers. | 1 |
| 19:12, 13 January 2014 | Collars.JPG (file) |  |
3.01 MB | Example top and bottom parts to a fiber collar. | 1 |
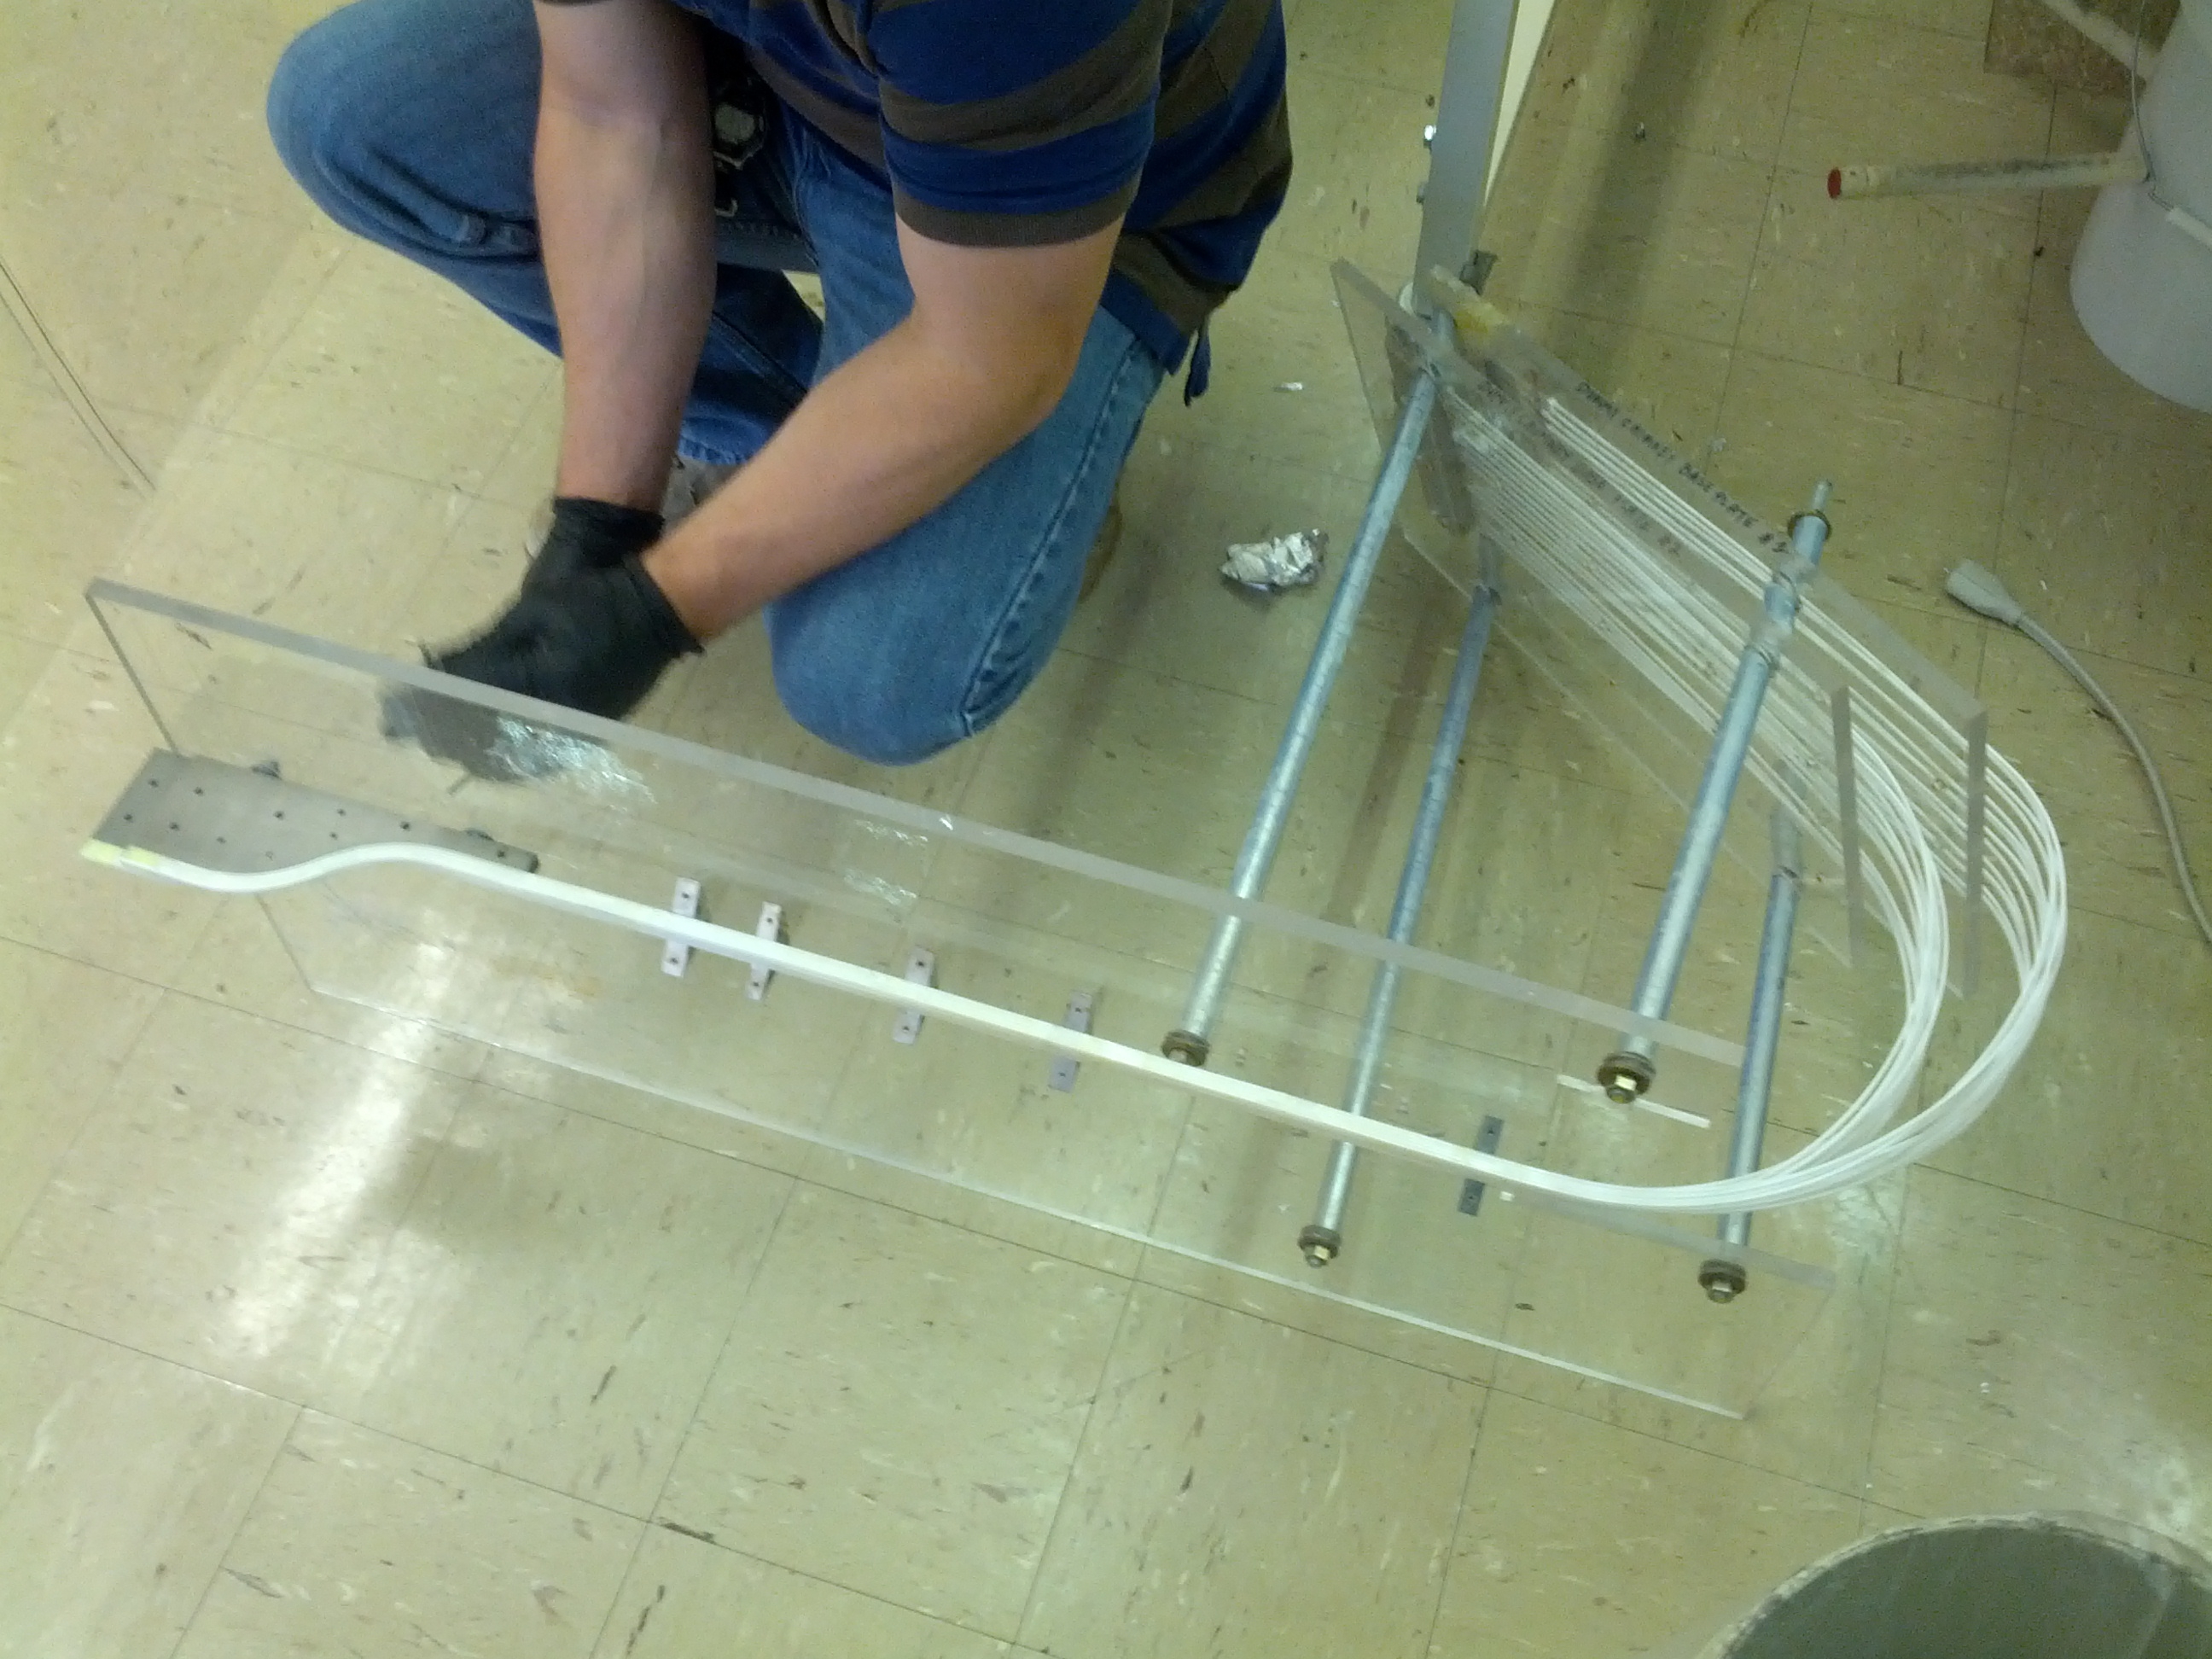
| 19:02, 13 January 2014 | Full setup.JPG (file) |  |
2.97 MB | The entire straightening unit set out on a tabletop. | 1 |
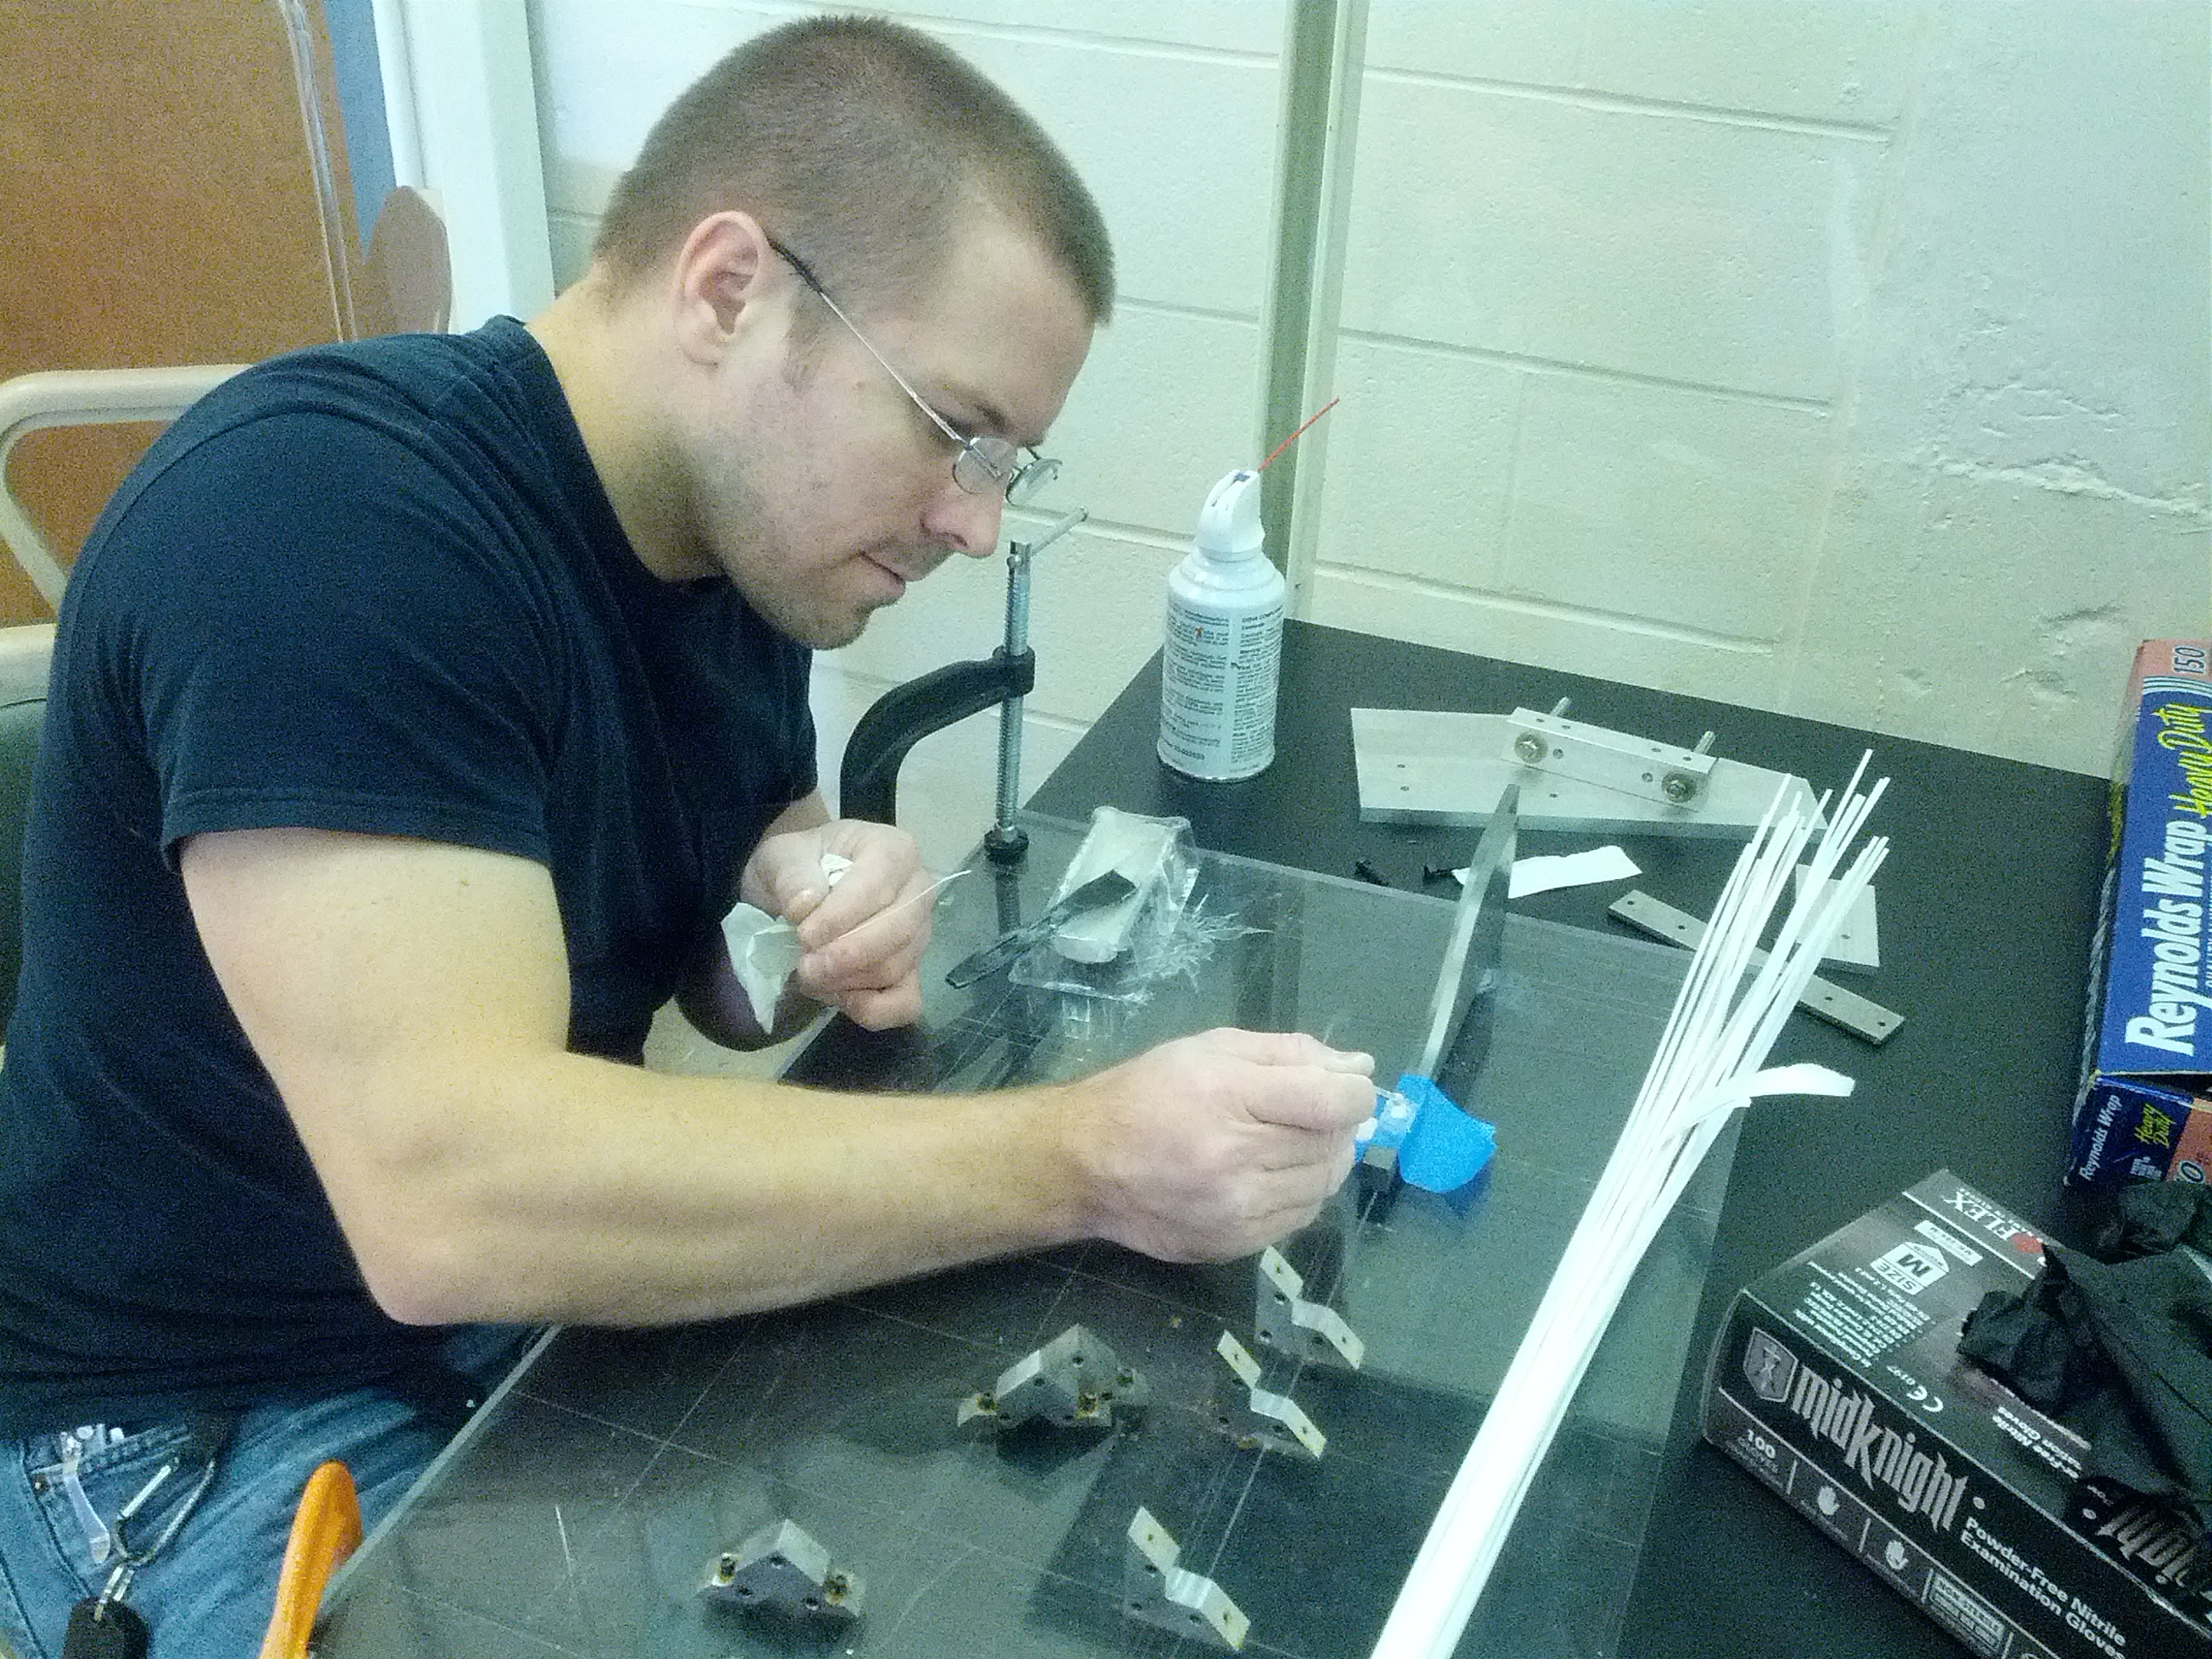
| 17:47, 20 November 2013 | AMCJimgluing.JPG (file) |  |
3.45 MB | 1 | |
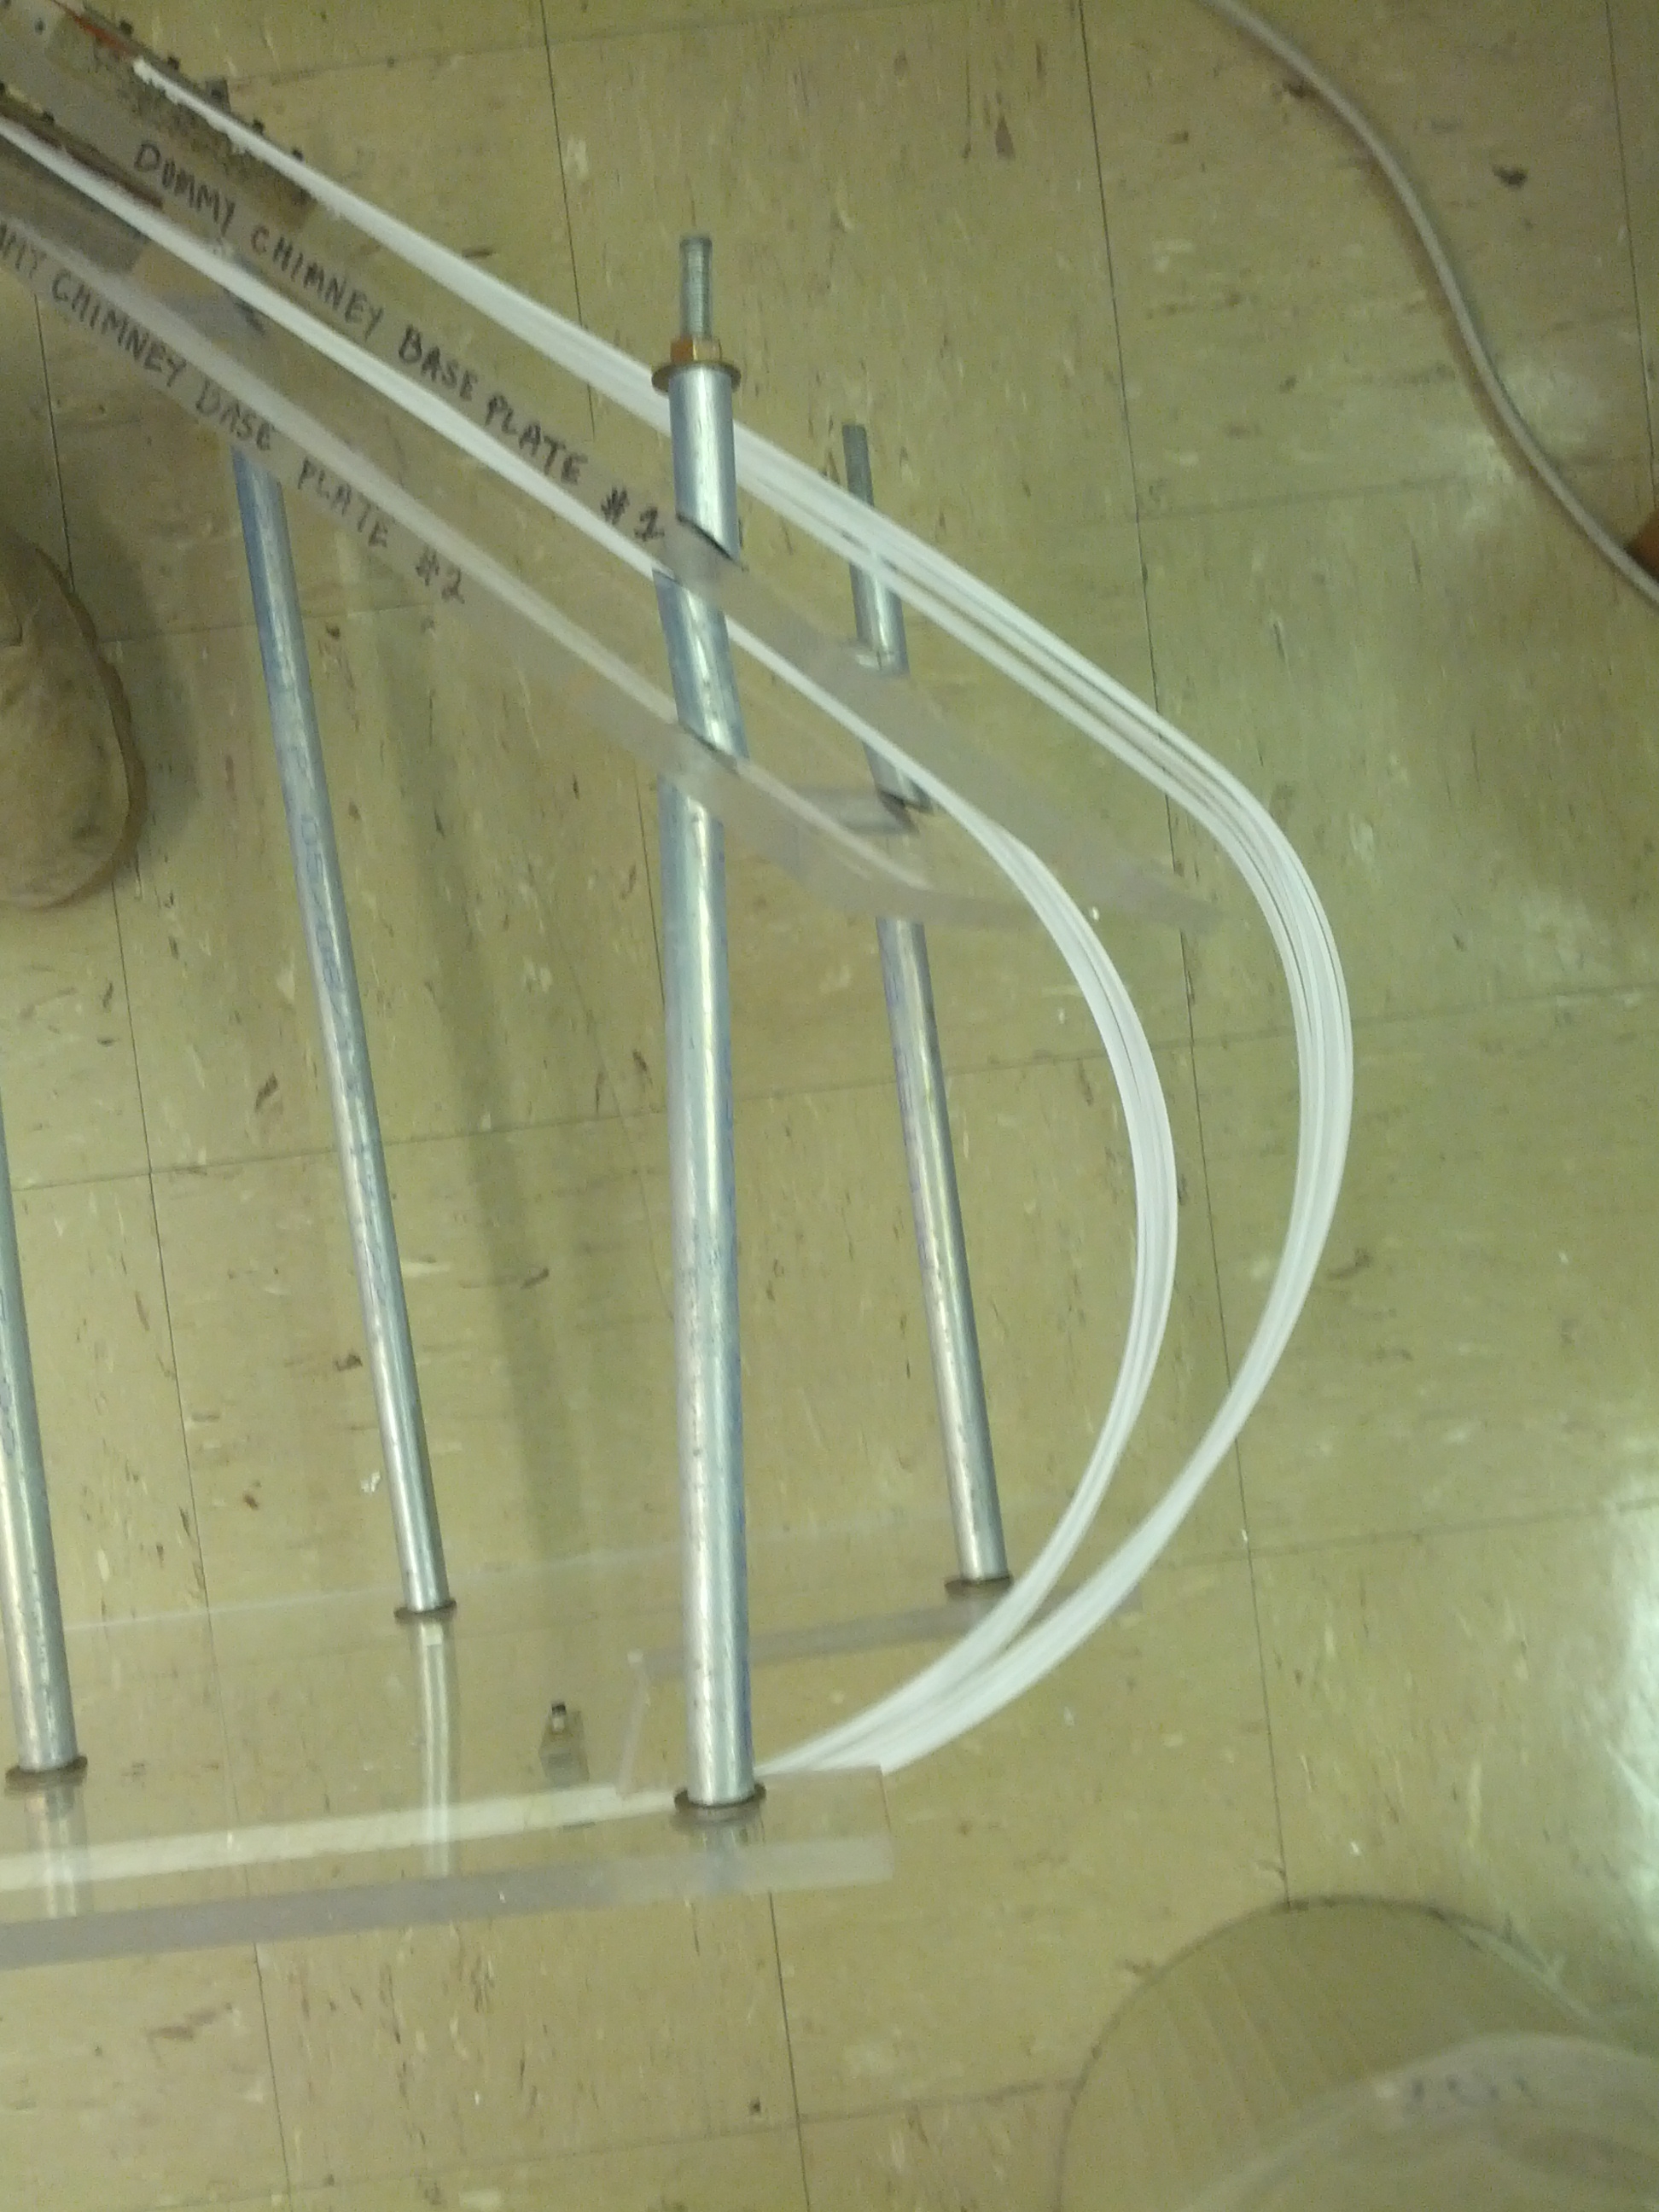
| 17:43, 20 November 2013 | AMCStraightenedbundle.JPG (file) |  |
2.79 MB | 1 | |
| 17:42, 20 November 2013 | AMCJimandgluedbundle.JPG (file) |  |
2.09 MB | 2 | |
| 17:39, 20 November 2013 | AMCBentpaintedandglued.JPG (file) |  |
2.04 MB | 1 | |
| 19:42, 22 August 2013 | JBCooling system.pdf (file) | 328 KB | 1 | ||
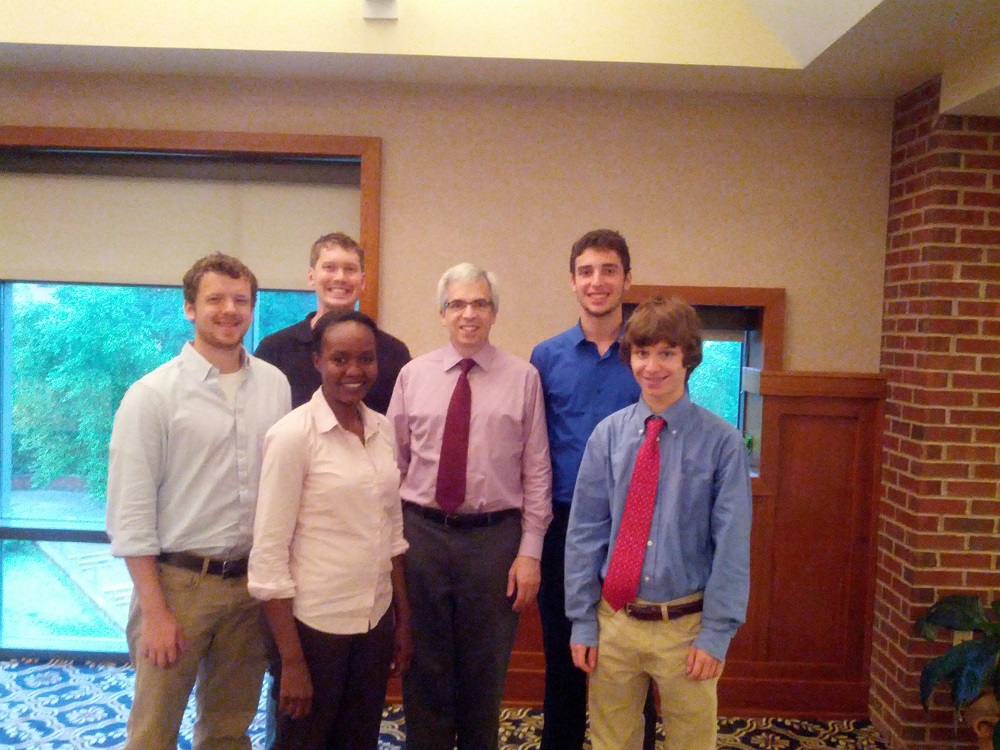
| 12:51, 29 July 2013 | AMCMentorConnect3.jpg (file) |  |
291 KB | 1 |