HOWTO-Setting up and using VNC
Jump to navigation
Jump to search

Software Required
To setup and use a VNC session two programs are required in this guide.
Setting up PuTTY is explained here. UltraVNC will come with two programs: UltraVNC Viewer and UltraVNC Server. To use a VNC session UltraVNC Viewer is required. UltraVNC Server is used to make a computer a host for VNC sessions. In this guide only UltraVNC Viewer will be used.
Creating a VNC Session
- Once PuTTY has been setup connect to a saved session.
- When making a VNC session a port will be reserved by a user for displaying the user's virtual desktop. Any other user will have to use a different port number in order to setup another virtual desktop. In order to know if there are any VNC sessions running type the following command into PuTTY
<syntaxhighlight lang="bash">
[username@computer ~]$ ps -efw | grep vnc
</syntaxhighlight>

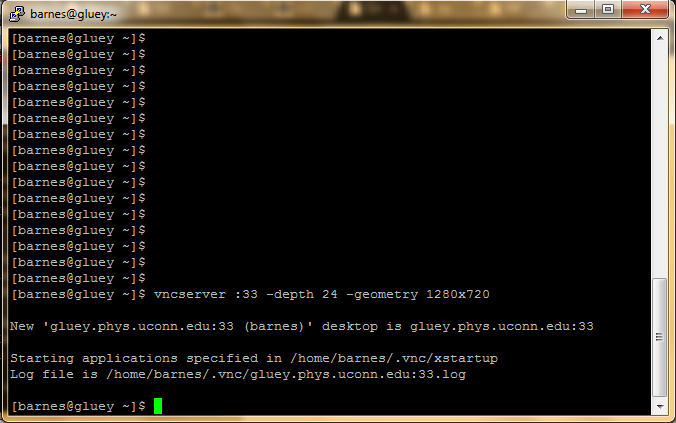
- In this example there are multiple VNC sessions claimed by various users. To create a new session select a port that is unused by typing the following into PuTTY
<syntaxhighlight lang="bash"> [username@computer ~]$ vncserver :xx -depth 24 -geometry 1280x720 </syntaxhighlight>
- where :xx is the new port number. This port number corresponds to whatever port was chosen while making the PuTTY connection (L59xx, gluey.phys.uconn.edu:59xx). In the example above the user created a port at 5992. If the port number chosen already has a vnc session associated with it go back to PuTTY and change your tunnel port to a number not being used. The options -depth 24 and -geometry 1280x720 are not required and the geometry can be any resolution. After creating a VNC session the only way to change the geometry is to kill the session and make it again.

- A password should always be made for the VNC session. This can be done using the vncpasswd command
<syntaxhighlight lang="bash"> [username@computer ~]$ vncpasswd </syntaxhighlight>
- This command will prompt the user to supply a password. For added security make this password different from the login password associated with the account.
- The VNC session is now ready to be used. Keep the PuTTY session open when using a VNC session as this will allow remote access outside of the network.
Using Ultra VNC
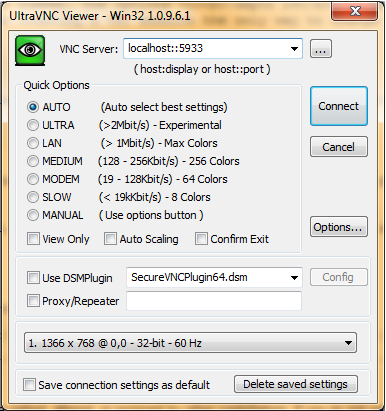
- Once Ultra VNC is installed open the program.

- In the top field type localhost::59xx where xx is the port number of the VNC session. Remember, the VNC port number must match the tunnel port that was added when creating the PuTTY session under Connection->SSH->Tunnels. Setting up this tunnel allows the local port to see anything at the remote port, which will only have anything if the VNC session is created at that port. If the tunnel does not match the VNC port close PuTTY and adjust the saved session.
- The use of localhost allows access remotely. This tells VNC Viewer to look at the local port :xx which has been setup to see the remote port :xx.


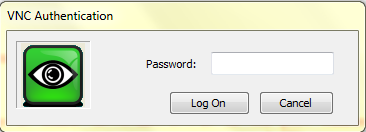
- In the password pop-up enter the password supplied during the command vncpasswd
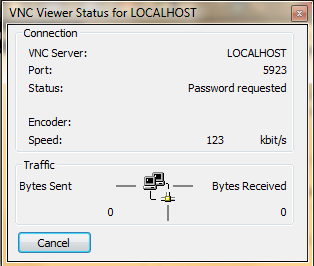
- When a VNC session becomes idle a second password pop-up will appear which requires the password associated with the username, not vncpasswd
- VNC sessions can be left running but if a server is restarted the session will have to be restarted.
Terminating a VNC Session
- In order to terminate a VNC session type the following command
<syntaxhighlight lang="bash"> [username@computer ~]$ vncserver -kill :xx </syntaxhighlight>
- where :xx is the port number of the VNC session that will be terminated.