Pratt/excimer
Jump to navigation
Jump to search
Progress
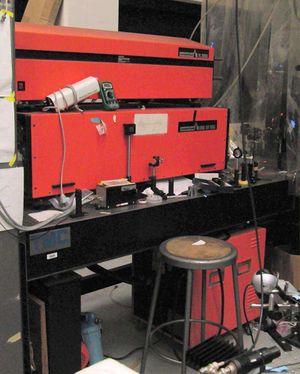
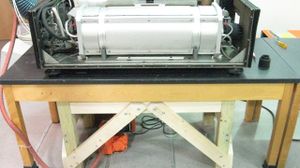
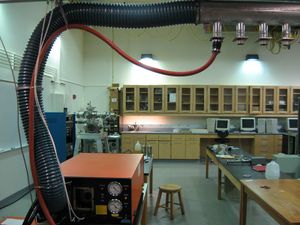
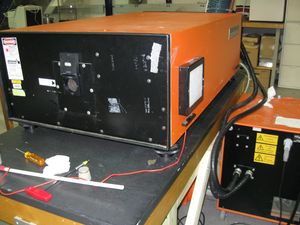
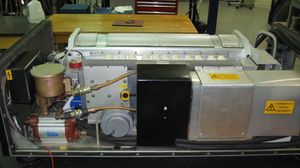
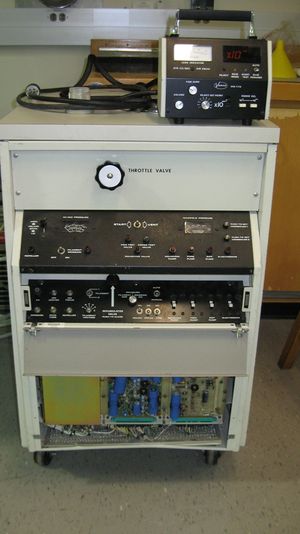
- Getting the Lambda Physics EMG 101 MSC Excimer Laser online has split into two projects, installation and laser maintenance. At first, the major task was to move the laser from Prof. Eyler's lab on the third floor to Prof. Wells' lab on the ground floor. This required the deconstruction all exhaust connections, gas lines, and the removal of the high voltage power supply from the laser head. Once relocated, the laser then had to be re-installed into the new laboratory which included the following: reinforcing the laser table, installation of the main exhaust, vacuum pump exhaust, 208V power supply, reconnecting the high voltage power supply and vacuum pump, construction of gas containment area, and refitting gas lines. Once we were able to get power to the laser we were able to check its systems and really get to know how she was feeling at this stage in her life. The following are a list of problems and solutions we have run into thus far.
First Gotcha:
- First I decided to check the solenoid valves as I expected the halogen solenoid to be corroded shut. Passing helium through all three seemed to be the best way to determine which valves were working properly; to my surprise the halogen valve worked fine as well as the buffer valve. However, the noble solenoid was not allowing gas to pass through to the gas processor and so I rebuilt it thinking the stem was the issue. Rebuilding it didn't help and I quickly realized the outlet port was clogged with corrosion which was an easy fix (thanks to a perfectly sized paper clip)
Second Gotcha:
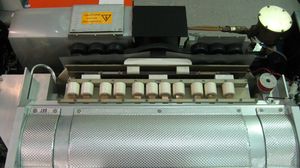
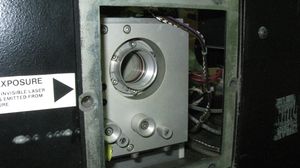
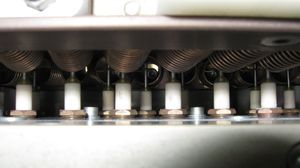
- Once I was able to introduce helium (2600mbar) into the system I was able to determine the leak rate over a 24 hour period. The acceptable leak rate for this laser is 5mbar/hour and in the beginning we were leaking 32.4mbar/hour. After calling Lambda Physik (now called Coherent Inc.) I was told the laser window o-rings which mount the lenses/mirrors would most likely be the culprits. After removing the windows and inspecting the o-rings it was clear they needed replacing, but Coherent Inc. no longer carries parts for this model and we were forced to try a product called "Rubber Rejuvenator". Used mainly for printing rollers, it did a great job in replenishing the o-ring to its visibly new self. After replacing the o-rings the leak rate dropped down to its current rate of 20mbar/hour. Although the leak was reduced by 38%, it was still too large for firing. I contacted Prof. William Hines of the Condensed Matter research group who has a helium detector. After meeting him and being trained on the detector we set to work trying to figure out where our leaks were coming from. Utilizing the "sniffer mode", which allows us to work the entire laser with a pen like detector, we were able to attribute the greatest leaks to two areas. The front window has a considerable leak which we plan on fixing by thoroughly cleaning the o-ring baffle and replacing the o-ring completely. The second leak is within an array of spark plug like electrodes that protrude from the inside of the laser window. There are over 40 of these spark plugs, each having there own o-ring which may need replacing, however Prof. Hines and I were able to pin point the greatest leaks to just 3 of the pins. Replacing these o-rings requires quite a bit of disassembling and I plan on checking the leak rate after fixing the front window before starting that project.
What's Next
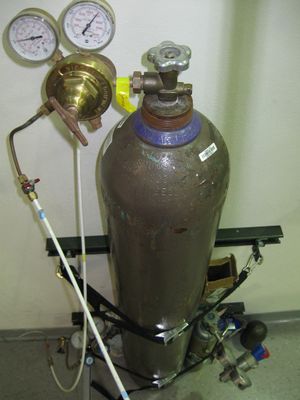
- After the leak rate is brought down to at most 5mbar/hour it is time to test the light output of our laser. This requires our group to purchase Argon and Fluorine gas and a proper beam stop. Once we have first light we will be able to test the energy output to ensure it supplies the required power for diamond ablation.
Work Schedule
- January 25th-29th:Purchase o-rings and re-clean o-ring baffle, purchase Ar and F2
- February 1st-5th: Install new o-rings, check leak rate if still too high proceed with spark plug disassembling.
- February 8th-12th: Passivate laser system with HeF2 and recharge with proper gas mixture, test light output
