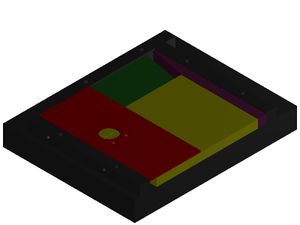
Tagger microscope prototype construction
Jump to navigation
Jump to search
This page contains the progress of the fabrication of the Tagger Microscope prototype. Now this is the first Wiki page that I have ever made so please excuse any errors, they will be corrected in a timely fashion. This page will be updated as more the project progresses. To see what I am currently working on see Weekly Goals.
Tools
- We designed our own apparatus to cut, polish, and glue the scintillators and the waveguides. For more information on how it works Work Stand Assembly.
- To cut the fibers I use a standard hobby knife.
- For cleaning and polishing acrylic fibers, the recommended tool to use is a plastic nail buff.
- A digital scale (accurate to ±0.01 grams) used to weigh out the proper proportions of the resin and catalyst.
- Glassware for weighing, mixing, and applying the epoxy.
- A Laboratory Hotplate is used to heat cure the epoxy.
- An inferred thermometer used for calibrating the hotplate.
Fiber Research
Epoxies
The two epoxies that are being tested are:
- BC-600 (Bicron) BC-600 Info
- 20-3238 (Epoxies Etc) 20-3238 Info
