Difference between revisions of "How to 3D Print"
Jump to navigation
Jump to search
(→Final) |
(→Final) |
||
| Line 85: | Line 85: | ||
<table style="border: thin solid black;" cellspacing="0"> | <table style="border: thin solid black;" cellspacing="0"> | ||
<tr> | <tr> | ||
| − | <th colspan="2"; style="background-color:rgb(239,222,205) | + | <th colspan="2"; style="background-color:rgb(239,222,205)"><span style="background-color:yellow">Spring 2017</span> </th> |
</tr> | </tr> | ||
<tr> | <tr> | ||
Revision as of 19:03, 19 March 2021
| Important Documents |
| 3D Printer Manual |
| PLA Filament MSDS |
| ABS Filament MSDS |
| UConn EHS 3D Printer Approval |
| [| Ben's Logbook] |
How to use the 3D Printer in lab 419
Setting up print files
The Autodesk Inventor Fusion software converts drawings to .stl files that can be 3D printed. To convert a drawing, open it with Inventor Fusion and follow the steps shown below.
File:3D 1.jpg
Figure 2: Click on the slanted letter I in the top left corner.
File:3DPrinterPic.png
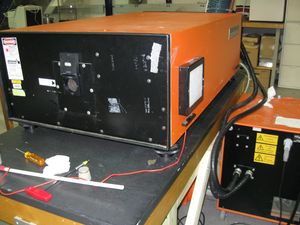
Figure 1: The 3D printer used in lab 419.
Text text ([1]) text text.
Next
xxxxxx
xxxxxx
Final
xxxxxxxxxxxxx
| Table Header | Table Header |
|---|---|
| Table cell 1 | Table cell 2 |
| Table cell 3 | Table cell 4 |
| Month | Date |
|---|---|
| March | 10.09.2018 |
| June | 18.07.2018 |
| Table Header | Table Header |
|---|---|
| Table cell 1 | Table cell 2 |
| Table cell 3 | Table cell 4 |
|
|||||||
| X room = | - 1.16666 m | ||||||
| Z room = | 7.41009 m | ||||||
| Angle room = | - 8.05220o | ||||||
|
|||||
| X map = | 0.73488 m | ||||
| Y map = | 1.22645 m | ||||
| X FP = | 3.31245 m | ||||
| Y FP = | -0.00932 m | ||||
